
Deploy a Rust server on the Game Panel
Learn how to deploy a Rust server on the OVHcloud Game Panel, track the installation, and join your server from the Rust client.
Objective
The OVHcloud Game Panel lets you deploy a Rust server with automated installation and port configuration.
This guide explains how to deploy and connect to a Rust server on the OVHcloud Game Panel.
Requirements
- A VPS or a dedicated server in your OVHcloud account with the Game Panel feature enabled.
- Access to the Game Panel. Refer to Log in to the Game Panel.
Our recommendations
Instructions
Step 1 — Access the Game Panel
Log in to your OVHcloud Game Panel. From the left-hand menu, go to the Game Servers section and click Add Game Server.
Step 2 — Create a Rust server
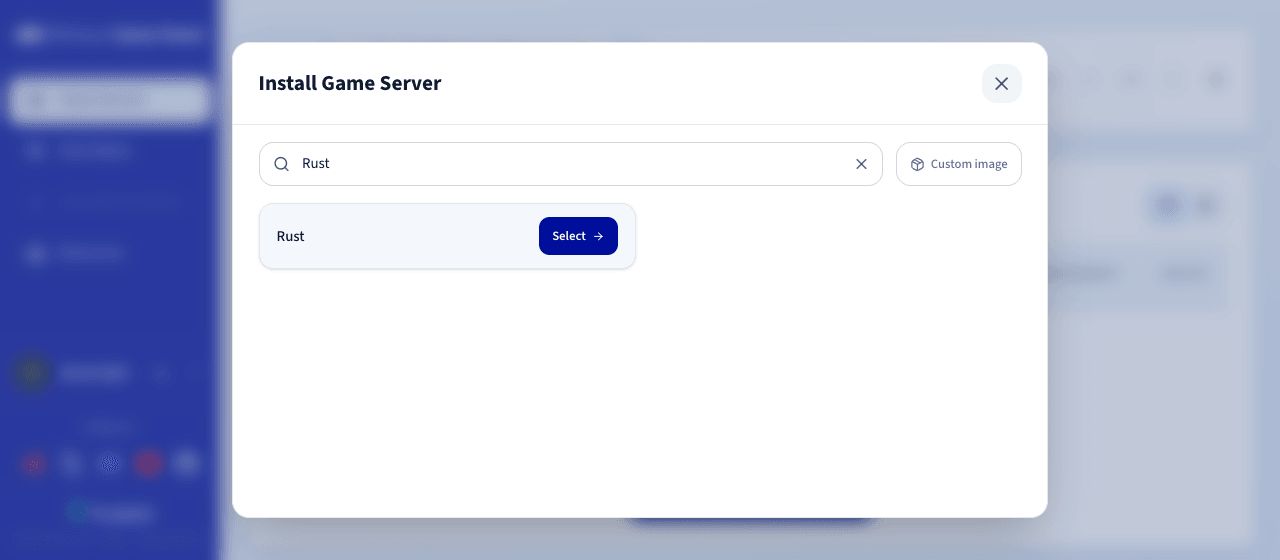
Select Rust from the game list. You can use the search field at the top of the window to find it faster. A configuration window opens.
Step 3 — Configure the Rust server
In this section, you can set a name for your server in the Server Name field.
An RCON Password is also generated automatically. It is used by the game's RCON system to administer the server remotely. Click Regenerate to obtain a new one, or replace it with a password of your choice (at least 8 characters). You can change it again once the server is installed.
Make sure you keep this password in a secure place. Anyone who knows it can run administration commands on your server.
You can expand Advanced Settings to adjust options such as ports binding, volumes, environment variables and resource limits. The defaults are suitable for most game servers.
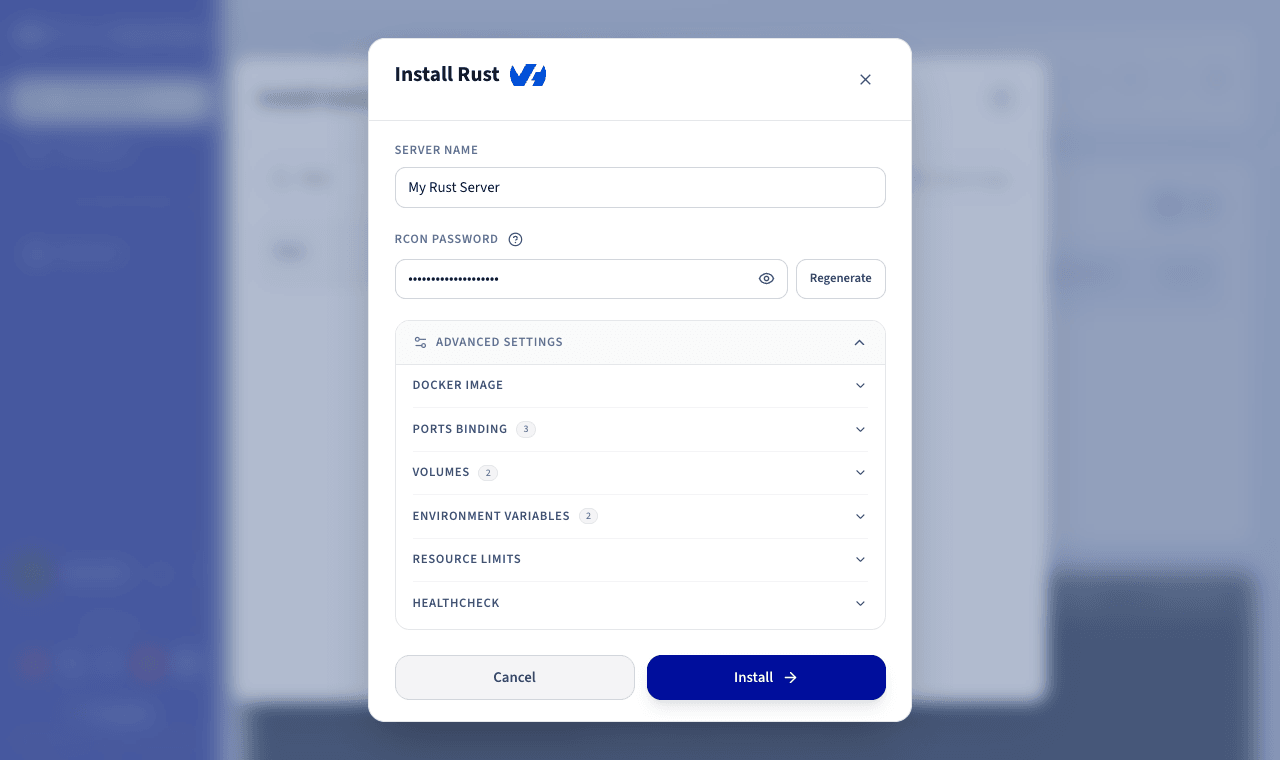
If this is your first Rust server on the Game Panel and the default ports are available, all required ports are configured automatically. No manual setup is needed. The Rust image uses three ports: 28015/UDP (Game), 28017/UDP (Steam Query) and 28082/TCP (Rust+ companion app). If these ports are already taken by another game server, the Game Panel assigns free host ports instead.
Step 4 — Launch the installation
Click Install to launch the installation. The deployment starts and a progress window tracks the following stages:
- Pulling container image.
- Preparing server files.
- Creating container.
- Starting container.
Step 5 — Monitor the installation
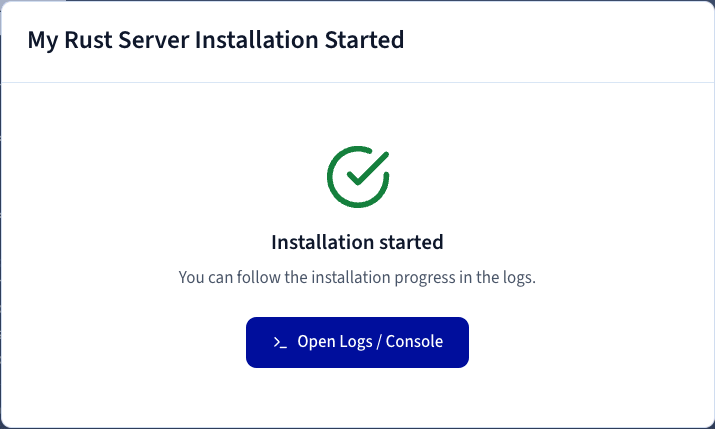
Once the container has started, a confirmation window is displayed. Click Open Logs / Console to follow the installation progress in real time. You can also open it at any time with the Log/Console button on your server.
The console displays the installation steps, then the download of the Rust server files via SteamCMD, with a progress percentage.
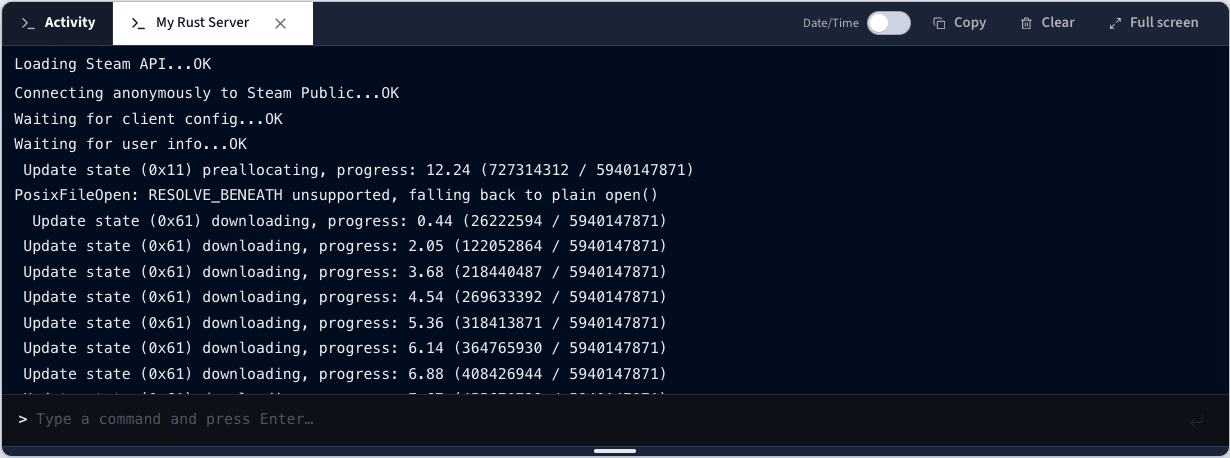
The Rust server files represent a download of several gigabytes. The server keeps the Installing status for the whole download, then while the game world is generated. Refer to the console to follow the actual progress.
Step 6 — Verify the server is running
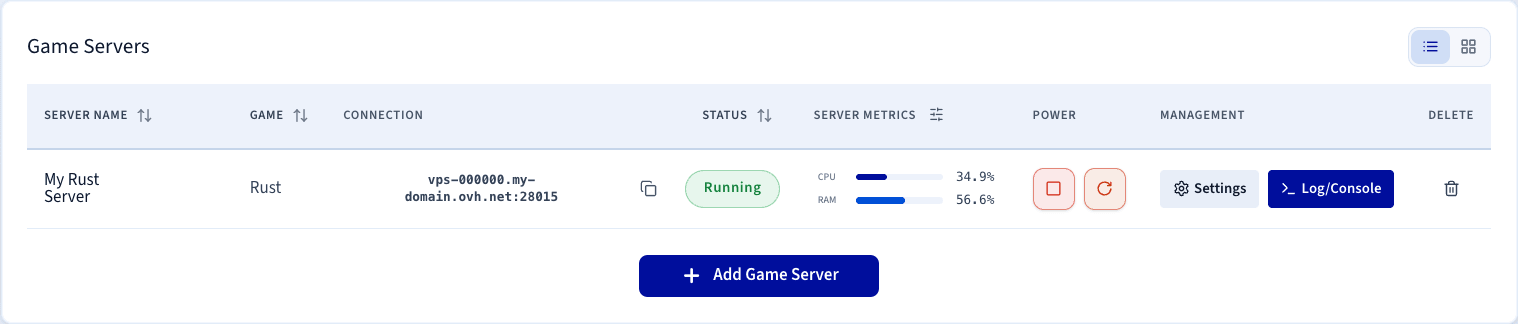
Confirm the server status is Running and that CPU and RAM activity is visible. You can use the Log/Console and Settings controls to manage the server, and the Stop and Restart controls to change its power state.
Step 7 — Confirm installation is complete
Once the download is complete, the console displays the startup of the Rust server, then the generation of the game world (height map, biomes, monuments). This step can take several minutes.
The status may briefly display Unhealthy while the server finishes starting up and does not yet answer the health check. This is expected during a first installation.
The server status changes to Running once the world is generated and the server is listening. Your Rust server is then ready to accept connections.
Step 8 — Retrieve connection information
Once your server is started, copy the IP address and port from the Connection column of the Game Servers list. Use the copy button to copy them to the clipboard.
Step 9 — Join your server in Rust
To join your server from the Rust client:
- Launch Rust.
- Press the
F1key to open the game console. - Enter the following command, replacing
IPandPORTwith the values from the Connection column:
Configure the game settings
The Game Config section lets you adjust the main settings of your Rust server without editing the configuration files by hand:
Additional options, such as the server description, the PvE mode or the fall damage, are available in the server.cfg configuration file, in the same section.
For advanced configuration, use the File Manager to edit the Rust configuration files directly.
Go further
- Getting started with the Game Panel
- Manage users on the Game Panel
- How to create and restore backups on the Game Panel
Join our community of users.