Tutorial - Backing up your WordPress website
Find out how to back up the content of your WordPress website and its database
Objective
Even taking all precautions, your website remains exposed to a potential malfunction (handling error, accidental overwriting of files, faulty configuration, security breach or hacking) that can result in partial or total loss of your data.
Regular backups of your website is a good practice. This will enable you to revert your website to an earlier state when you experience a technical issue.
On a web hosting plan, you are responsible for your website’s backups. Although OVHcloud offers automated backups (non-contractual), we recommend to carry out regular backups yourself, and to manage them using appropriate backup media (hard disk, USB drive, etc.) as an added precaution.
OVHcloud provides services that you are responsible for with regard to their configuration and management. It is therefore your responsibility to ensure that they function properly.
This tutorial is designed to help you with common tasks. Nevertheless, we recommend contacting a specialist provider or the WordPress support if you encounter any difficulties. We will not be able to assist you. You can find more information in the Go further section of this guide.
This tutorial explains how to back up the content of your WordPress website and its database.
Requirements
Instructions
You can perform a backup in two ways: manually or by using a plugin.
OVHcloud provides an automatic data backup service (non-contractual) and makes these backups available. However, it is your responsibility to set up your own restoration policy and to determine restoration points at times you deem appropriate.
Method 1: Perform a manual backup
Manual backups should be done in two steps. First, you need to back up your website’s PHP files, then export your database.
1.1 Back up your website files
Retrieving your data is done via an FTP client like FileZilla. See our tutorial "Using FileZilla with your OVHcloud hosting" for more information.
When you are logged in to your server via FTP, you will need to retrieve the contents of the www directory from the right pane (drag and drop). This directory contains all the files and directories of your WordPress site (configuration, themes, media, etc.).
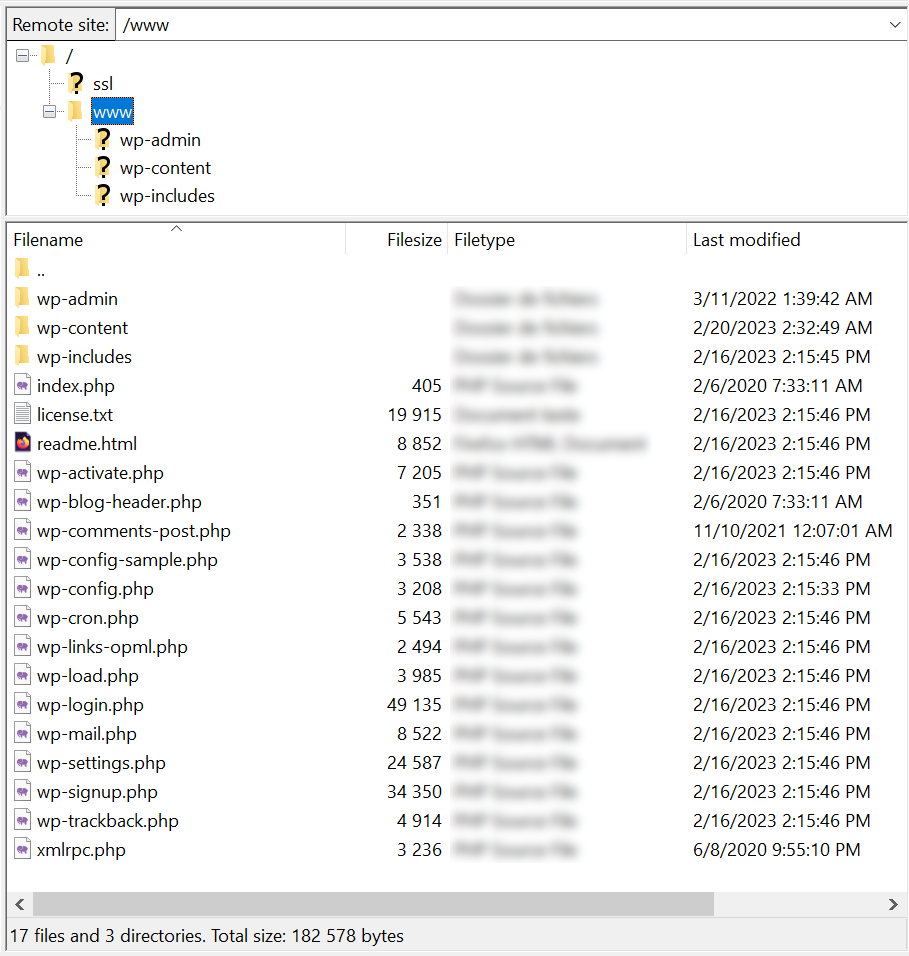
Click on the www directory and drag it to the directory of your choice in the left window. File transfer will start automatically.
If your website experiences any issues, you will need to do the opposite by overwriting the destination files.
1.2 Export your database
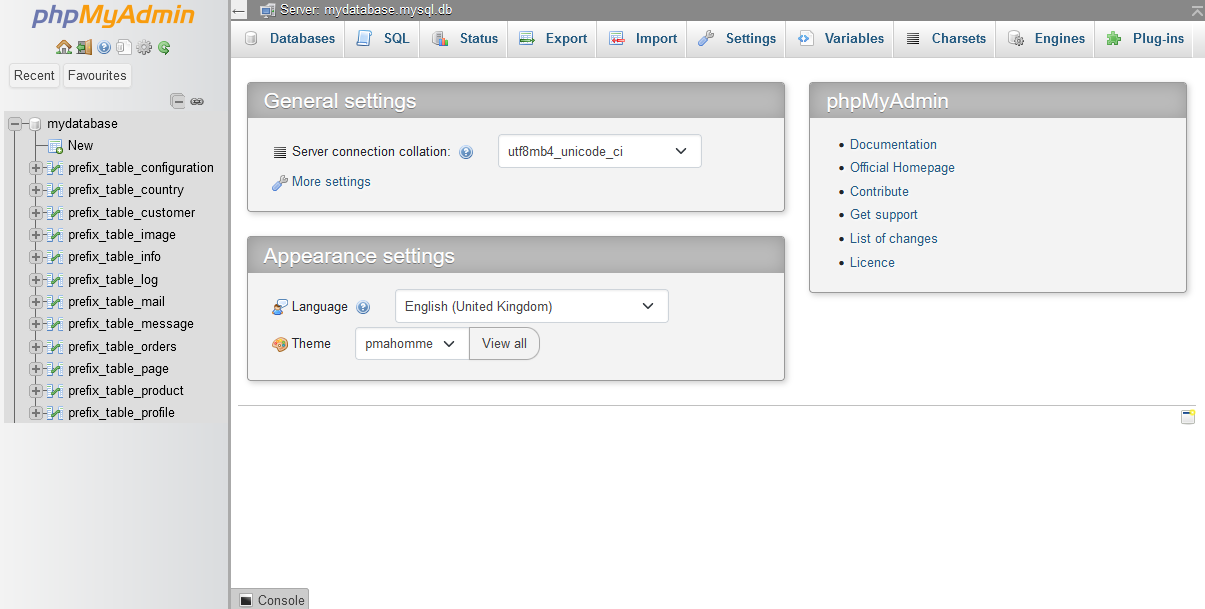
To export your database, go to the PHPMyAdmin interface via the URL that was sent to you when you subscribed to your web hosting plan.
Please refer to our guide on exporting a database.
Click Export at the top of the page:
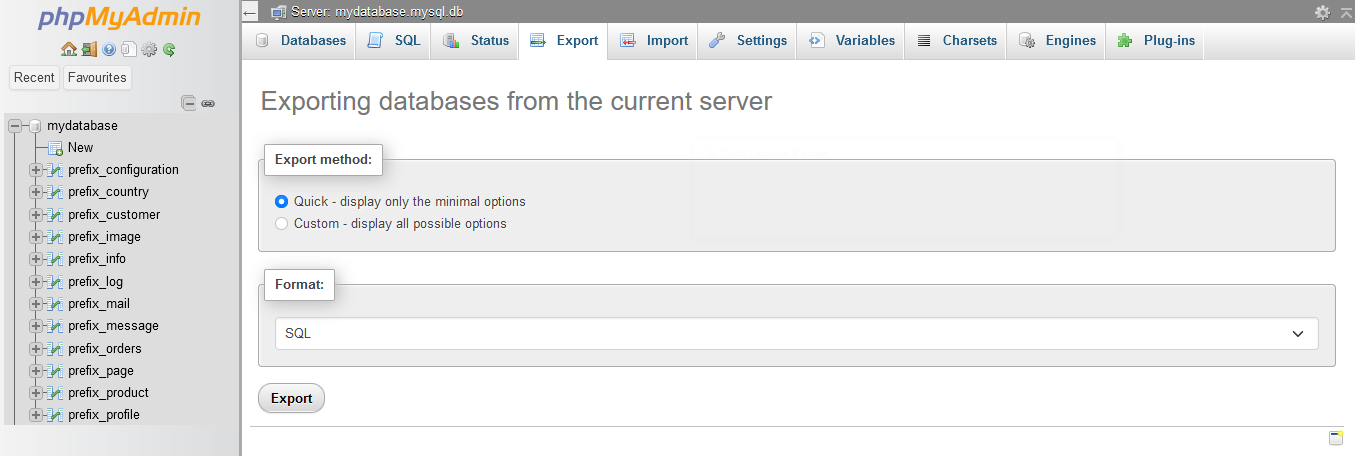
Leave the default choices: Quick export method and SQL format.
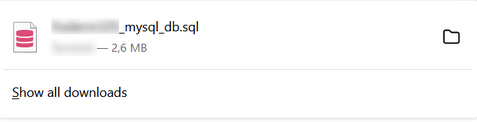
Click Go and you will download your entire database in Structured Query Language (SQL) format.
Method 2: Create a backup with a plugin
There are many WordPress plugins you can use to manage backups. The most popular is UpdraftPlus, which has several million active installations. The free version is enough to back up your website. The premium version offers more options such as incremental backups, a migration tool, multisite backup, more choices on clouds for storing data, etc.
Download the .zip file to your computer. For the sake of clarity, the downloaded plugin file will be renamed updraftplus.zip in the examples below.
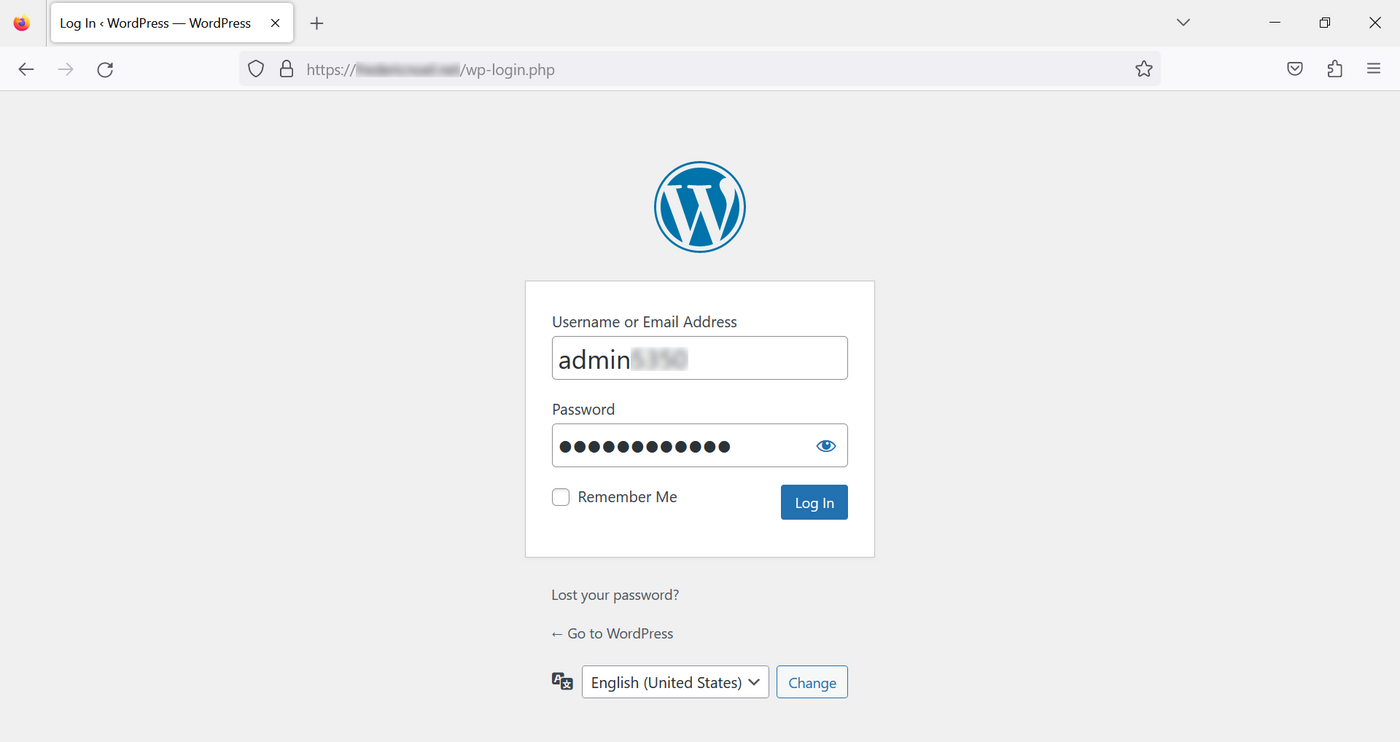
2.1 Log in to the administration interface to install the plugin
By default, this is your domain name followed by /wp-admin:
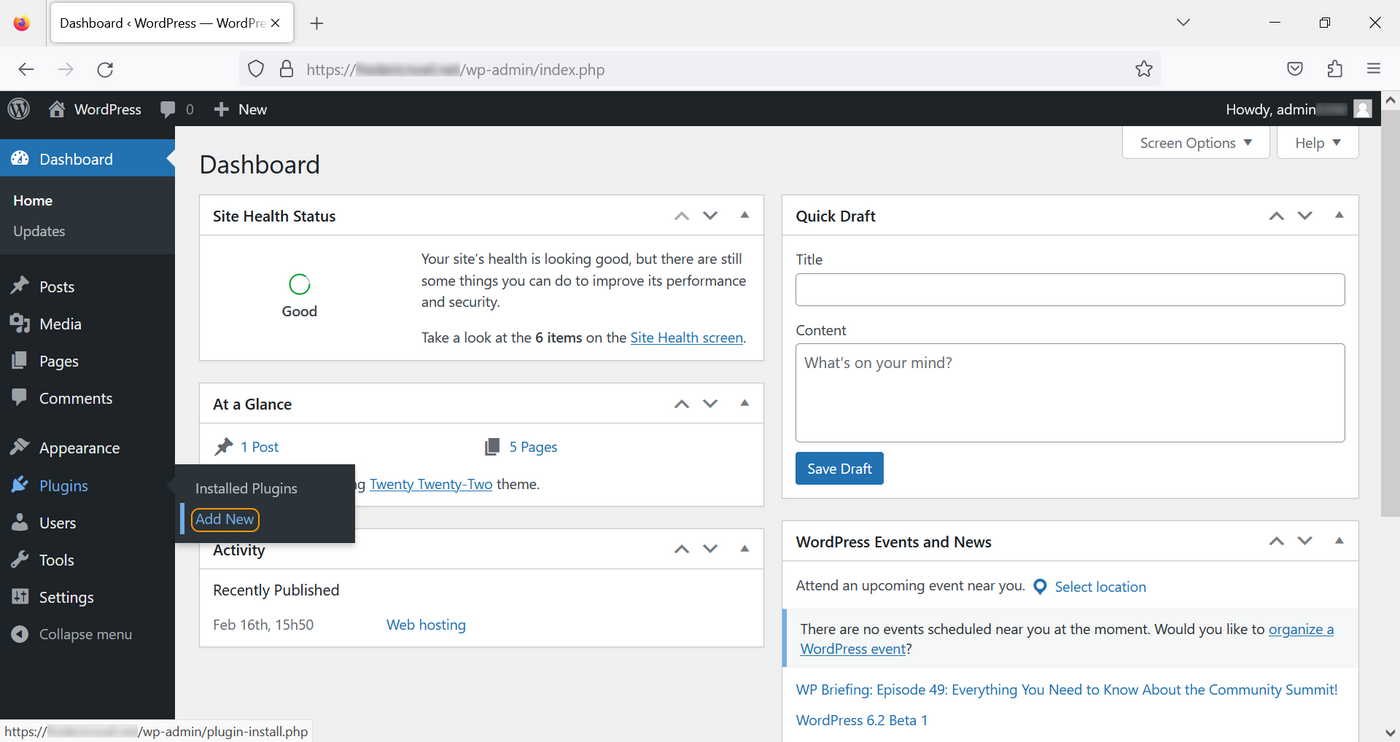
On the home page, go to the Plugins section, then click Add New:
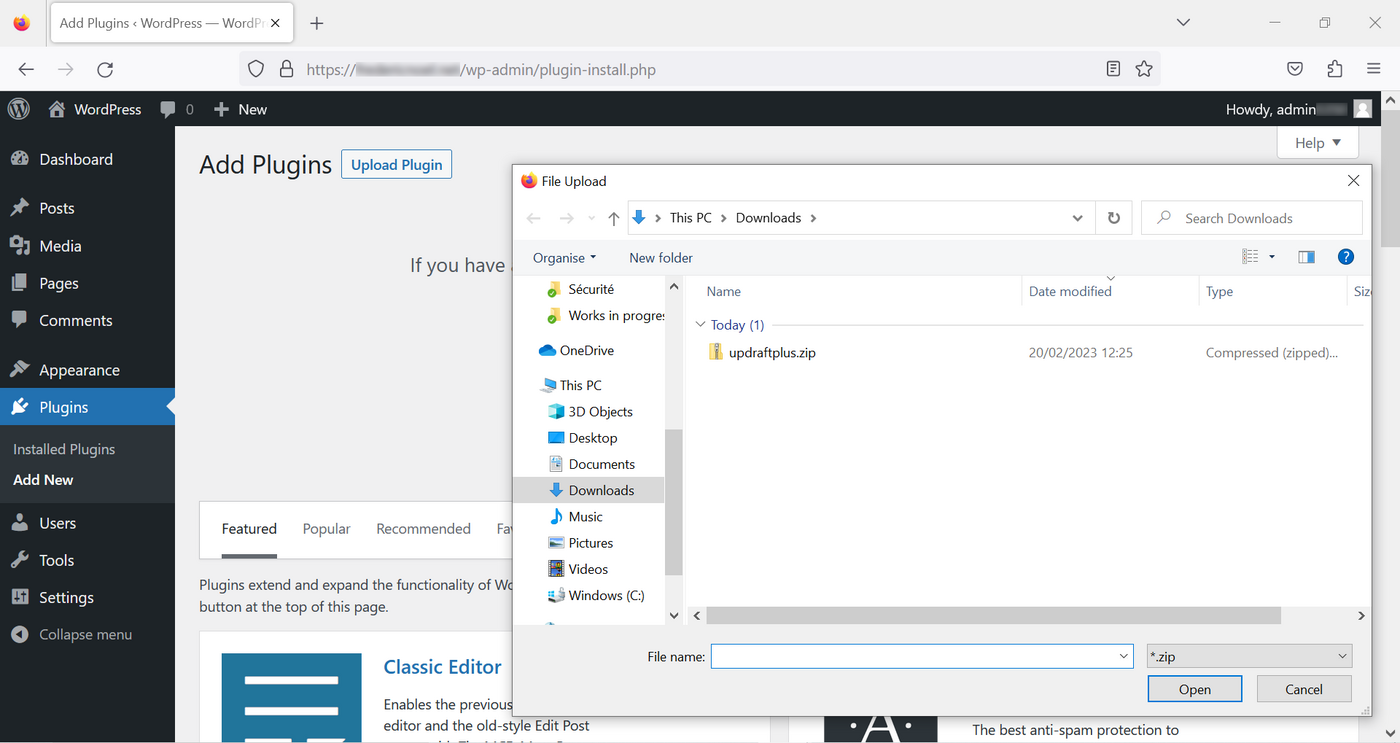
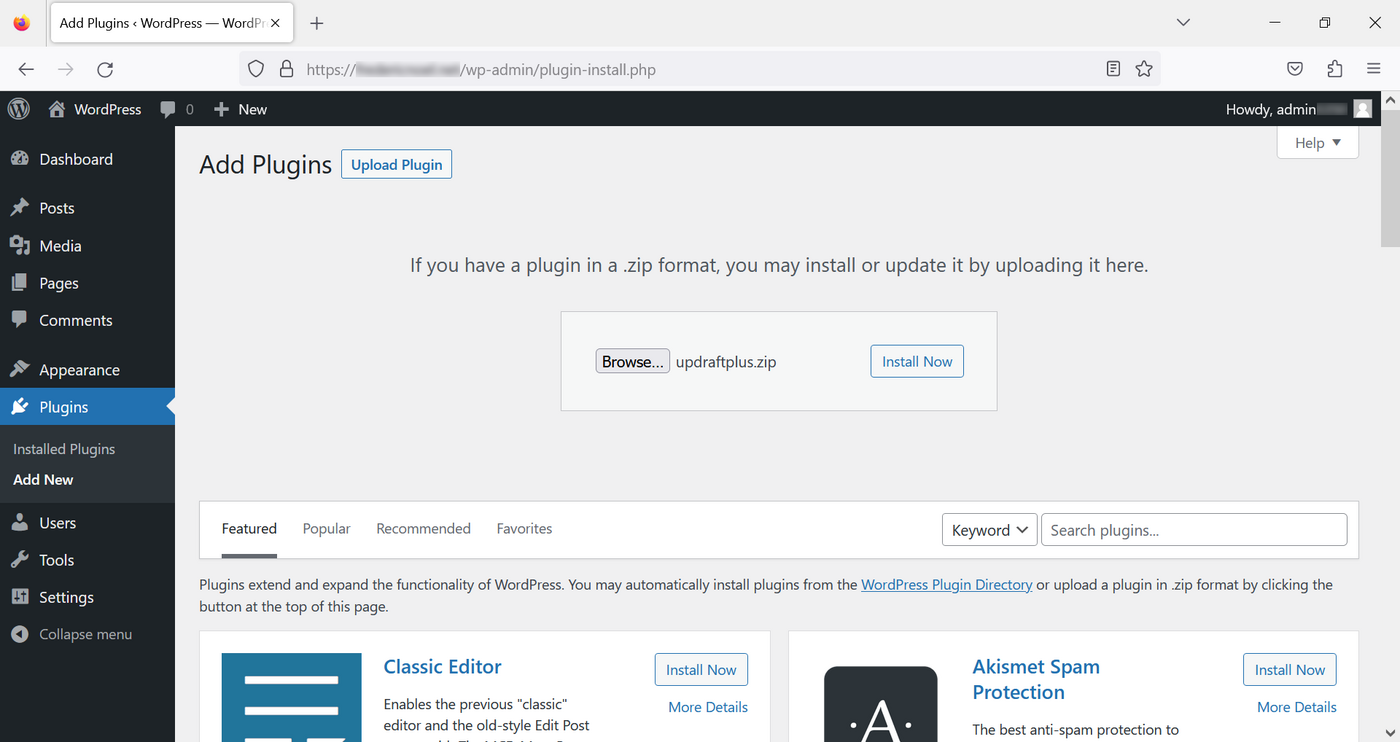
Upload the plugin by clicking the Browse button:
Click Install Now:
After installation, you are prompted to activate the plugin:
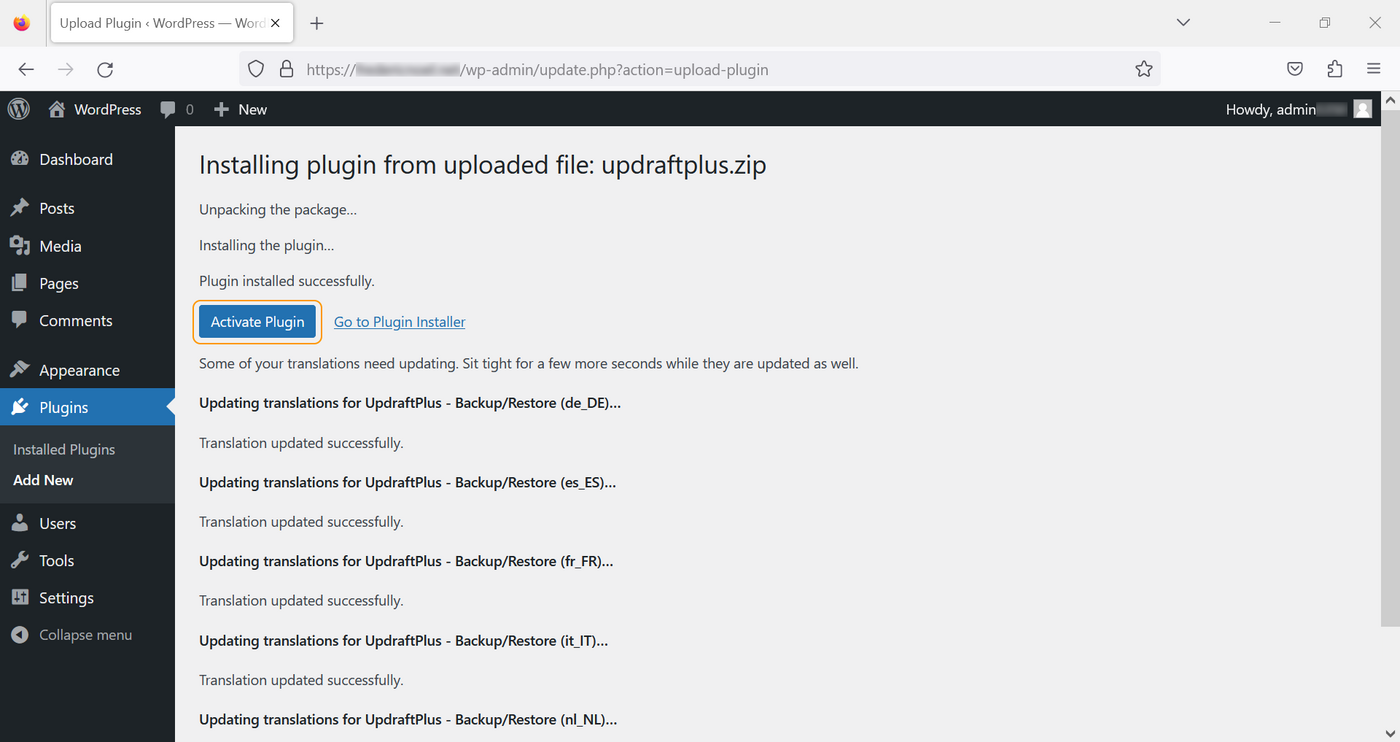
Once you have enabled it, it will appear in the Plugins list:
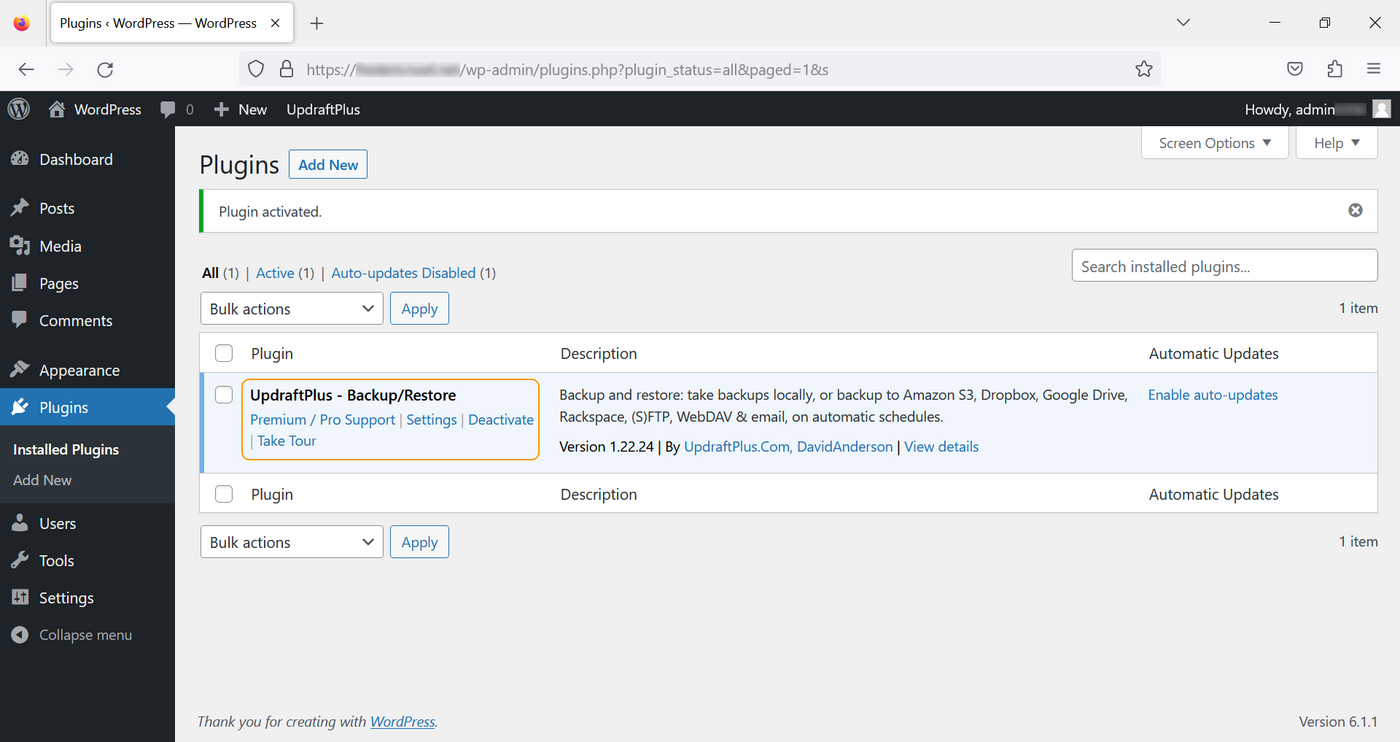
2.2 Configure your backups
On the page mentioned above, click on Settings. Then, on the UpdraftPlus Backup/Restore page, click on the Settings tab:
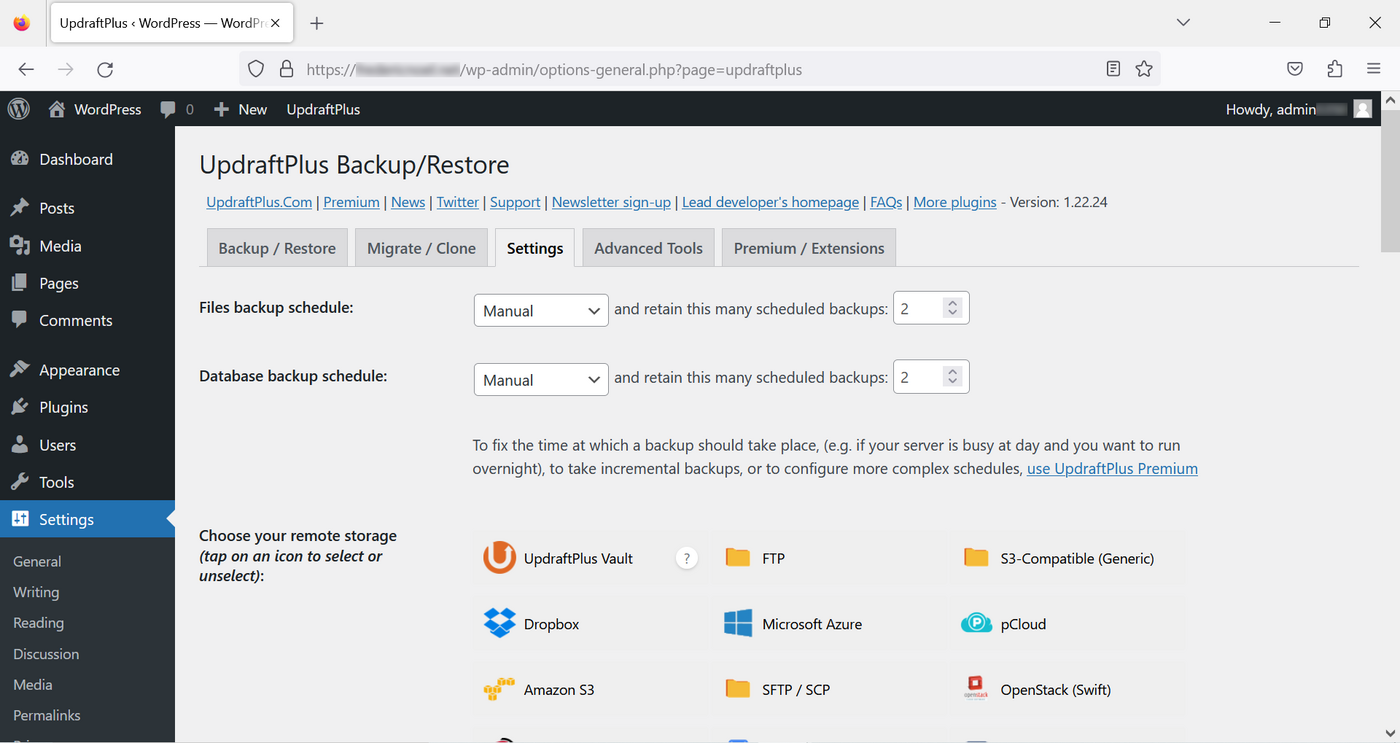
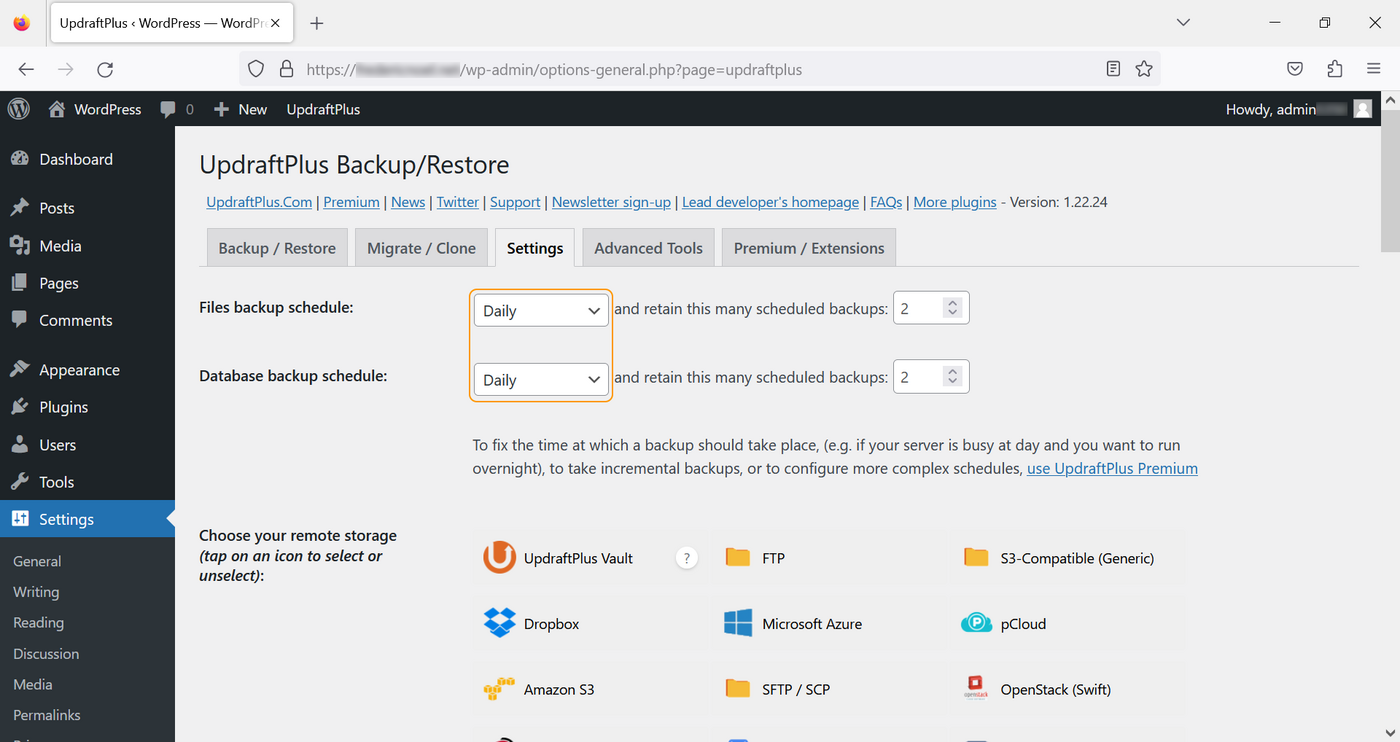
Set the backup schedule to daily for your files and your database:
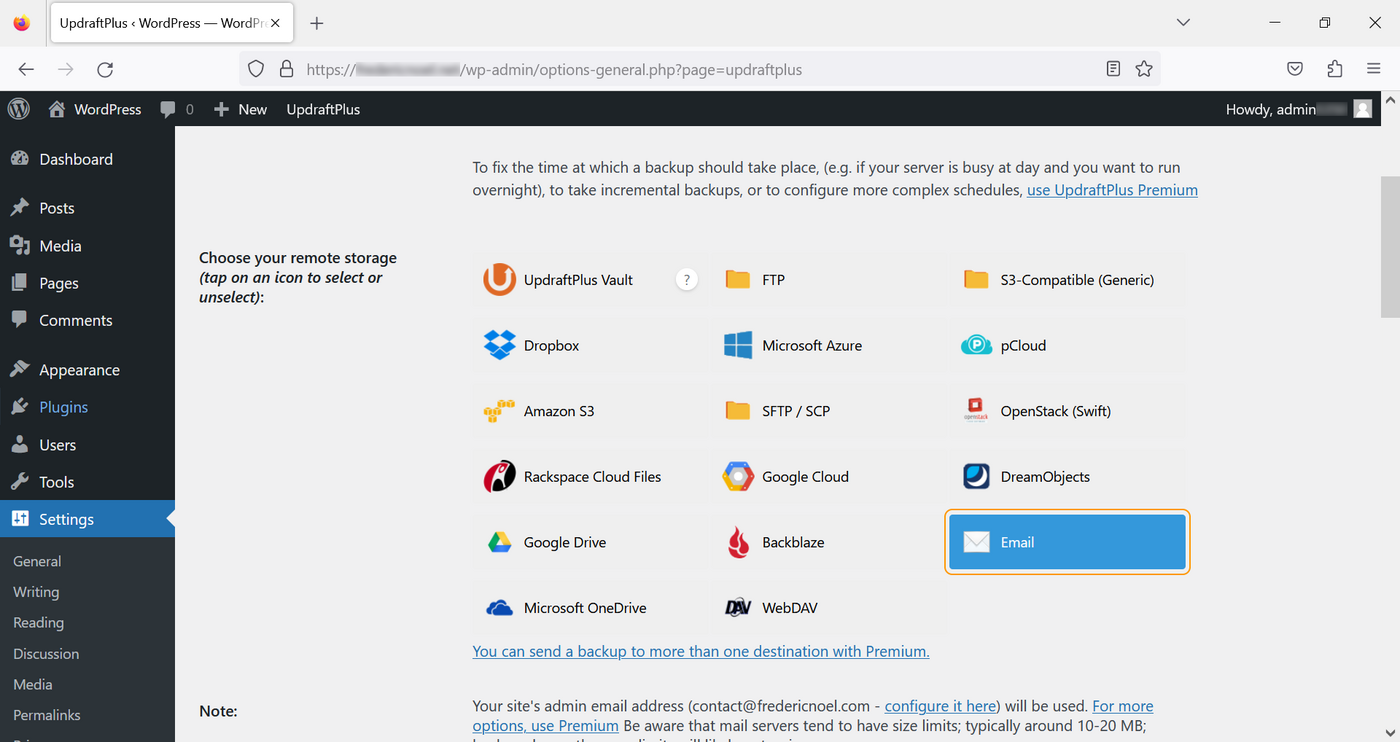
Choose Email backup.
Backups will be sent to the email address of the administrator account (the account you are using):
At the bottom of the page, click Save changes to validate.
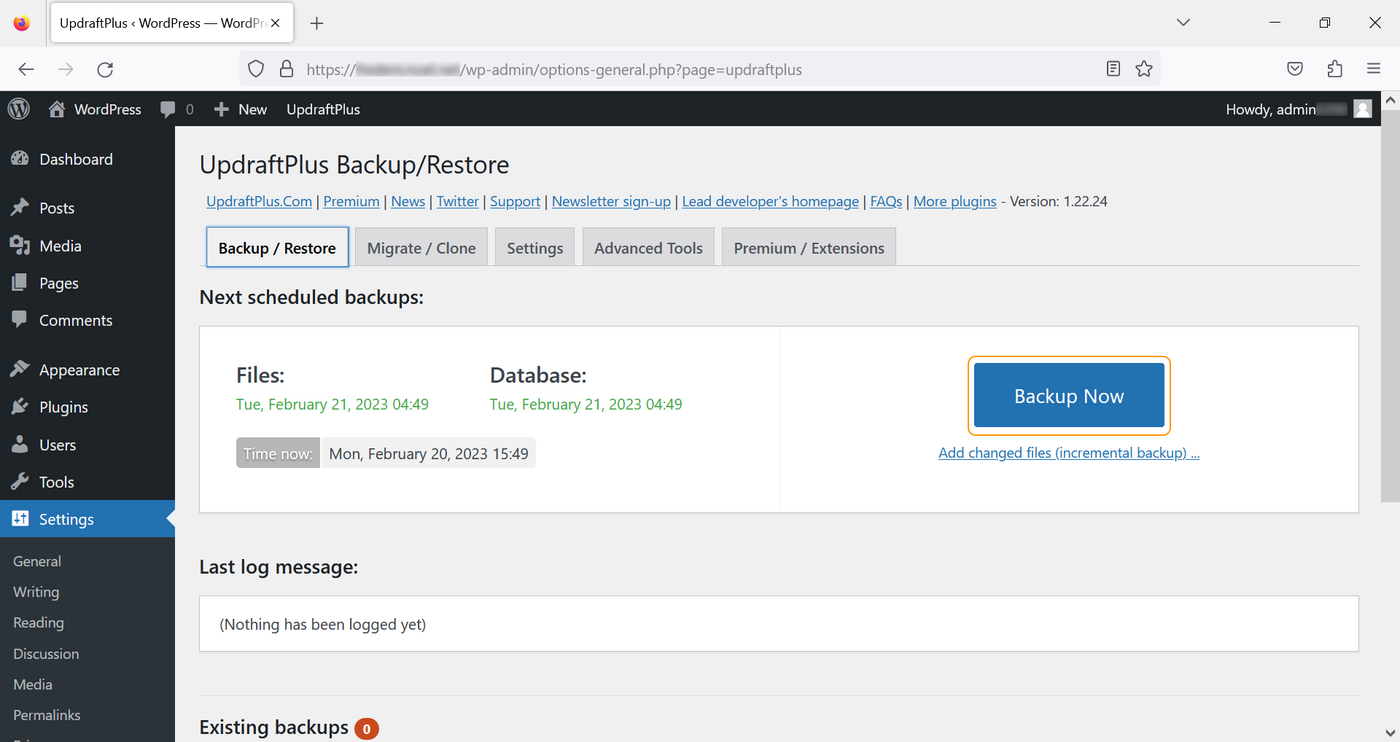
2.3 Perform your first backup
Go back to the Backup/Restore tab and click the Backup Now button:
In the window that pops up, click again on Backup Now:
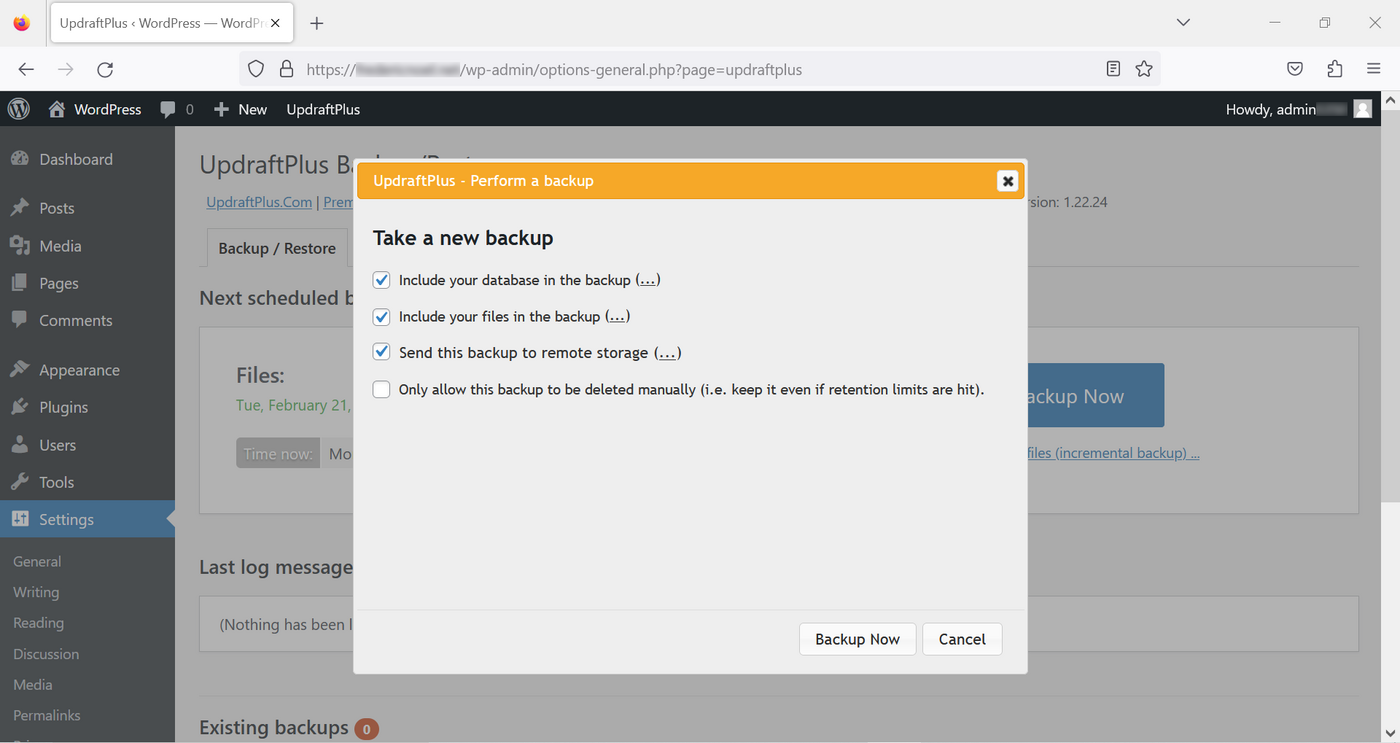
Once your backups are complete, you will receive two emails: one with the content of your WordPress, the other with the database of your website.
If you do not receive any emails, check the email address of the account you are using (in the Accounts section). Also check your spam/junk mail folders.
How to schedule backups
The frequency of your backups is determined by how often you edit your content. A daily backup is useful if you are publishing content to your website every day. Adapt the frequency to match your content updates. You can update it manually (this is the default option). It is also recommended to create a backup before you install or modify themes or plugins.
What to remember
- Integrating a regular backup routine is a good way to secure the content of your website.
- Ensure that your backups are secure.
- Make a backup before you perform an update, and then check that everything is working properly on your website.
By applying these best practices, you will have the possibility to restore the website to a healthy earlier state.
Go further
For specialised services (SEO, development, etc.), contact OVHcloud partners.
If you would like assistance using and configuring your OVHcloud solutions, please refer to our support offers.
Join our community of users.