Publishing a website on your Web Hosting plan
Find how to publish a website on your OVHcloud Web Hosting plan
Objective
There are many different types of website you can put online. Whether you are creating a blog or an online store, sharing your hobby or promoting your work, your OVHcloud Web Hosting plan lets you host the site you want, provided that it is compatible with the configuration of our infrastructures.
Find out how to publish a website on your OVHcloud Web Hosting plan.
Requirements
- an OVHcloud Web Hosting plan
- an email confirming that your Web Hosting plan has been set up
- a domain name which can be used to access your website
- being up-to-date in the payments and renewals of related services (domain name and web hosting plan)
OVHcloud Control Panel Access
- Direct link:
- Navigation path:
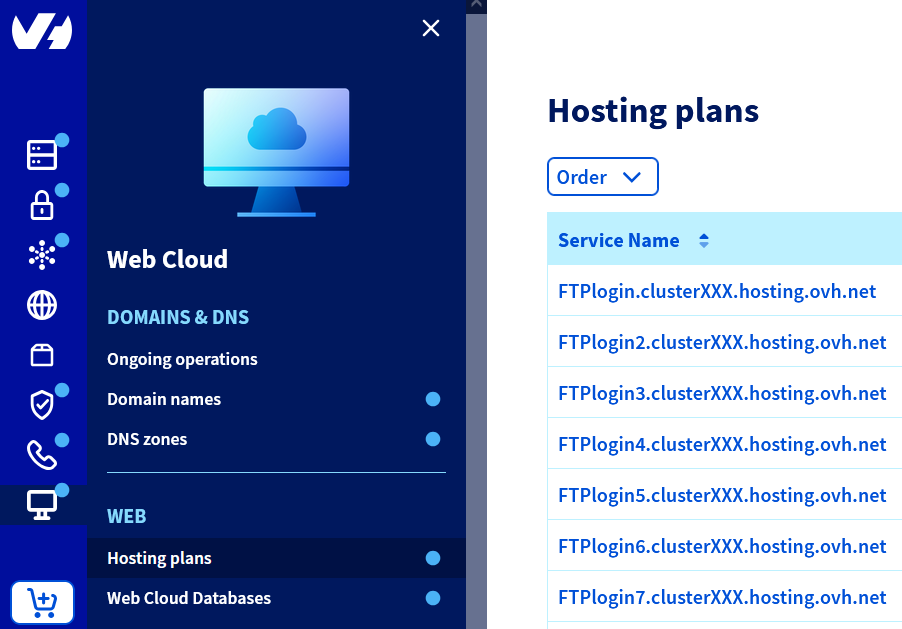
Web Cloud>Hosting plans> Select your web hosting plan
Instructions
1 - Define your project
It is important to have a clear idea of your objective, for your project to succeed. What do you want to do with your website? How will you publish it? There are several ways to get your project off the ground with an OVHcloud Web Hosting plan.
-
Using a turn-key website, with OVHcloud’s one-click modules: This solution offers the benefits of a ready-made structure for your website that you can then customise (themes, text, etc.). We offer four different 1-click modules compatible with our infrastructures that are featured on the OVHcloud webpage "How to create a website". Please also see our guide "Setting up your website with 1-click modules".
-
Using a turn-key website that you install manually: This solution gives you the benefit of a ready-made website structure that you can customise (themes, text, etc.), and you set it up yourself on your OVHcloud Web Hosting plan.
-
Creating your website yourself: This is a more technical solution that requires programming skills, but does give you the option of creating a tailor-made project.
-
Migrating an existing website to OVHcloud: this solution may prove complicated if an interruption in service for the website concerned is not an option. To guide you through this process, you can also refer to the following documentation: Migrating your website and emails to OVHcloud
Once you have considered the possibilities above, you can choose one of two options.
-
If you want to use our 1-click modules, refer to the instructions set out in our guide on Setting up your website with 1-click modules.
-
If you do not want to use our 1-click modules, you can set up your website manually on your Web Hosting plan. You may find the information in our guide helpful, but it is not a substitute for the support of a webmaster.
OVHcloud provides services that you are responsible for with regard to their configuration and management. It is therefore your responsibility to ensure that they function properly.
This guide is designed to help you with common tasks. Nevertheless, we recommend contacting a specialist provider if you encounter any difficulties. We will not be able to assist you. You can find more information in the Go further section of this guide.
2 - Put your website files online in your storage space
There are several steps involved in publishing a website on a hosting space manually. Some of these steps will be optional, depending on which site you install, and there may be multiple ways of carrying them out. For most existing projects, however, there are two major steps involved in publishing a website; the former of these steps is uploading the website’s files to the relevant storage space.
Publication takes place in several sub-steps.
2.1. Gather the files for the website
Make sure you have all the files for the website that you are looking to publish. If you are migrating an existing website, you can obtain these files from your former hosting provider.
2.2. Log in to your storage space
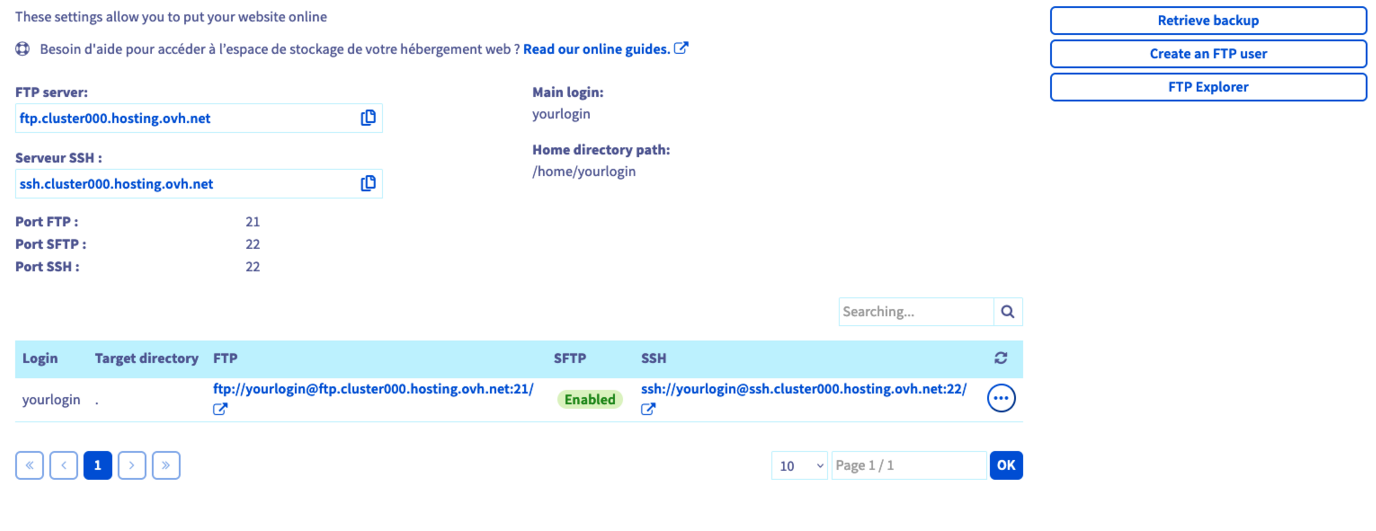
To log in to your storage space, you will need the following:
- an active FTP or SSH user account
- FTP or SSH user account password
- the server address
- the server connection port
These elements were sent to you in the email informing you that your Web Hosting plan has been set up. If you don’t have this information, click on the tabs below to view each of the 4 steps.
Log in to the , then go to the Web Cloud section.
Once you have everything you need, there are two different ways of connecting to your storage space:
-
Using FTP- or SFTP-compatible software. You will need to install a compatible program on your computer (e.g. FileZilla). Since OVHcloud did not create the software package you have installed, please contact the software’s publisher if you are encountering difficulties in using it.
-
Using SSH access. You will need to use commands from a terminal to interact with your storage space. More advanced knowledge and a specific OVHcloud Web Hosting plan are required to use this type of access.
2.3. Upload the files to the storage space
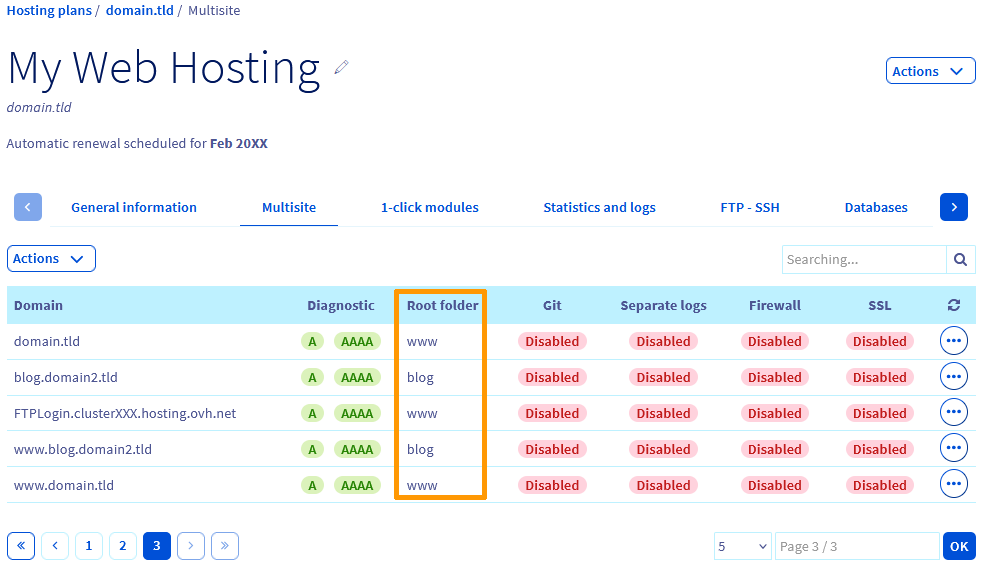
Once connected to your storage space, you only have to upload the files of your website. We recommend that you pay particular attention to the directory in which you are going to upload the files. In a typical use case, the website is located in the "www" folder. However, if you are using your hosting for multiple websites, you have most likely declared multiple websites.
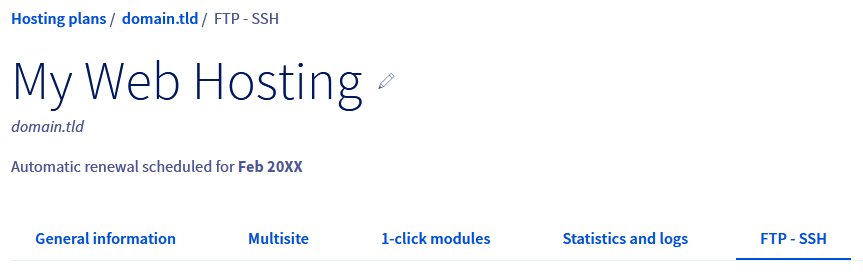
To identify the folder that the website should be published from, go to the Multisite tab in the OVHcloud Control Panel. In the table shown, check the Root folder listed for the domain in question. This is the folder in which you should publish the files for your website.
You may find a file called “index.html” in your storage space. This file may have been created by OVHcloud when your hosting plan was set up, to display a default page on your website. If this is the case, remember to delete this file when you are putting your files online.
An "index.php" file will always take over an "index.html" file. Therefore, when both are present, only "index.php" will be called.
3 - Connect your website to a database
This part is optional if your website does not need to be linked to a database.
Today, virtually all content management systems (CMSs), such as WordPress or Joomla!, use a database for storing dynamic elements, such as comments or articles. As a result, it is essential for your website files and the database to be connected for the website to function correctly. To establish this connection, a configuration file that contains the database’s information is used.
Depending on the website used, this connection may need to be established manually, or via an interface generated by the site itself. You can do this via several sub-steps, some of which may be optional.
3.1. Recover the existing database
If you are migrating an existing website, you can recover your existing database from your former hosting provider. If it is a new website, you can move on to the next step.
3.2. Create the database at OVHcloud
If you already have a database and wish to use it (from an OVHcloud Web Hosting plan or Web Cloud Databases solution), you will need your username and password, the name of the database and the address of the server. You can now go on to the next step.
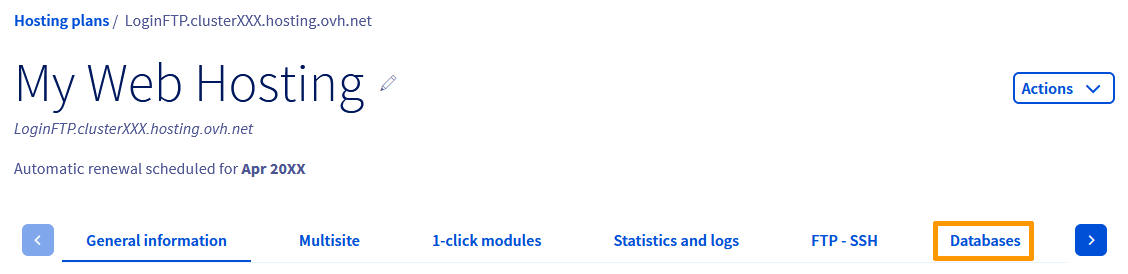
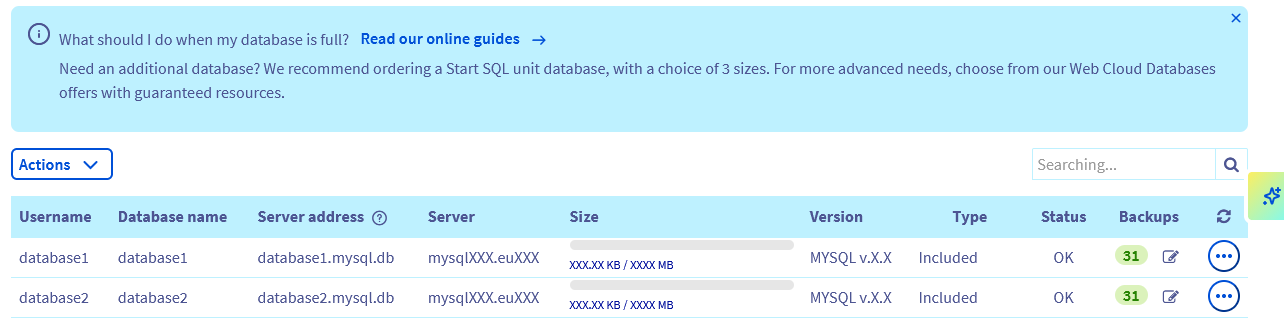
If you want to create a new database with OVHcloud, log in to the , then click on Hosting plans . Select the name of the Hosting plan concerned, and click on the Databases tab.
Now click the Create a database button, or if this button is not visible, click on Actions and then Create a database. Now follow the information shown.
3.3. Import the existing database
If you are migrating an existing website, you can import your existing database into the newly created one. If it is a new website, you can move on to the next step.
There are several methods for importing a database. OVHcloud offers one of these in the OVHcloud Control Panel. Once you are on the list of databases created for your service in your OVHcloud Control Panel, click the ... button to the right of your database, then Import a file.
3.4. Connect your website to the database
Once your database is available and you have uploaded your files to your storage space, all you need to do is connect them. To do this, you need to have the information for connecting to the database: a username, the associated password, the name of the database and the address of the server.
How this connection is established will depend on the type of website you are publishing. This process is dictated by how your website is configured, rather than OVHcloud. As a result, we recommend getting in touch with your website’s publisher or another specialist (such as a service provider) if you need assistance with this procedure.
4 - Access your website
Once you have uploaded your files to your storage space and connected your database to it (if your website uses one), you can now access your website. Your website should display properly in your web browser.
If you observe that it does not display properly, we recommend:
-
Checking the configuration of the domain name. Your domain name’s DNS configuration may be preventing the website you have just uploaded to your OVHcloud Web Hosting plan from displaying correctly. Make sure that the A record currently configured in the DNS zone for your domain corresponds to the IP address of your OVHcloud Web Hosting plan.
-
Making sure that no files are missing. When uploading your files to the OVHcloud Web Hosting plan, you may have forgotten to transfer some files, or an error may have occurred. Be careful with this process, however, to avoid breaking any links between the website’s files and the database (if the website uses one).
-
Checking that there are no errors in the website code. This is definitely the most technical check to carry out, but the files you have uploaded may contain errors, and those errors may prevent the server from displaying your website correctly, or at all.
As a reminder, if you encounter any difficulties publishing your website, we recommend contacting a specialised provider and/or the publisher of the service (the CMS you have set up, for example).
Go further
Migrating your website and emails to OVHcloud
Setting up your website with 1-click modules
Modifying an FTP user password
For specialised services (SEO, development, etc.), contact OVHcloud partners.
If you would like assistance using and configuring your OVHcloud solutions, please refer to our support offers.
Join our community of users.