
Creating your first OVHcloud Public Cloud project
Find out how to create your first Public Cloud project via the OVHcloud Control Panel
Objective
Creating a project is the first step in deploying Public Cloud instances.
This guide will take you through the steps of creating your first Public Cloud project.
Requirements
OVHcloud Control Panel Access
- Direct link:
- Navigation path:
Public Cloud> Select your project
Instructions
Project creation
Once you have read and understood the terms of the contracts, tick the corresponding box, then click Discover the Public Cloud universe.
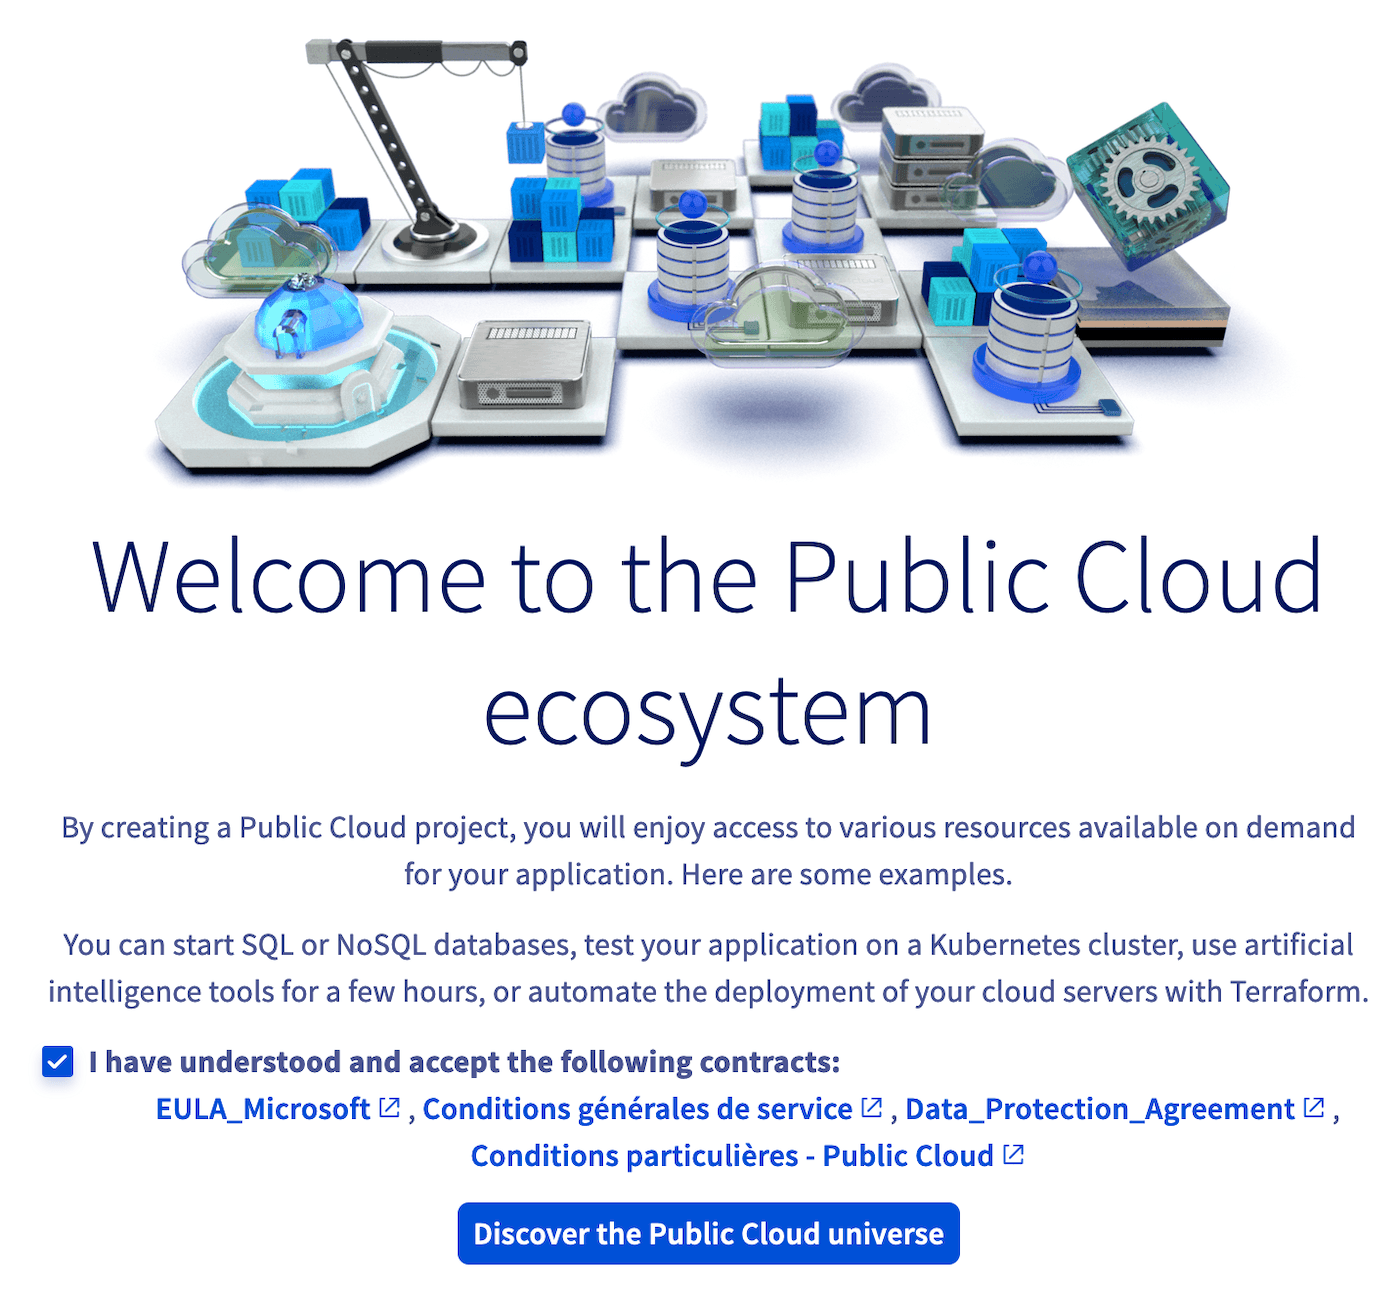
- If you do not have a valid payment method in your OVHcloud account yet, the process of creating the Public Cloud project begins. Your project will then be created in discovery mode.
- If you have already registered a payment method in your OVHcloud account, you will need to name your Public Cloud project first, then select your payment method.
Once the creation process is complete, your new Public Cloud project will be visible in the top left-hand corner of the Public Cloud section of the OVHcloud Control Panel:
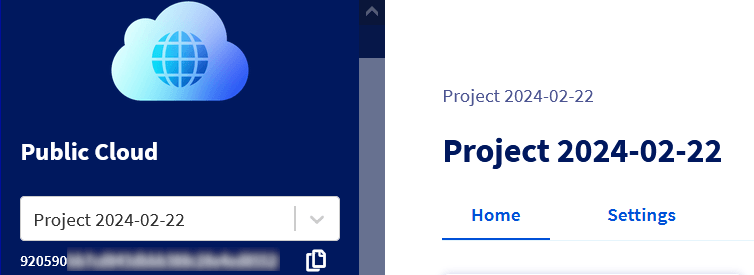
You now have access to the entire OVHcloud Public Cloud ecosystem. To discover this new interface, read our guide How to use the Public Cloud interface .
Discovery Mode
If this is your first Public Cloud project and you have not entered a payment method in your account, your Public Cloud project is then restricted to the discovery mode of the OVHcloud Control Panel. This means that you can browse and discover Public Cloud products, but you cannot yet create resources such as instances.
To harness the full potential of the Public Cloud and start your first resources, click Activate project on your project’s homepage.
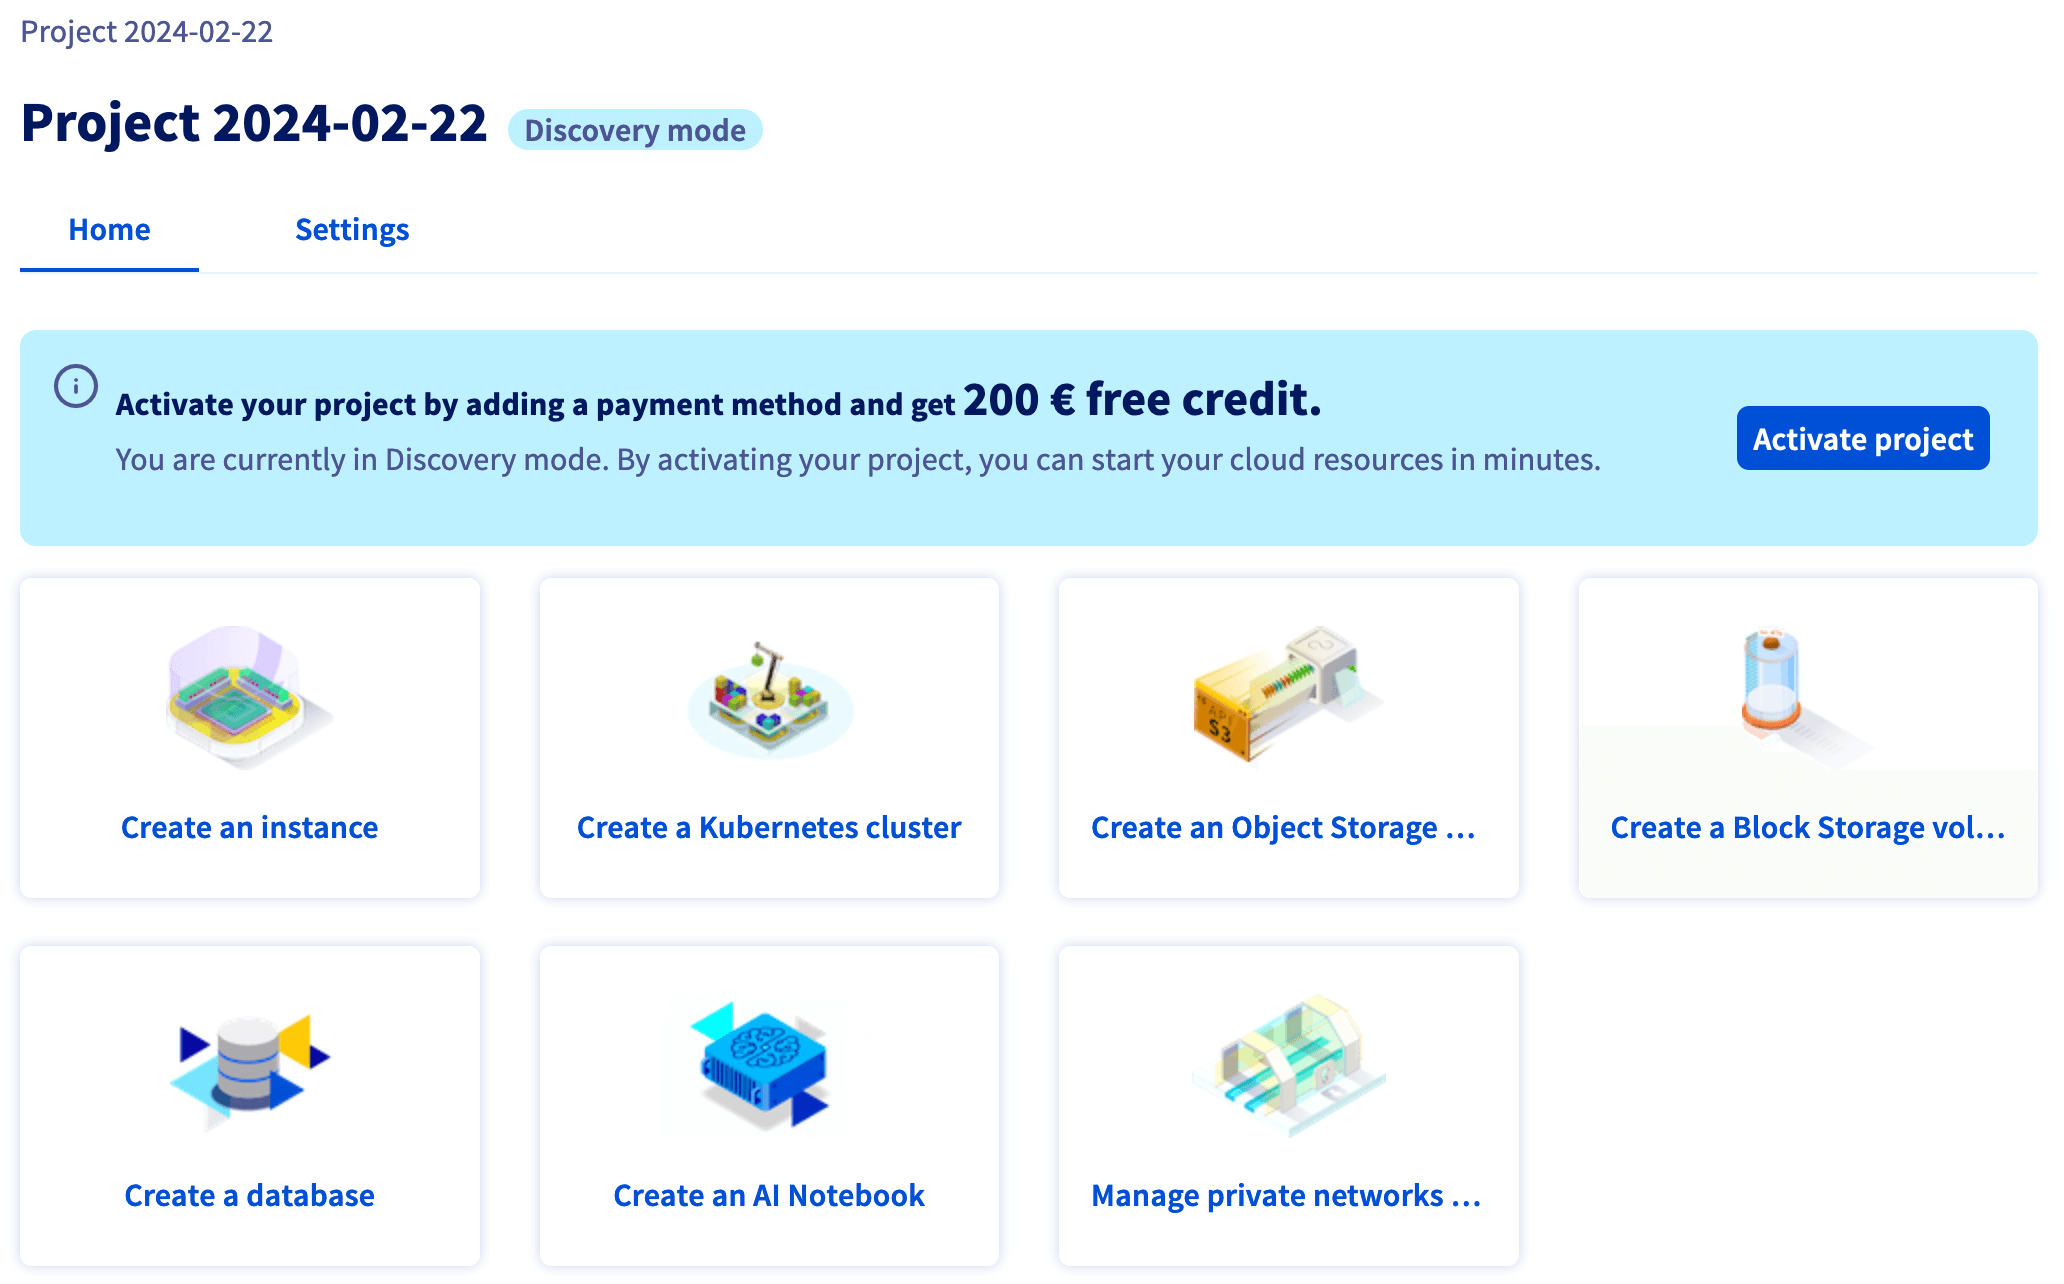
Project activation and free trial
When you click Activate project from discovery mode and register a payment method, a £175 free trial credit is applied if you are eligible.
Free trial conditions
- The credit is activated at the time of project activation and is valid for one month.
- Eligible: Any OVHcloud customer creating their first Public Cloud project, even if they already have an OVHcloud account.
- Not eligible: Customers with a current or past Public Cloud project, or who have already used a free trial credit.
Learn more on the OVHcloud Public Cloud free trial page.
Creating additional projects via Terraform
Once you have created your first Public Cloud project and validated a payment method, you can create further projects programmatically using the ovh_cloud_project Terraform resource. Refer to the How to use Terraform guide for details.
There is currently no dedicated OVHcloud API endpoint or CLI command for project creation.
Go further
- How to create a Public Cloud instance and connect to it
- Changing project contacts
- Delegating projects
- Deleting a Public Cloud project
- Information regarding Public Cloud billing options
For training or technical assistance implementing our solutions, contact your sales representative or visit our Professional Services page to request a quote and have your project analysed by our experts.
Join our community of users.