
Cloud Disk Array - IP ACL creation
This guide shows you how to create an IP ACL to allow access to your Ceph cluster
Objective
This guide shows you how to create an IP ACL to allow access to your Ceph cluster, using the OVHcloud Control Panel or the OVHcloud API.
Requirements
- A Cloud Disk Array solution
OVHcloud Control Panel Access
- Direct link:
- Navigation path:
Bare Metal Cloud>Cloud Disk Array> Select your service
Instructions
Using the OVHcloud Control Panel is the easiest way to create an IP ACL.
Using the OVHcloud Control Panel
On your Cloud Disk Array service page, go to the IP Access Control tab. By default, there is no ACL.
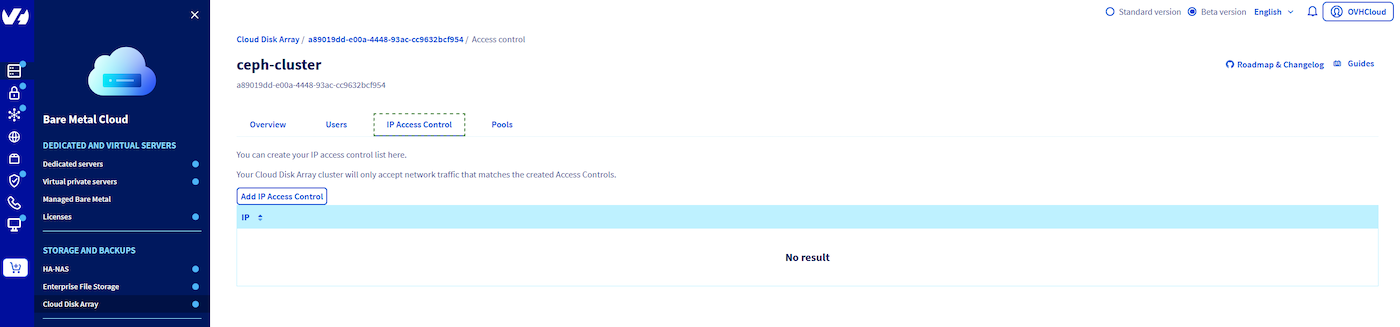
Get your ip address:
Add your IP.
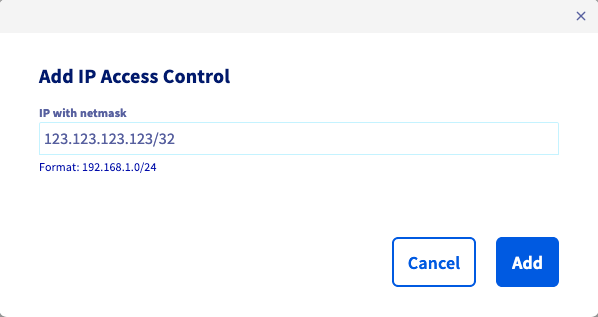
Then create the IP ACL.
After the pool creation, you can see that the cluster status has changed because the ACL is being created.
Using the API
If you are not familiar with the OVHcloud API, read our First Steps with the OVHcloud API guide.
Use the following API call:
serviceName is the fsid of your cluster.
You can check ACL creation by listing ACL:
Example:
Go further
Visit our dedicated Discord channel: https://discord.gg/ovhcloud. Ask questions, provide feedback and interact directly with the team that builds our Storage and Backup services.
For training or technical assistance implementing our solutions, contact your sales representative or visit our Professional Services page to request a quote and have your project analysed by our experts.
Join our community of users.