Deploy a Counter-Strike 2 server on the Game Panel
Deploy a Counter-Strike 2 server using the OVHcloud Game Panel with automated deployment, port configuration, and console connect steps.
Objective
The OVHcloud Game Panel lets you deploy a Counter-Strike 2 (CS2) server with automated installation and port configuration.
This guide explains how to deploy and connect to a Counter-Strike 2 server on the OVHcloud Game Panel.
Requirements
- A VPS or a dedicated server in your OVHcloud account with the Game Panel feature enabled.
- Access to the Game Panel. Refer to Log in to the Game Panel.
Instructions
Step 1 — Access the Game Panel
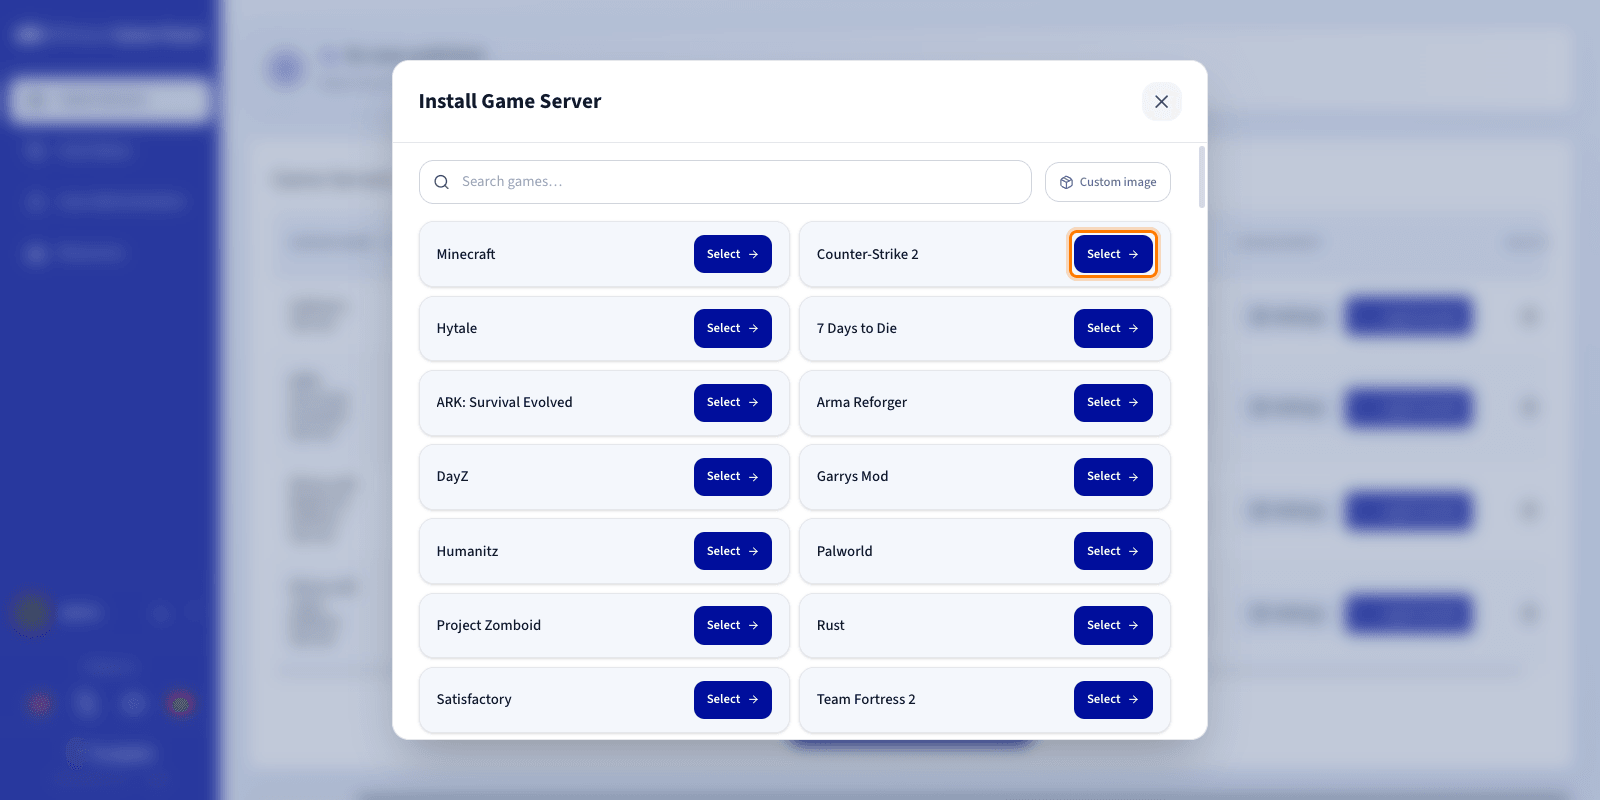
Log in to your OVHcloud Game Panel. From the left-hand menu, go to the Game Servers section and click Add Game Server.
Step 2 — Create a Counter-Strike 2 server
Select Counter-Strike 2 from the game list. A configuration window opens.
Step 3 — Configure the Counter-Strike 2 server
Enter a Server Name (for example, CS2 Competitive Server). The required network ports are configured automatically during installation.
You can expand Advanced settings to adjust options such as ports binding and resource limits. The defaults are suitable for most game servers.
Step 4 — Launch the installation
Click Install. The deployment starts automatically. Wait a few minutes while the image downloads and the server installs.
Step 5 — Monitor the installation
Click Log/Console to follow progress in real time. The status shows Installing.
Step 6 — Verify the server is running
Check that the server status displays Running and that CPU/RAM activity is visible.
Available actions:
Log/Console: Open the console to monitor startup and check logs if there are any issues.Settings>Game Config: Access game settings.

Step 7 — Confirm installation is complete
Once installation finishes, the status changes to Running and the server is ready to use.
Step 8 — Retrieve connection information
In the Connection column of the Game Servers list, copy your server's IP address and port.
Step 9 — Join your server in Counter-Strike 2
In Counter-Strike 2:
-
Enable the console in the game settings (Settings > Game > Enable Developer Console).
-
Open the console (
~). -
Type the following command, using the IP address and port from the Connection column:
Best practices
- Configure permissions via
User Administration. - Perform regular backups.
- Customise your game settings.
To go further, add mods or competitive configurations, adjust tickrate and performance settings, or restrict access with a password or whitelist.
Go further
Join our community of users.