Resolving a “Site not installed” error
Find out how to resolve a “Site not installed” error
Objective
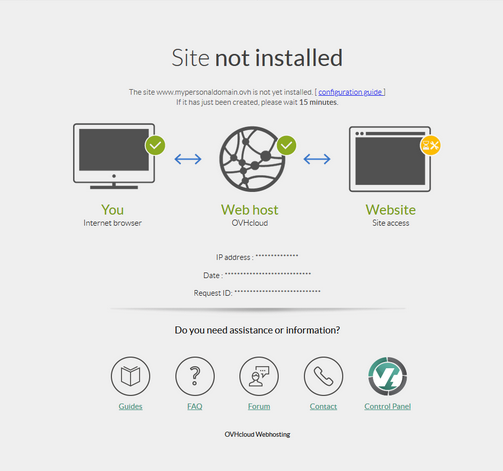
You may see the error page “Site not installed” displayed on your web browser, particularly when your website is first installed.
This guide explains how to identify and resolve the "Site not installed" error page.
OVHcloud provides services for which you are responsible with regard to their configuration and management. It is therefore your responsibility to ensure that they function correctly.
This guide is designed to help you with common tasks. Nevertheless, we recommend contacting a specialist provider or reach out to the OVHcloud community if you encounter any difficulties. We will not be able to assist you. You can find more information in the Go further section of this guide.
Requirements
- An OVHcloud web hosting plan
- Administrative access to the DNS zone your domain name is attached to.
OVHcloud Control Panel Access
- Direct link:
- Navigation path:
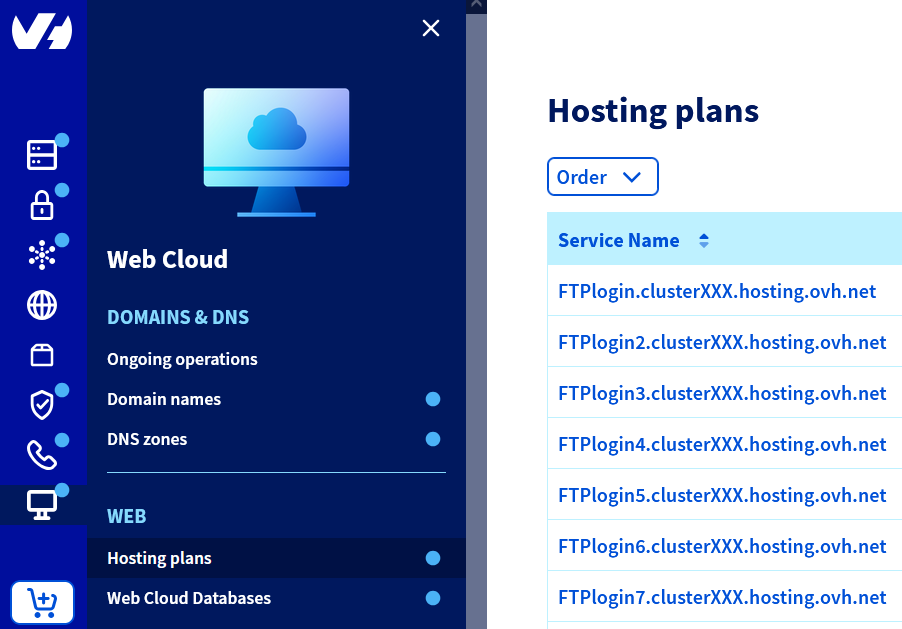
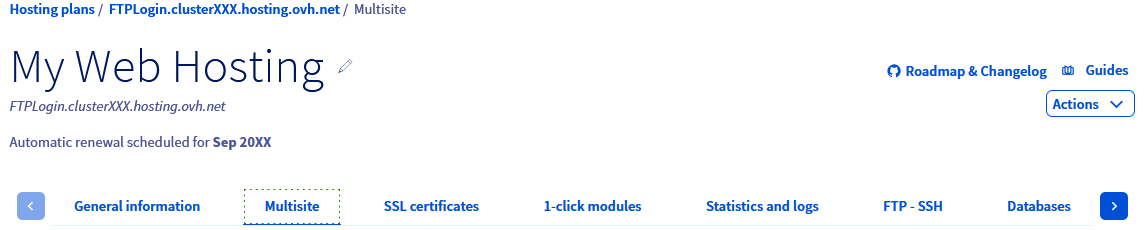
Web Cloud>Hosting plans> Select your web hosting plan
Instructions
The “Site not installed” page appears for two reasons:
- 1: Your domain name or subdomain is not declared correctly on your web hosting plan.
- 2: Your domain name is not linked to the IP address of your web hosting plan..
The following steps will allow you to correct the “Site not installed” error in both cases.
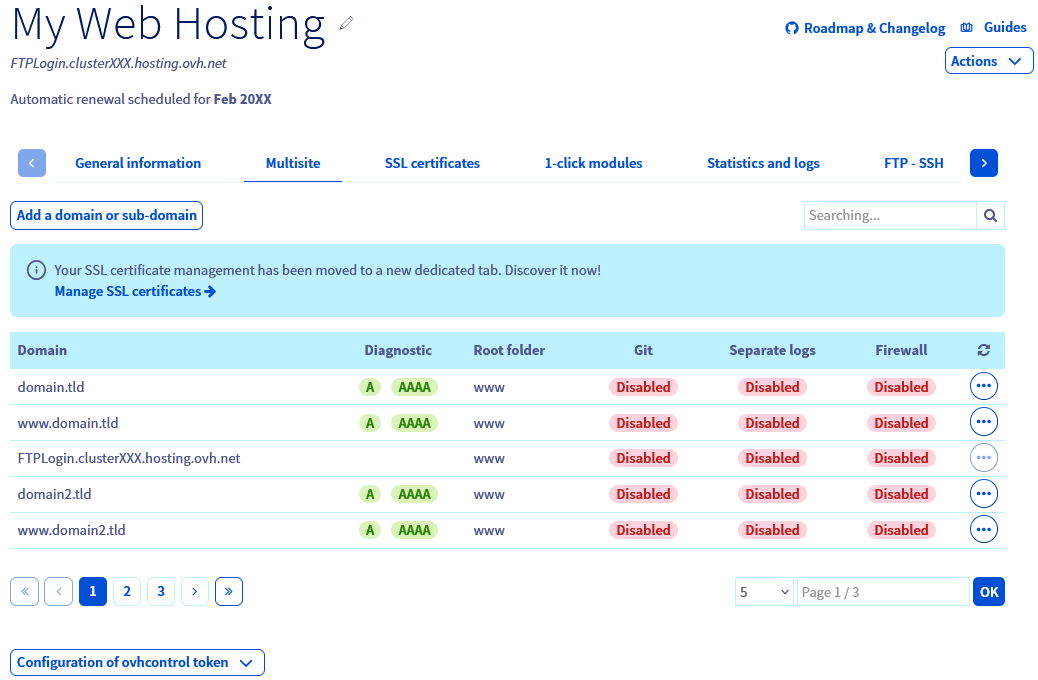
1 - Verify the declaration of your domain name or subdomain on your web hosting plan
Click on the tabs below to view each of the 4 steps in succession.
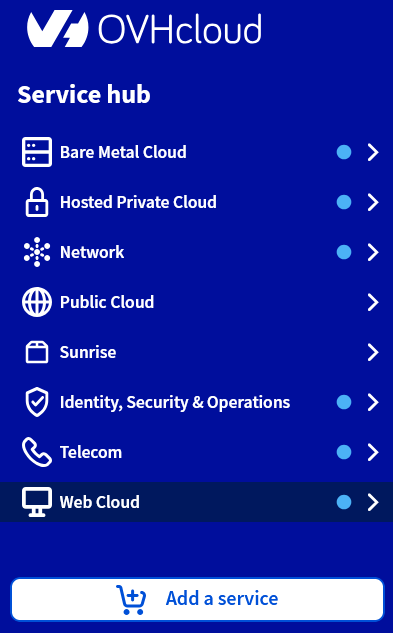
Log in to the , then go to the Web Cloud section.
2 - Check the IP pointing in your domain name’s active DNS zone
This step involves checking that your domain or subdomain points to your Web Hosting plan’s IP address from its active DNS zone.
To find out more about DNS, visit the following pages:
2.1 Identify the IP address of your OVHcloud web hosting plan
Click on the tabs below to view each of the 3 steps in turn.
Log in to the , then go to the Web Cloud section.
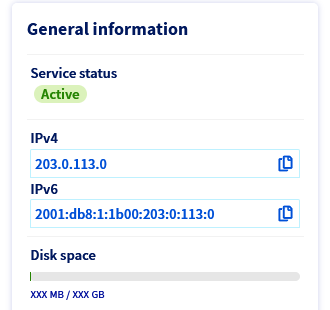
You can also find the IP address associated with your Web Hosting plan in our guide “Web Hosting - List of IP addresses by cluster”.
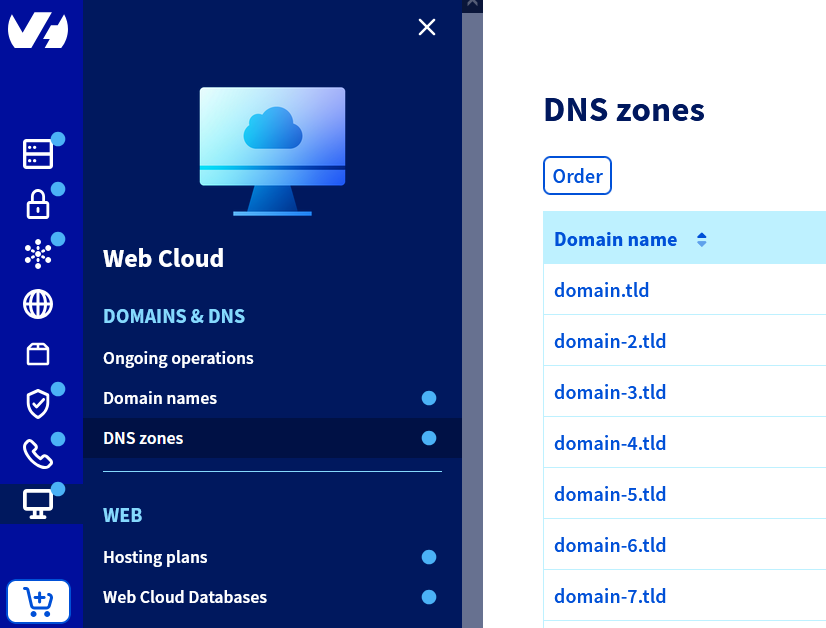
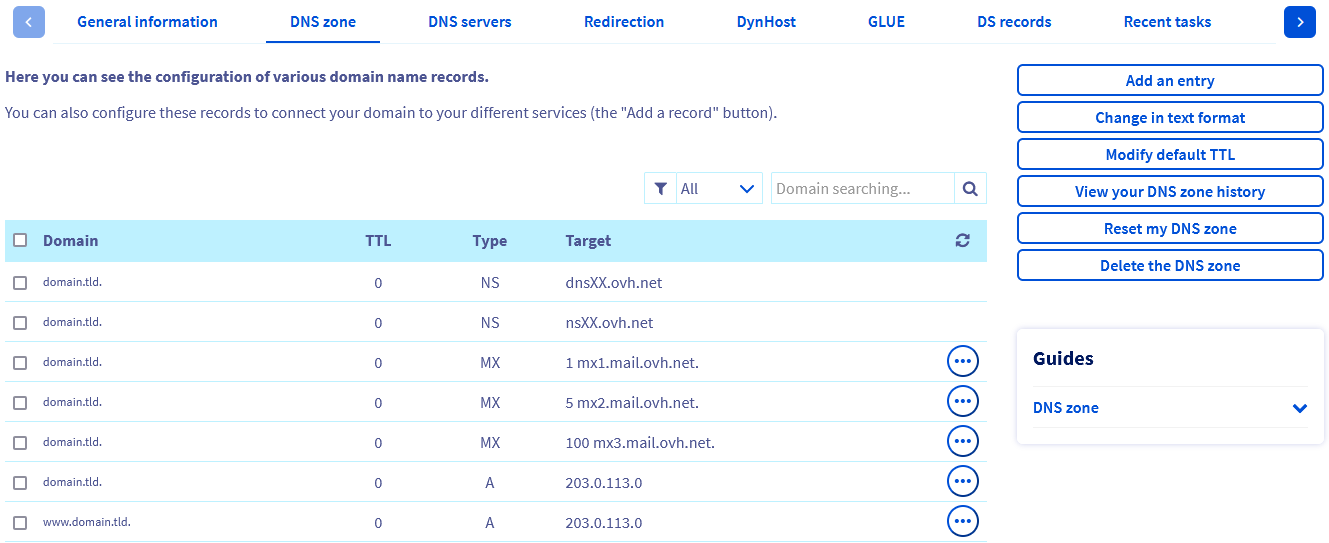
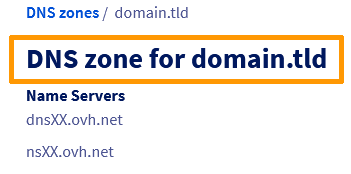
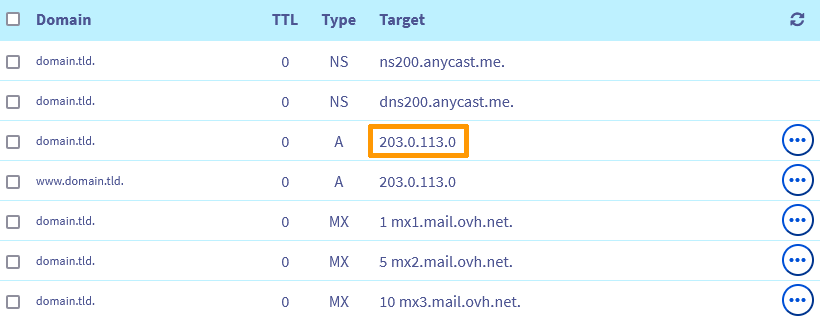
2.2 Verify the IP address recorded in your domain name’s active DNS zone
You will now need to check that your Web Hosting plan’s IP address appears in your domain name’s active DNS zone.
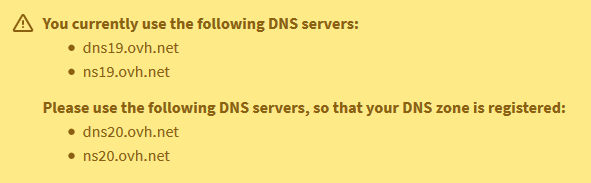
Before you continue, whenever a change occurs in a domain name’s active DNS zone, you may need to wait between 4 and 24 hours to update the information on the DNS network.
If you modify the DNS servers associated with your domain name directly, this period can be up to 48 hours maximum.
To do this, click on the tabs below to display each of the 4 steps in succession.
Log in to the , then go to the Web Cloud section.
Go further
List of IP addresses for clusters and web hosting
Hosting multiple websites on your web hosting plan
Modify the DNS servers of an OVHcloud domain name
For specialised services (SEO, development, etc.), contact OVHcloud partners.
If you would like assistance using and configuring your OVHcloud solutions, please refer to our support offers.
Join our community of users.