
Change user rights
This guide shows you how to change Ceph user rights using the web interface.
Using web interface
Using web interface is the easiest way to change user rights.
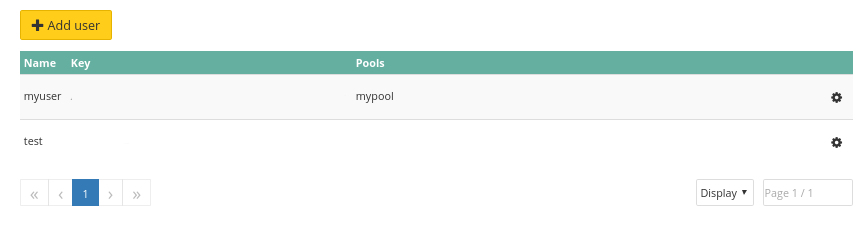
You must first select the action icon to the right of the user.
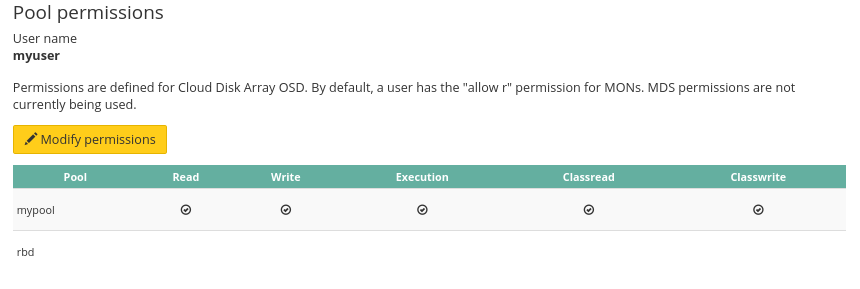
It will list current rights, by default there is no rights.
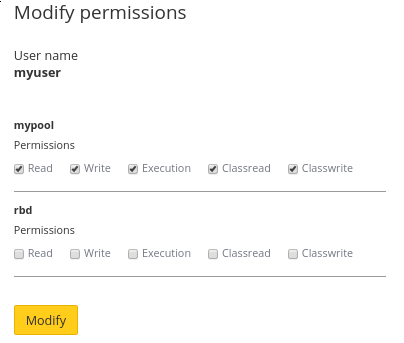
Let's chose some rights for our user.
As usual cluster status and task list changes.
Using API
Result example:
Go further
Visit our dedicated Discord channel: https://discord.gg/ovhcloud. Ask questions, provide feedback and interact directly with the team that builds our Storage and Backup services.
For training or technical assistance implementing our solutions, contact your sales representative or visit our Professional Services page to request a quote and have your project analysed by our experts.
Join our community of users.