How to manage your 1-click module
Find out how to manage your 1-click module in the OVHcloud Control Panel
Objective
The 1-click modules are a quick and easy way to install an online website creation software (commonly called "CMS"). OVHcloud offers the most well-known of those solutions: WordPress, PrestaShop, Drupal and Joomla!.
Find out how to manage your 1-click module through the OVHcloud Control Panel.
OVHcloud is providing you with services for which you are responsible, with regard to their configuration and management. You are therefore responsible for ensuring they function correctly.
This guide is designed to assist you in common tasks as much as possible. Nevertheless, we recommend that you contact a specialist service provider and/or discuss the issue with our community if you face difficulties or doubts. You can find more information in the Go further section of this guide.
Requirements
- An OVHcloud Web Hosting plan that allows you to install a 1-click module (only free hosting does not provide this feature)
- A 1-click module on your Web Hosting plan (If you did not install one yet, follow the instructions in our guide "Setting up your website with a 1-click module (CMS)")
OVHcloud Control Panel Access
- Direct link:
- Navigation path:
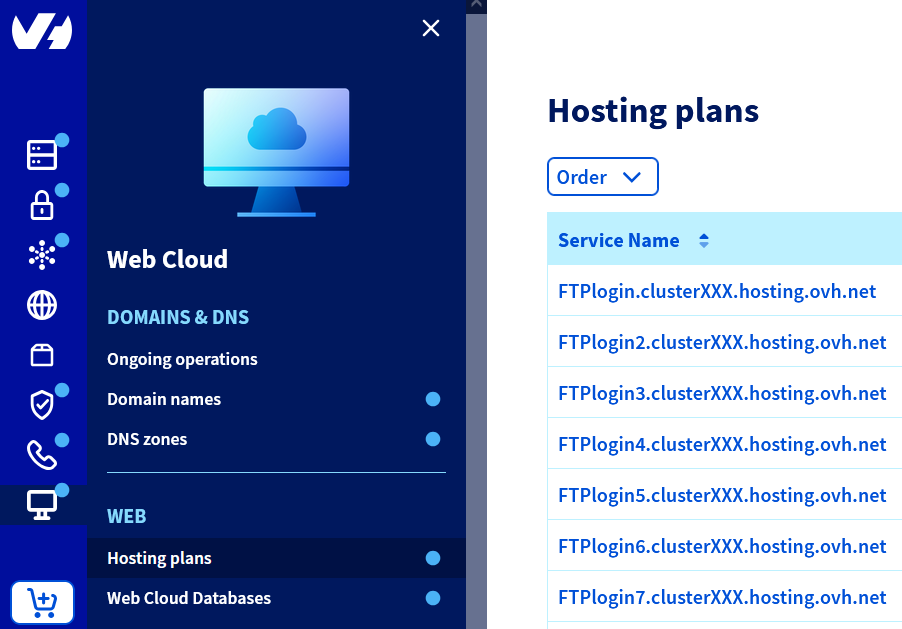
Web Cloud>Hosting plans> Select your web hosting plan
Instructions
Access your website
Click on the tabs below to display each of the 2 steps in turn.
Access the page, then select your web hosting plan.
Click on the 1-click modules tab.
If your website does not display properly after this, please refer to the OVHcloud Web Hosting guides in the Troubleshooting section.
Access the administrator interface
Click on the tabs below to display each of the 2 steps in turn.
Access the page, then select your web hosting plan.
Click on the 1-click modules tab.
Find the administrator login of your module
Click on the tabs below to display each of the 3 steps in turn.
Access the page, then select your web hosting plan.
Change your module password
See the official documentation for the different CMSs offered for installation on our shared hosting plans:
- WordPress: https://wordpress.org/support/article/resetting-your-password/
- Joomla!: https://docs.joomla.org/How_do_you_recover_or_reset_your_admin_password%3F
- Drupal: The publisher of this software does not currently offer any documentation for changing the password for accessing the Drupal administration interface. Please contact the publisher directly on this subject. For more information, see the official page drupal.org.
- PrestaShop: The software publisher does not currently offer any documentation for changing the password for accessing the PrestaShop administration interface. Please contact the publisher directly on this subject. For more information, see the official PrestaShop page.
You can also change the password for accessing your CMS admin interface directly from your database.
However, we strongly recommend using the documentation provided by your CMS publisher, or contacting a specialist provider if you encounter any difficulties. We will not be able to assist you. You can find more information in the Go further section of this guide.
Delete your module
Backing up your data is essential to securing your websites. We recommend downloading your data backup regularly, and before any deletion, on a local device, such as a USB drive or external hard drive, following the instructions in our guide "Exporting a website".
1 - Identify the database linked to your module
To delete your 1-click module, you must first identify its database with certainty.
Click on the tabs below to display each of the 3 steps in turn.
Access the page, then select your web hosting plan.
Click on the Databases tab.
Then log on to the FTP space of your hosting plan. Open the Root folder found earlier in the Multisite tab and browse to the configuration file for your module:
- WordPress: "wp-config.php" (the database name appears as "DB_NAME").
- Joomla!: "configuration.php" (the database name appears under "public $db").
- Drupal: "settings.php" (Go to the "sites" folder then open the "default" directory. The database name appears under the name "database").
- PrestaShop: "parameters.php" (To find it, go to the "app" folder, then click on "config". The name of your module's database will appear as "database_name").
2 - Back up your data
To back up your website, follow the instructions of our guide "Exporting a website" to retrieve its files from both the FTP space on your hosting plan and its database.
3 - Delete your module
Deleting your 1-click module and its database will also delete all of their backups. Deleted data cannot be retrieved later on.
Click on the tabs below to display each of the 3 steps in turn.
Access the page, then select your web hosting plan.
Deleting your 1-click module will not automatically delete its database. If you launch the installation of a new CMS without having previously deleted the database from the previous one and if your hosting plan does not allow the automatic creation of another database, the message "An error has occurred loading the information (You need at least one free database)" will appear in your Control Panel.
If you have already reached the maximum number of databases allowed by your Web Hosting plan, you will need to delete the database identified in step 1 BEFORE creating a new 1-click module.
To complete the removal of your module, click on the tabs below to display each of the 3 steps in turn.
Access the page, then select your web hosting plan.
Click on the Databases tab.
Best practices
Secure your website by following the instructions in our guide "How to secure your website?".
Add CAPTCHA-type verification tools to the forms on your website.
Do not install plugins or templates that have not been recommended by the official website or the community of your CMS:
Go further
Resolving the most common 1-click module errors
For specialised services (SEO, development, etc.), contact OVHcloud partners.
If you would like assistance using and configuring your OVHcloud solutions, please refer to our support offers.
Join our community of users.