Managing your Load Balancer service via the Control Panel
An overview of the main features, and how to get started using the Load Balancer service from the Control Panel
Objective
This guide is designed to help you get started using the Load Balancer, by introducing the main features of the solution.
Requirements
- An OVHcloud Load balancer service in your OVHcloud account.
- Being logged in to your
OVHcloud Control Panel Access
- Direct link:
- Navigation path:
Network>Load Balancer> Select your service
Instructions
Managing your Load Balancer via the Control Panel
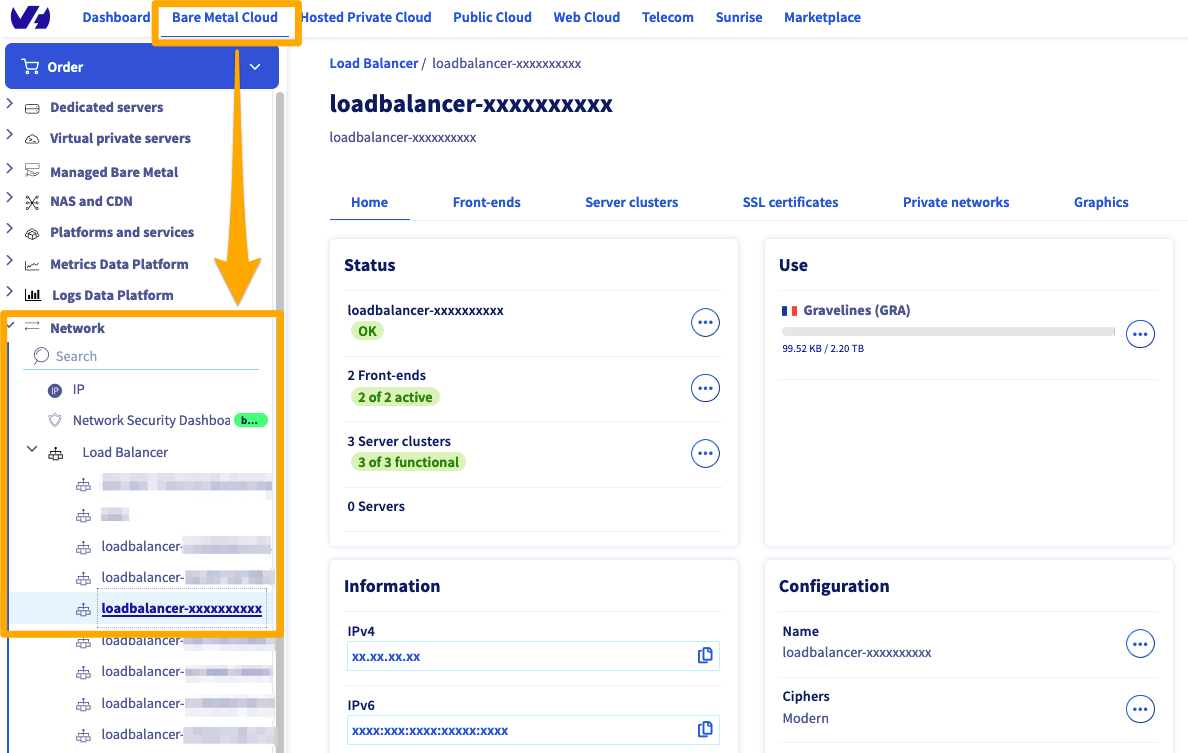
On this page, you will see the following information:
To add front-ends or Server clusters, simply click on their respective buttons. A form will then help you configure each part of your solution.
Managing front-ends
To add front-ends, simply go to the Front-ends section, and click Add a front-end. The following menu will then appear:
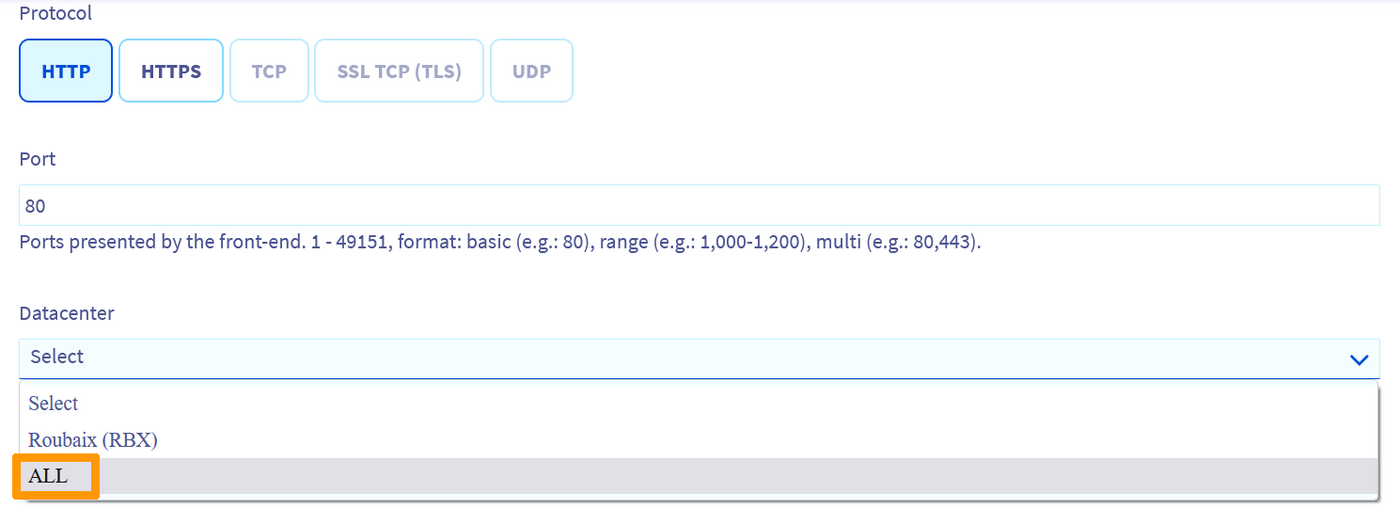
Details of front-end parts:
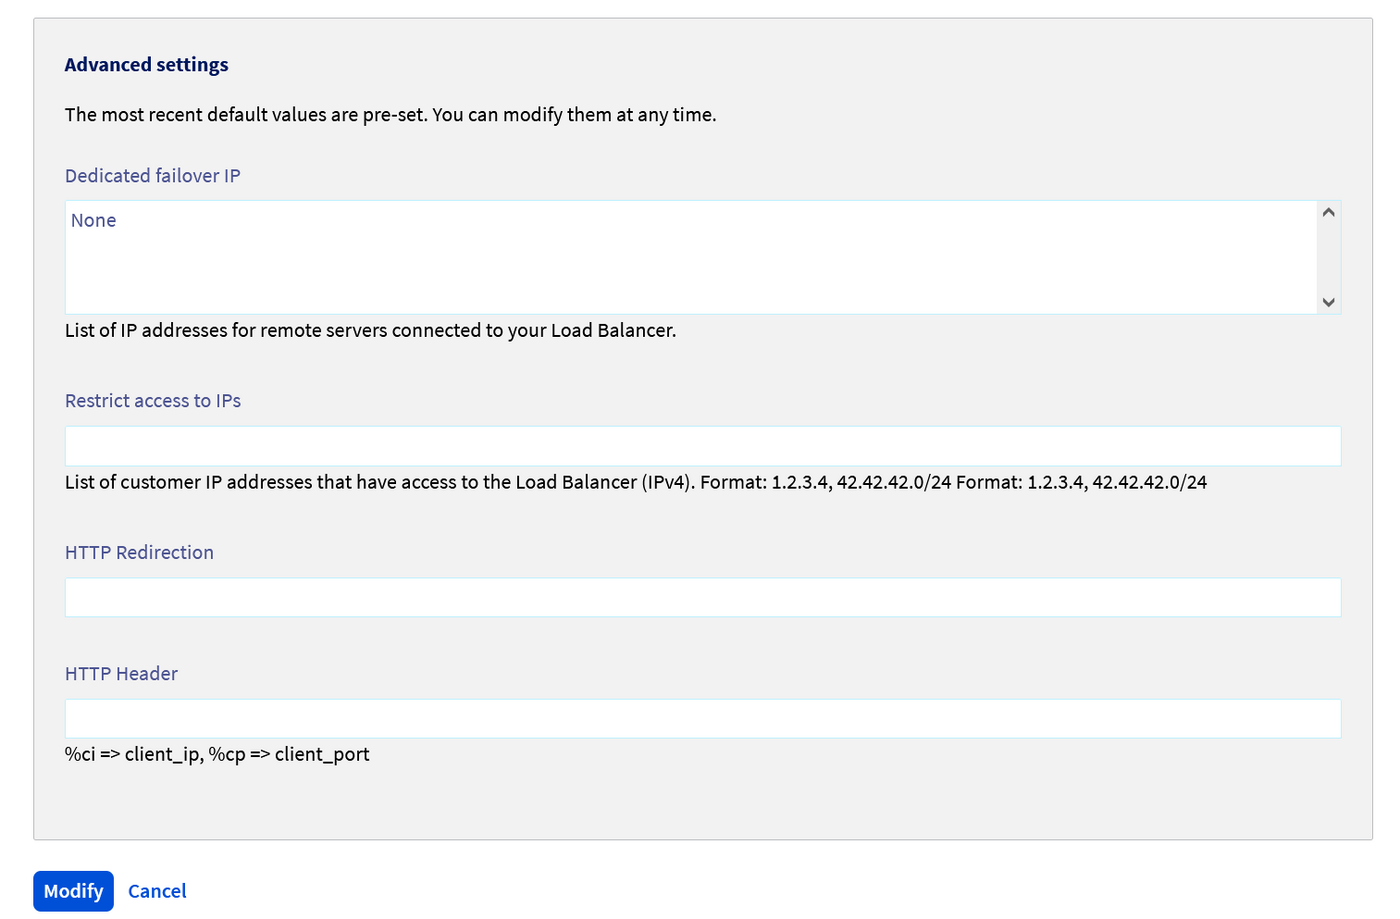
You can also access advanced settings:
Managing your clusters
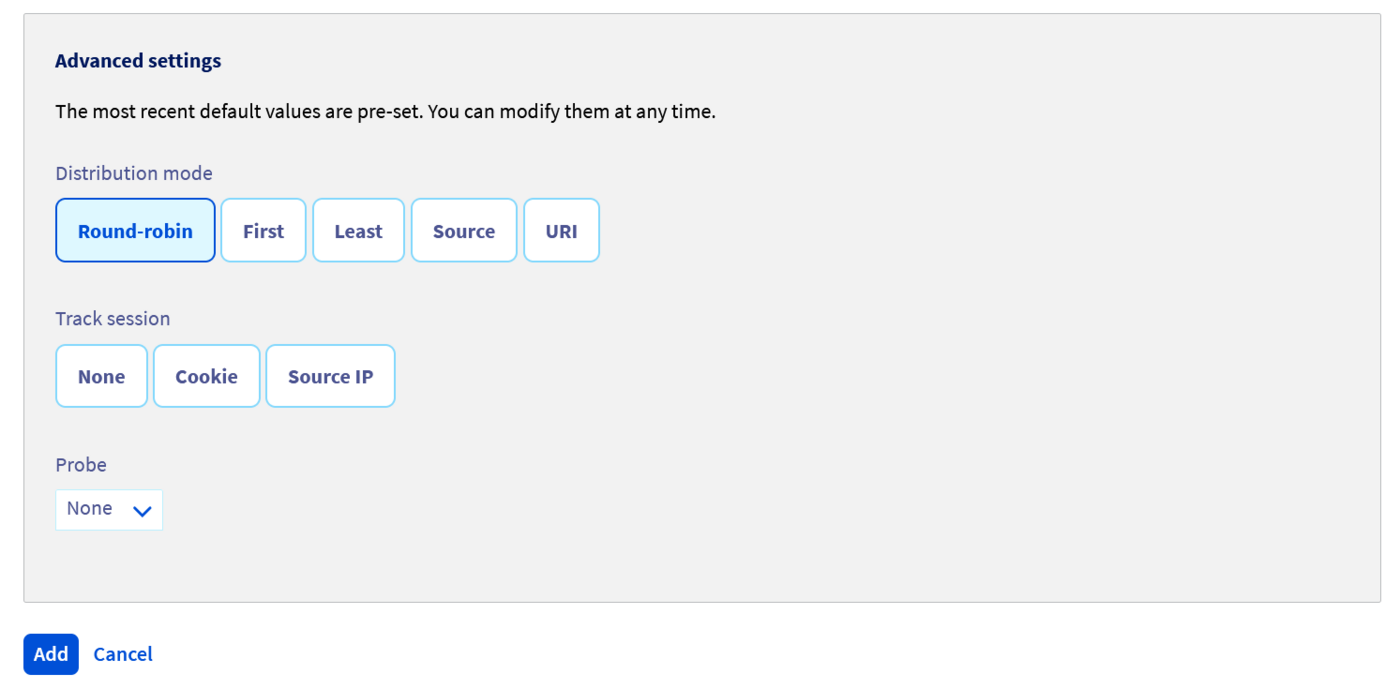
To add a server cluster, simply go to the Server clusters section, and click Add a server cluster. You will get the same main options as for the front-end. However, the advanced options are different:
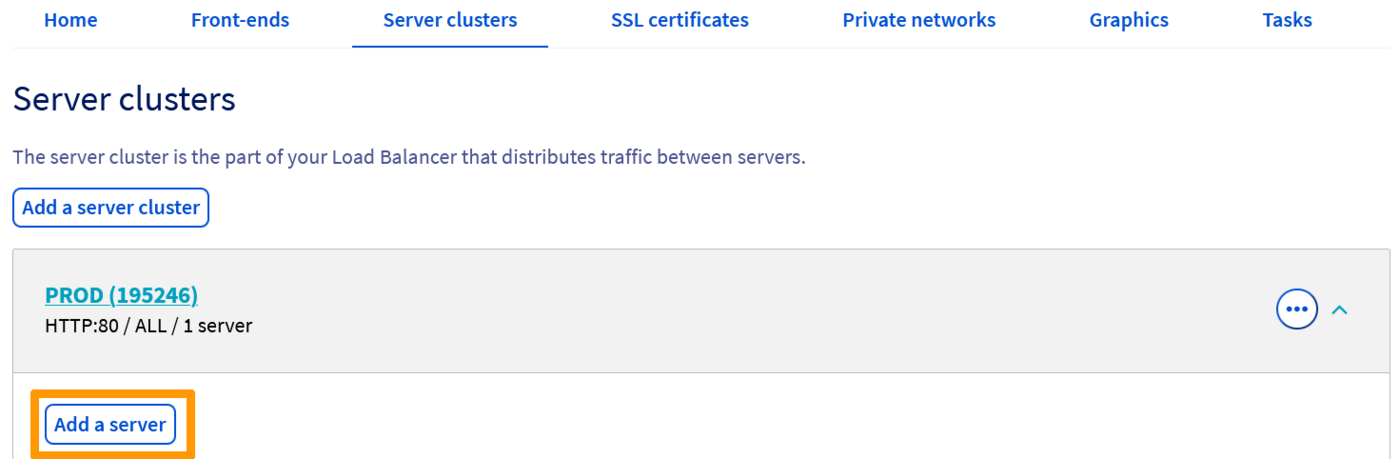
Managing your servers
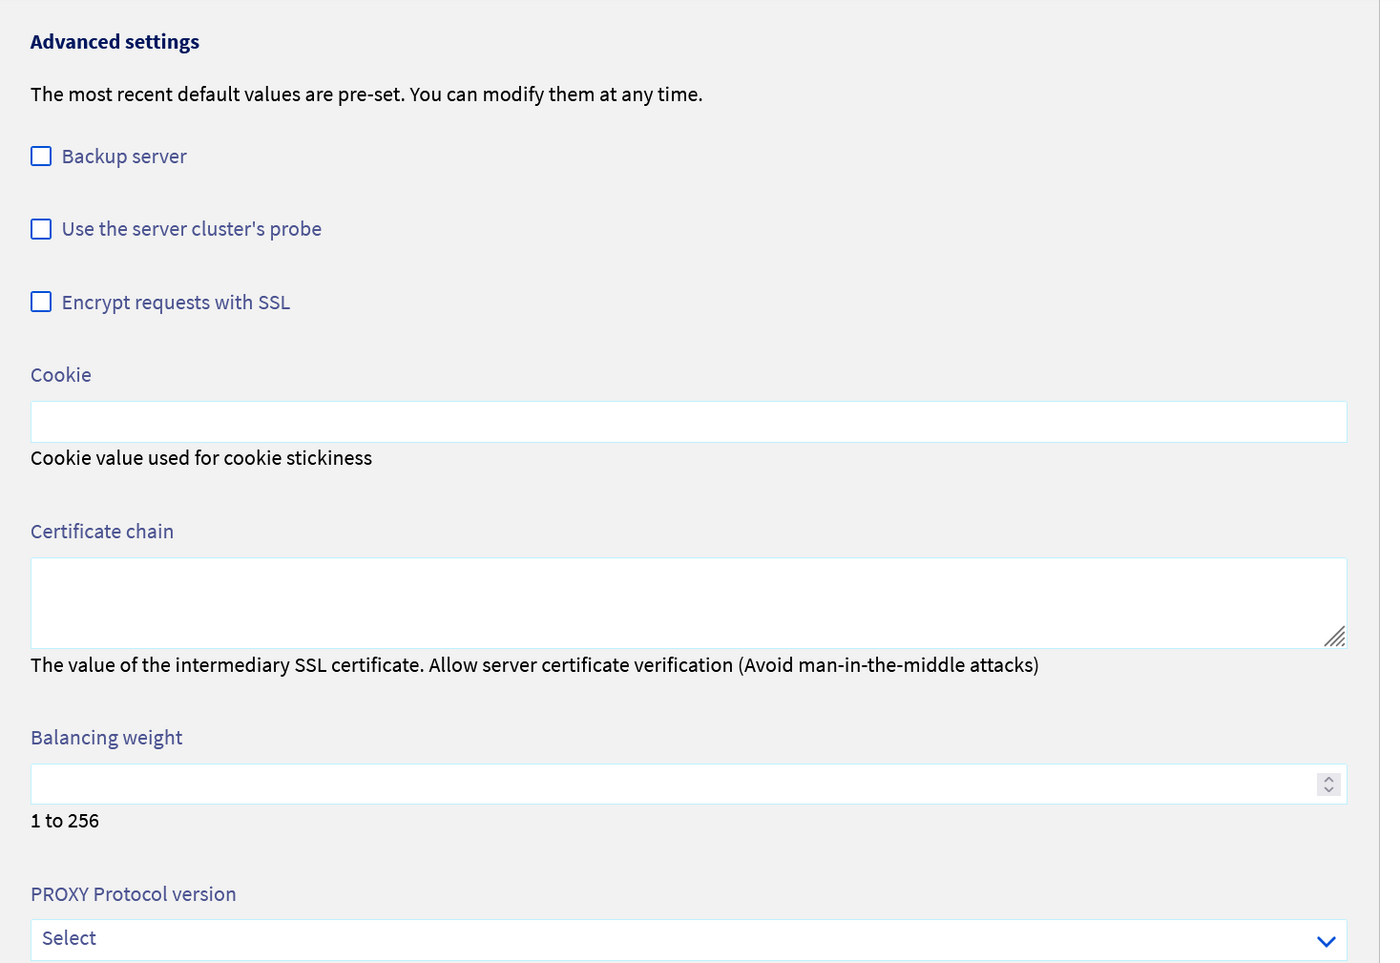
Once you have created your server cluster, you just need to add servers to it. Details on these options are below, as well as advanced options:
Managing SSL certificates
You can add an SSL certificate to the Load Balancer in the SSL Certificate section. You have two options: you can order an SSL certificate from OVH, or add an external certificate.
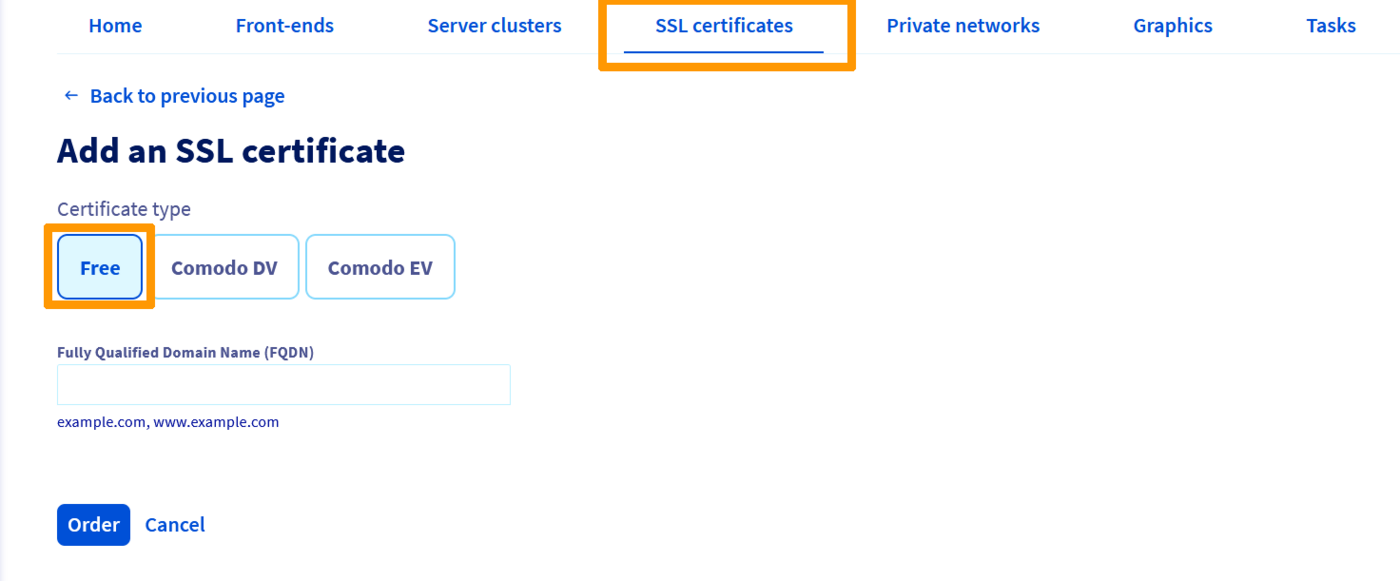
OVHcloud SSL certificate
To order an SSL certificate, simply go to the SSL Certificate section, then click Order an SSL certificate and browse the options available:
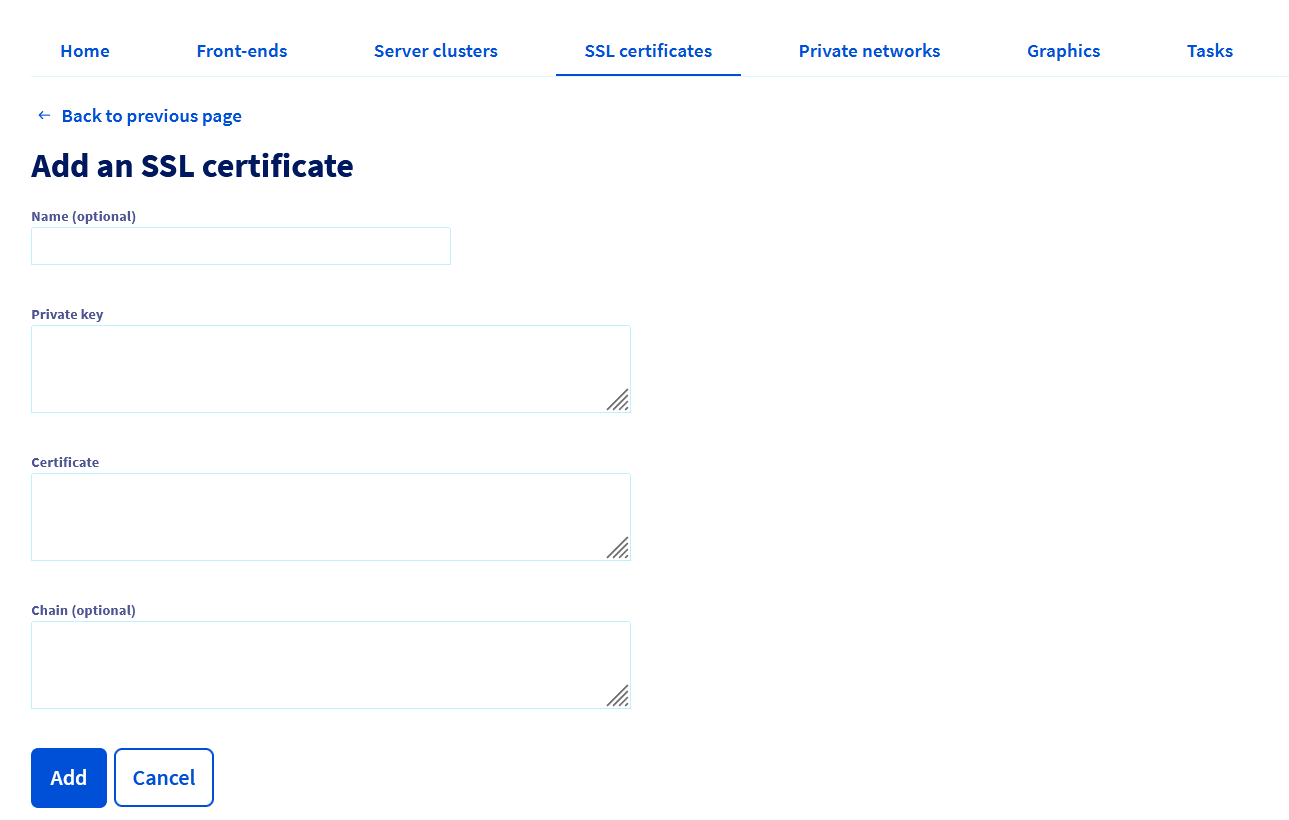
Adding an external SSL certificate
If you already have your own SSL certificate, you can add it directly:
Go further
Join our community of users.