Find out how to add IP restrictions/manage access to the API server of an OVHcloud Managed Kubernetes cluster
Objective
The OVHcloud Managed Kubernetes service provides you Kubernetes clusters without the hassle of installing or operating them.
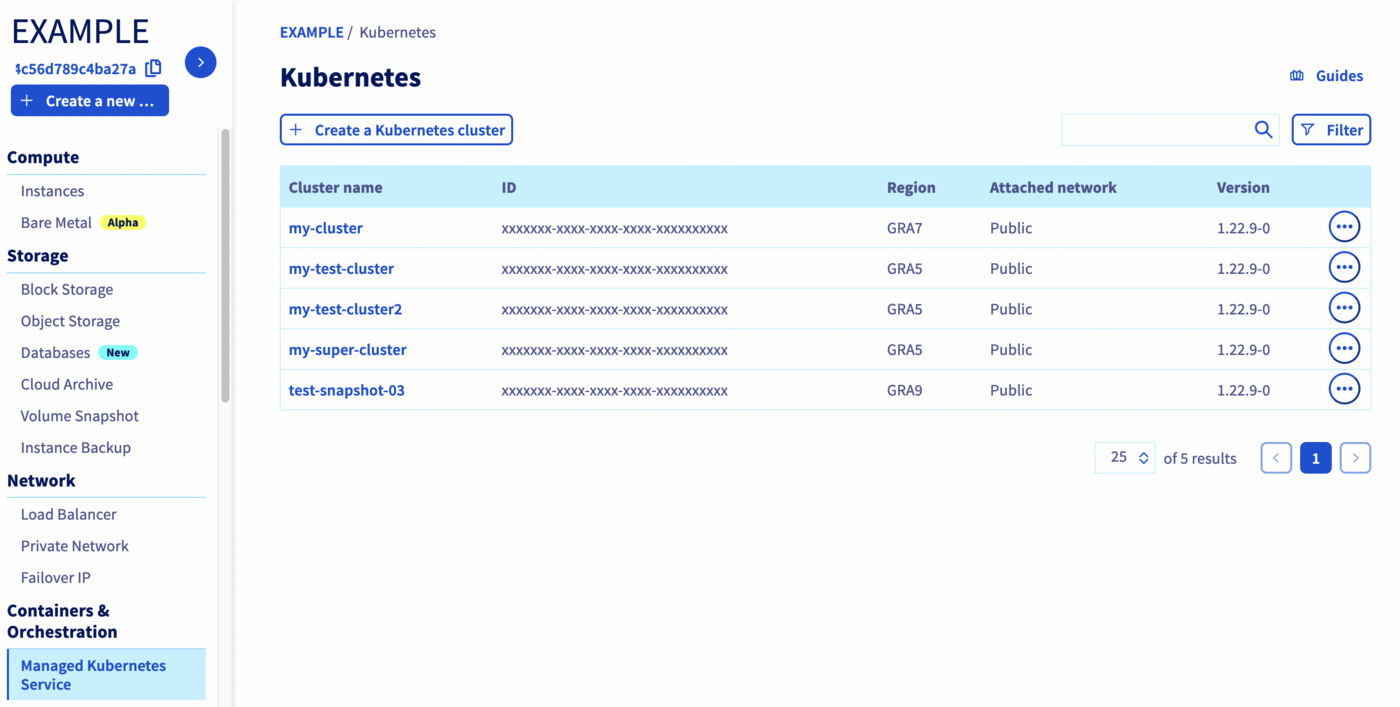
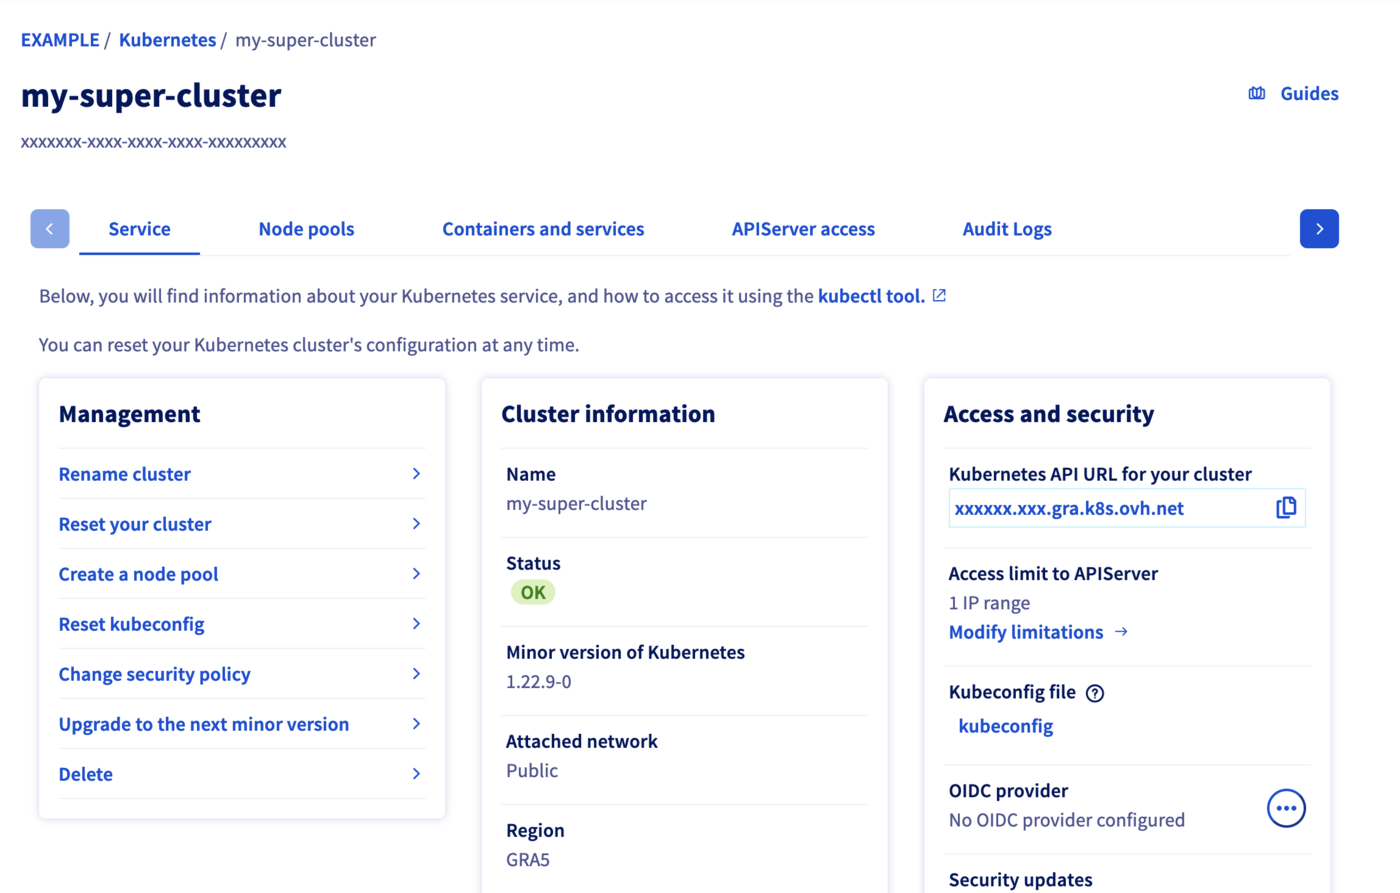
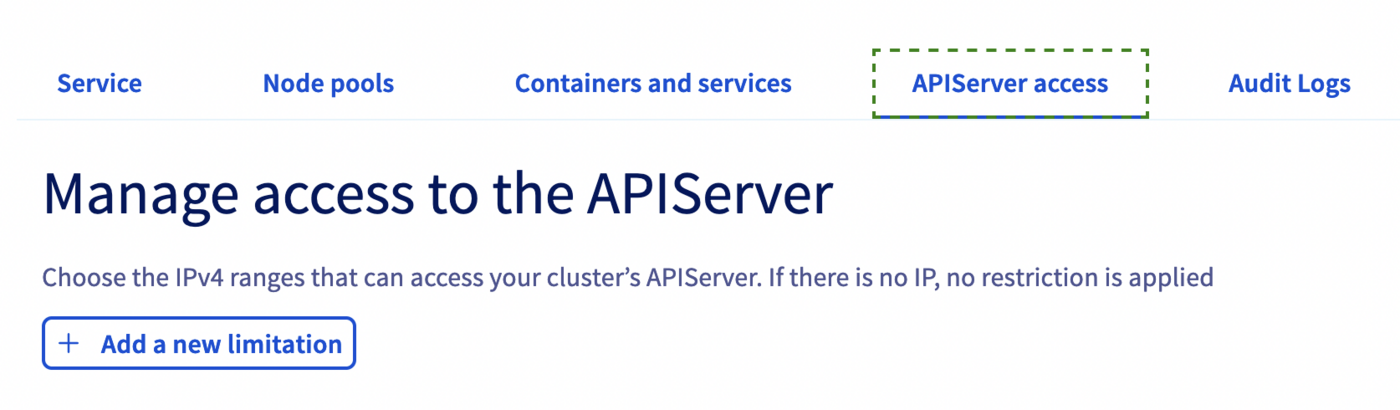
This guide will cover the feature that allows you to manage access to the API server of your OVHcloud Managed Kubernetes cluster. Thanks to that you can add IP restrictions in a cluster.
Don't forget to replace <service_name>, <cluster_id> and <your_IP_range> by the real data.
In this resources configuration, we ask Terraform to add an IP restriction to your Kubernetes cluster.
Now we need to initialise Terraform, generate a plan, and apply it.
$ terraform initInitializing the backend...Initializing provider plugins...- Finding latest version of ovh/ovh...- Finding latest version of hashicorp/local...- Installing ovh/ovh v0.19.1...- Installed ovh/ovh v0.19.1 (signed by a HashiCorp partner, key ID F56D1A6CBDAAADA5)- Installing hashicorp/local v2.2.3...- Installed hashicorp/local v2.2.3 (signed by HashiCorp)Partner and community providers are signed by their developers.If you'd like to know more about provider signing, you can read about it here:https://www.terraform.io/docs/cli/plugins/signing.htmlTerraform has created a lock file .terraform.lock.hcl to record the providerselections it made above. Include this file in your version control repositoryso that Terraform can guarantee to make the same selections by default whenyou run "terraform init" in the future.Terraform has been successfully initialized!You may now begin working with Terraform. Try running "terraform plan" to seeany changes that are required for your infrastructure. All Terraform commandsshould now work.If you ever set or change modules or backend configuration for Terraform,rerun this command to reinitialize your working directory. If you forget, othercommands will detect it and remind you to do so if necessary.
The init command will initialize your working directory which contains .tf configuration files.
It’s the first command to execute for a new configuration, or after doing a checkout of an existing configuration in a given git repository for example.
The init command will:
Download and install Terraform providers/plugins
Initialise backend (if defined)
Download and install modules (if defined)
Now, we can generate our plan:
$ terraform planTerraform used the selected providers to generate the following execution plan. Resource actions are indicated with the following symbols: + createTerraform will perform the following actions: # ovh_cloud_project_kube_iprestrictions.iprestrictions will be created + resource "ovh_cloud_project_kube_iprestrictions" "iprestrictions" { + id = (known after apply) + ips = [ + "10.42.0.0/16", ] + kube_id = "xxxxxxxx-xxxx-xxxx-xxxx-xxxxxxxxxxxx" + service_name = "a123a4e56b789c4a123a4e56b789c4" }Plan: 1 to add, 0 to change, 0 to destroy.───────────────────────────────────────────────────────────────────────────────────────────────────────────────────────────────────────────────────────────────────────────────────────────────────────────Note: You didn't use the -out option to save this plan, so Terraform can't guarantee to take exactly these actions if you run "terraform apply" now.
Thanks to the plan command, we can check what Terraform wants to create, modify or remove.
The plan is OK for us, so let's apply it:
$ terraform applyTerraform used the selected providers to generate the following execution plan. Resource actions are indicated with the following symbols: + createTerraform will perform the following actions: # ovh_cloud_project_kube_iprestrictions.iprestrictions will be created + resource "ovh_cloud_project_kube_iprestrictions" "iprestrictions" { + id = (known after apply) + ips = [ + "10.42.0.0/16", ] + kube_id = "xxxxxxxx-xxxx-xxxx-xxxx-xxxxxxxxxxxx" + service_name = "a123a4e56b789c4a123a4e56b789c4" }Plan: 1 to add, 0 to change, 0 to destroy.Do you want to perform these actions? Terraform will perform the actions described above. Only 'yes' will be accepted to approve. Enter a value: yesovh_cloud_project_kube_iprestrictions.iprestrictions: Creating...ovh_cloud_project_kube_iprestrictions.iprestrictions: Creation complete after 6s [id=xxxxxxxx-xxxx-xxxx-xxxx-xxxxxxxxxxxx]Apply complete! Resources: 1 added, 0 changed, 0 destroyed.
Destroy
If you want to delete the IP restrictions you added it through Terraform, have to execute terraform destroy command:
$ terraform destroyovh_cloud_project_kube_iprestrictions.iprestrictions: Refreshing state... [id=xxxxxxxx-xxxx-xxxx-xxxx-xxxxxxxxxxxx]Terraform used the selected providers to generate the following execution plan. Resource actions are indicated with the following symbols: - destroyTerraform will perform the following actions: # ovh_cloud_project_kube_iprestrictions.iprestrictions will be destroyed - resource "ovh_cloud_project_kube_iprestrictions" "iprestrictions" { - id = "xxxxxxxx-xxxx-xxxx-xxxx-xxxxxxxxxxxx" -> null - ips = [ - "10.42.0.0/16", ] -> null - kube_id = "xxxxxxxx-xxxx-xxxx-xxxx-xxxxxxxxxxxx" -> null - service_name = "a123a4e56b789c4a123a4e56b789c4" -> null }Plan: 0 to add, 0 to change, 1 to destroy.Do you really want to destroy all resources? Terraform will destroy all your managed infrastructure, as shown above. There is no undo. Only 'yes' will be accepted to confirm. Enter a value: yesovh_cloud_project_kube_iprestrictions.iprestrictions: Destroying... [id=xxxxxxxx-xxxx-xxxx-xxxx-xxxxxxxxxxxx]ovh_cloud_project_kube_iprestrictions.iprestrictions: Destruction complete after 6sDestroy complete! Resources: 1 destroyed.
If you need training or technical assistance to implement our solutions, contact your sales representative or click on this link to get a quote and ask our Professional Services experts for assisting you on your specific use case of your project.