
Managed Backup for VMware - Getting started
Find out how to order Managed Backup for VMware, connect to your VBR and start protecting the virtual machines of your Managed VMware vSphere infrastructure
Objective
All the reliability of Veeam to protect your workloads, without the complexity. Managed Backup for VMware backs up the virtual machines of your Managed VMware vSphere infrastructure.
Your VBR, our operations: manage your backups from a dedicated Veeam Backup & Replication (VBR) server, while OVHcloud handles the deployment, sizing and maintenance of the whole backup stack. You stay in control of your backups, restores and protection monitoring. You never operate a server, manage a licence or set up your backup policies by hand.
You choose the protection level of each virtual machine, from Standard for the essentials up to Premium with its long-term retention. You can change it at any time, machine by machine, by changing its tag in vSphere. The service is billed per billing period, with no minimum commitment.
This guide explains how to order the service, connect to your VBR and start protecting your virtual machines.
Requirements
- Have an active Managed VMware vSphere infrastructure.
- Have access to the vSphere interface of your infrastructure, to add the backup tags.
- Have, in one of the datacenters of your infrastructure, the resources needed by the backup server (see below).
Eligible infrastructures
You can order the service for an infrastructure that meets all of these conditions:
- The infrastructure is located in a region covered by the backup platform (Europe and Canada).
- The infrastructure is not SecNumCloud qualified.
- The infrastructure is not already protected by a Managed Backup for VMware service.
Only eligible infrastructures are offered when you order. If an infrastructure does not appear, contact support to find out why.
Resources used in your infrastructure
The backup server is deployed in your infrastructure, in the datacenter you choose when you order. It therefore uses part of its compute and storage resources, like your own virtual machines. OVHcloud installs, monitors and maintains it. You have nothing to administer.
These values correspond to the backup server and one proxy. If your fleet needs more proxies, contact support and OVHcloud deploys more. Each additional proxy uses 2 vCPU, 3 GB of memory and 30 GB of disk.
OVHcloud Console Access
- Direct link:
- Navigation path:
Private Cloud>Backup>Managed Backup for VMware
Instructions
Step 1: understanding who does what
Each protected infrastructure is a service, with its own VBR. All your services together form your subscription, which you follow on a single dashboard.
Step 2: choosing your Backup plans
Each virtual machine is protected by one of the three Backup plans. You can mix them within the same infrastructure.
To learn more about these guarantees, read the Security and guarantees of your backups guide.
Step 3: ordering the service
Click Order on the product home page if you do not have a service yet, or Add an infrastructure on the dashboard otherwise. You can also open the directly. The order has two steps, with the Continue to the estimate and Previous buttons.
1. Infrastructure, sites and virtual machines
- Choose the infrastructure to protect. In the Infrastructure card, open the VMware Infrastructure field (Select an Infrastructure) and choose the infrastructure. The service takes its name, so you have nothing to enter.
- Check the primary site (Primary Site). It matches the location of your infrastructure and cannot be changed.
- Choose the secondary site (Select the secondary site). This is the region where your Advanced and Premium backups are copied, within your geographic zone: see the sites offered depending on the location of your infrastructure. The region recommended by OVHcloud (Recommended) is preselected. You cannot change this choice after you order.
- Choose the datacenter of the backup server (Backup server datacenter). It hosts the backup server and its proxy, and the capacity needed is shown below the field. You cannot change this choice after you order.
- Give a Backup plan to your virtual machines (optional). You can give a plan to each machine or the same plan to all of them, and compare the plans with the
Compare Backup planslink. You can also clickskip this stepand tag your machines later in vSphere.
Virtual machines of 8 TB or more
Virtual machines of 8 TB or more are not supported by Managed Backup for VMware: they cannot receive a Backup plan when you order, and a tag set in vSphere only protects them in degraded mode, without full support. See also Protecting your virtual machines.
2. Summary, estimate and terms
- Check the summary (Order summary). It lists the infrastructure, the primary and secondary sites, the datacenter of the backup server and the number of virtual machines that have a Backup plan.
- Read the amount estimate (Monthly estimate). It is shown plan by plan, then as a total (Total). It is a maximum amount, not your invoice: the invoice then follows the machines you tag or untag (see Understanding your billing).
- Accept the terms (Terms and conditions). Tick the box that confirms you have read the listed contracts. The confirm button stays disabled until the box is ticked, including when you order for an additional infrastructure.
- Confirm the order with the
Confirm the orderbutton.
Step 4: following the delivery
After you confirm, your service appears on your dashboard with the Deploying badge. It is usually available within 2 hours (indicative time). You can start tagging your virtual machines in vSphere about 30 minutes after you order.
You receive two separate emails:
- When you confirm, an order confirmation, with no credentials, because the backup server does not exist yet.
- On delivery, a "your service is ready" email, with the address of your VBR, your account login and a one-time link to your initial password.
A message on your dashboard tells you when you can tag your machines in vSphere.

The You can tag your machines in vSphere banner appears on the dashboard when the VBR is ready.
When can you tag your machines?
You can tag your machines about 30 minutes after you order. After that, the tag in vSphere is what counts, and it is taken into account within the hour. The full process is explained in the Protecting your virtual machines guide.
If the delivery fails
The service shows the Error badge on your dashboard, instead of Deploying. Contact support and give the name of your infrastructure. You do not receive the "your service is ready" email, nor any access to the VBR. Nothing is billed.
Step 5: connecting to your VBR
-
Get your initial password by opening the one-time link in the delivery email. This link is valid for a limited time, so open it quickly.
-
Open the VBR console. On the dashboard, click
Open the VBR console. The VBR console window opens. Choose the infrastructure in the Infrastructure field, then copy the login shown in Login with the copy button. -
Sign in. Click
Open the VBR web interface. The page opens in a new tab. Enter the login given in your delivery email and the initial password in the Username and Password fields, then clickSign in. -
Choose a new password. You are asked for it the first time you sign in. OVHcloud does not keep it. If you lose it, use the password reset.
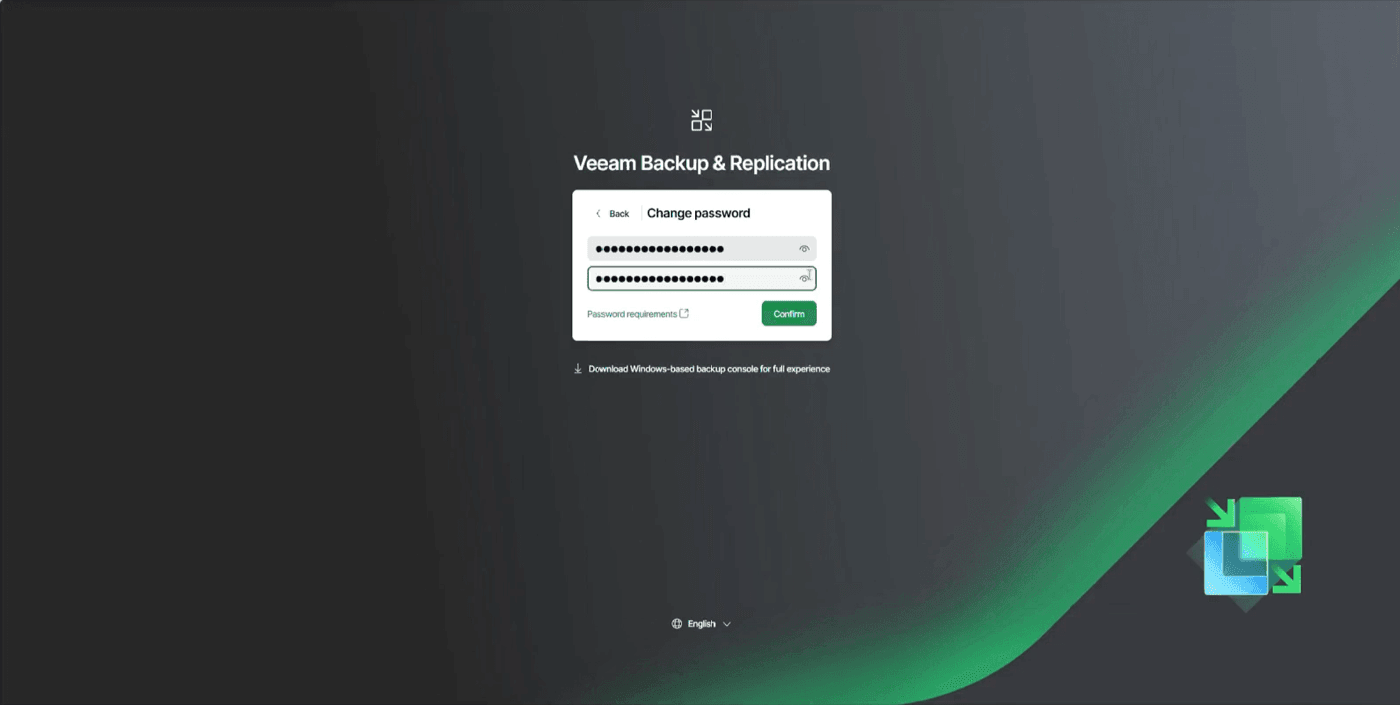
The Change password screen at first sign-in. Fill in the fields then click
Confirm.
What your account allows
Your VBR account lets you start an on-demand backup, restore a full virtual machine or files, and check the status of your backups. OVHcloud still manages the creation and editing of backup jobs: the vSphere tag decides what is protected.
Step 6: protecting your virtual machines
A machine is backed up only if it has a tag. In vSphere, add the tag of its Backup plan to the machine: standard, advanced or premium. Only one tag per machine, taken into account within the hour.
The procedure is detailed in the Protecting your virtual machines guide.
If no machine is protected
Three days after delivery, then ten days after, you receive a reminder email. The reminder at ten days announces the termination date of your service. Thirty days after delivery, if no machine is protected, the service is terminated automatically and nothing is billed. For 35 days, you keep access to your VBR and the service can be reactivated by OVHcloud support. After that, you need to order again (see Terminating and reactivating a service).
Protecting another infrastructure
Each infrastructure is a separate service, with its own VBR, its own credentials and its own billing. To protect another one, click Add an infrastructure on the dashboard. You start a full order again, in which you accept the terms and choose the secondary site for this infrastructure. Your existing services keep running while the new one is deployed.
Go further
Protecting your virtual machines: choose the Backup plan of each machine in vSphere.
Backing up and restoring from the VBR console: use the web console of your VBR.
Understanding your billing: price per machine, size bands, billing period rule.
Join our community of users.