Getting started with Visibilité Pro
Find out how to get started with the Visibilité Pro solution
Objective
Visibilité Pro is a local SEO solution that lets you manage your business information and contact details across multiple online directories, as well as interact with your customers by publishing content for them or replying to reviews. This is all managed through a single, intuitive interface.
Find out how to get started with the Visibilité Pro solution.
Requirements
- An OVHcloud web hosting plan.
- A Visibilité Pro plan.
- You must be logged in to your .
Instructions
Step 1: Access the management of the Visibilité Pro solution
To get started, log in to your and go to the Web Cloud section. Click Hosting plans, then select the hosting plan that the Visibilité Pro solution is linked to.
Click the More tab, then Visibilité Pro.
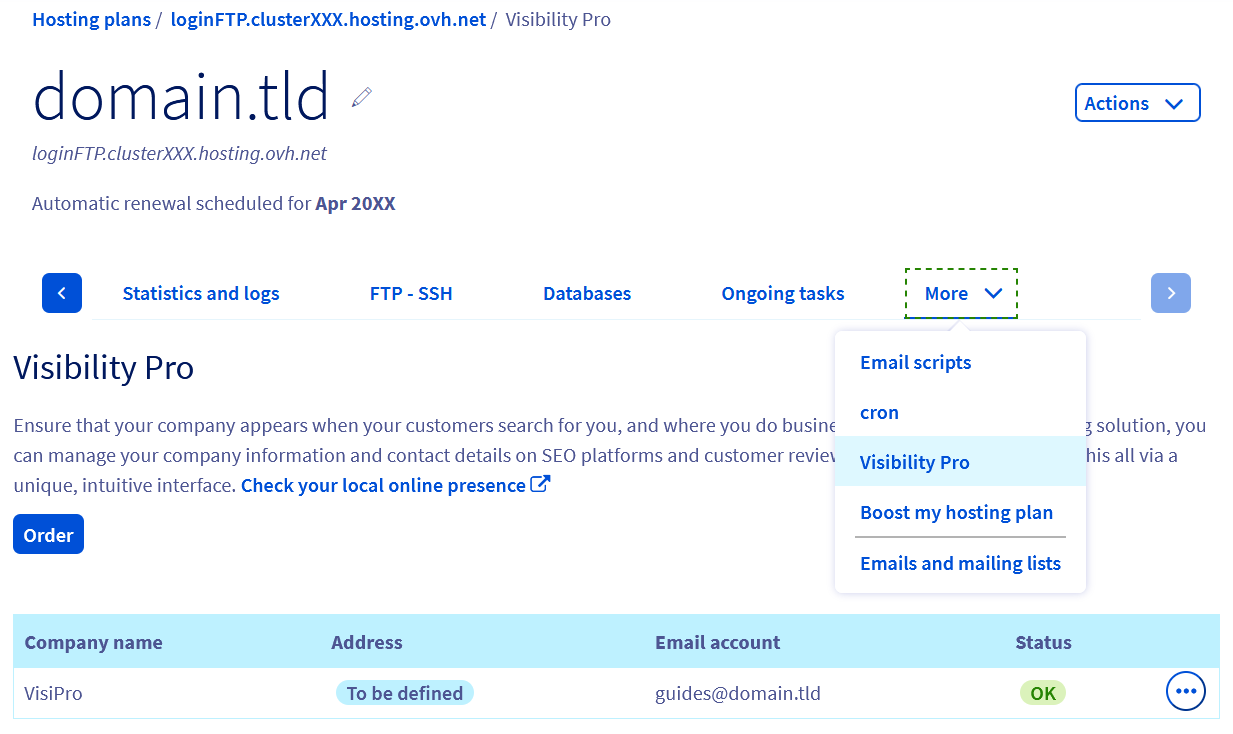
The table that appears displays the Visibilité Pro solutions ordered and linked to your web hosting plan. Each row corresponds to a Visibilité Pro solution that lets you manage the local SEO of a single business location.
If you have several business locations and want to manage their local SEO in the same way, we recommend running a local SEO test from the following page: https://www.ovhcloud.com/fr/web-hosting/options/pro-visibility/, then subscribing to a Visibilité Pro solution for each of them.
To access the Visibilité Pro management interface, click the button with three dots to the right of the relevant row, then click Access the interface.

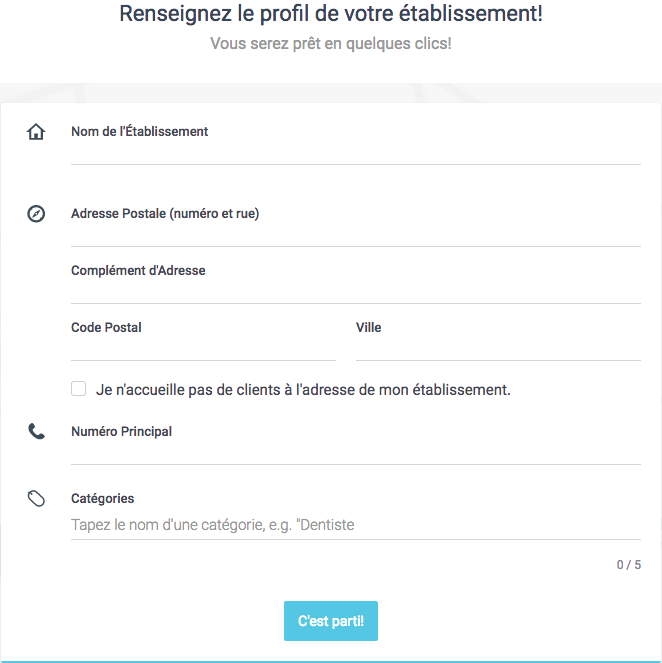
Step 2: Fill in your business location profile
On the page that appears, you are prompted to fill in your business location profile. To do so, complete the requested information:
Once you have completed the information, click the Let's go! button. If the tool needs to locate your business location more precisely, you may be asked to specify its location.
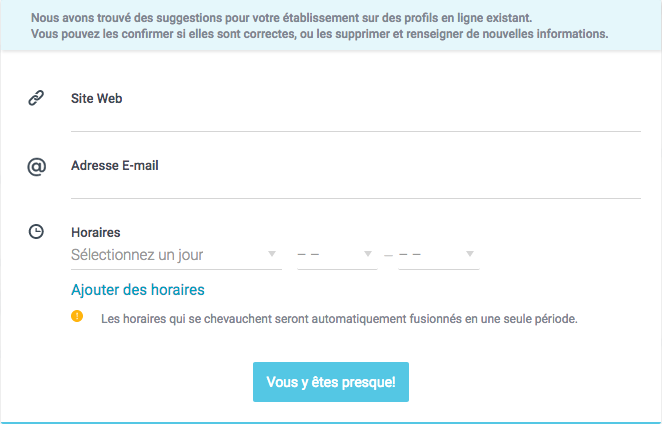
You are then prompted to fill in further information related to your business location:
Once you have completed the information, click the You're almost there! button.
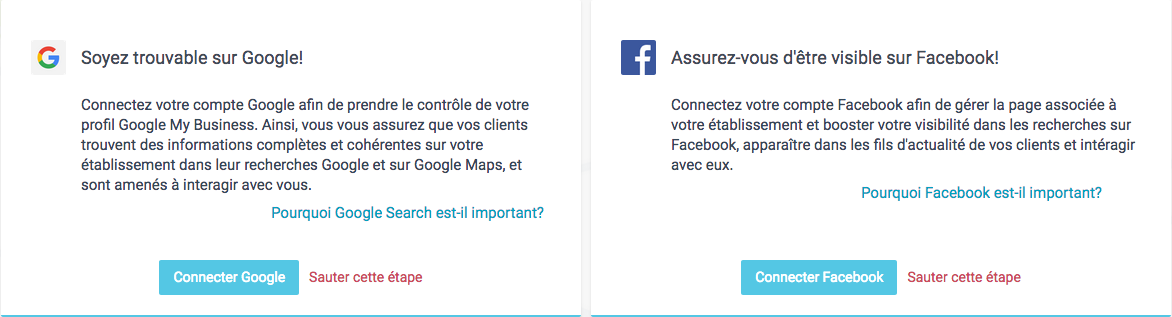
If you have a Google My Business or Facebook profile, you can link them to your Visibilité Pro profile and manage them from the Visibilité Pro management interface.
To link your Google My Business profile, click the Connect Google button. To link your Facebook account, click the Connect Facebook button. You will then be prompted to log in to your Google or Facebook account. Follow the steps that appear.
If you do not want to link your Google My Business profile and/or your Facebook account, click Skip this step. This choice is not final: you will be able to do this later once your profile is complete, should you wish to.
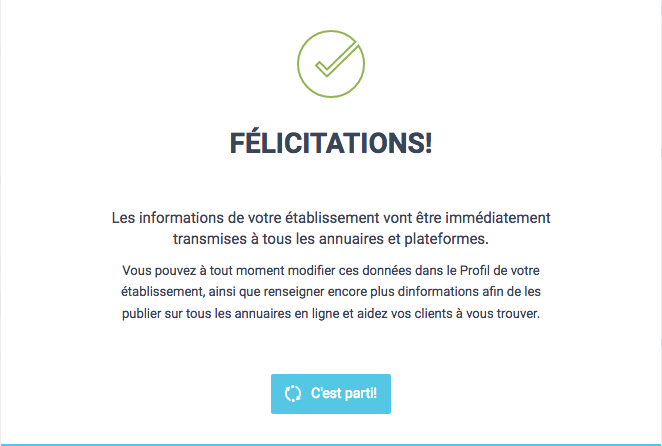
A page informs you that your business location's information will be sent to online directories and platforms. This indicates that you have finished completing your profile's basic information.
Then click the Let's go! button.
Step 3: Edit and enrich your business location's information
Once you are logged in to the Visibilité Pro management interface, we strongly recommend enriching your business location's profile information. To do so, go to the Profile tab.
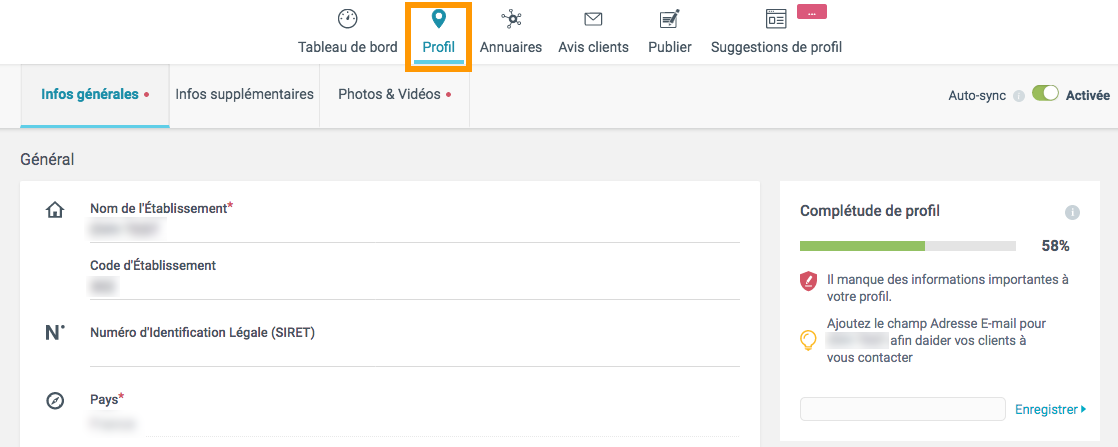
The information you can complete is split across three sub-tabs:
Once you have finished editing this information, click the Save changes button at the bottom of the window.
If you want these changes to be sent automatically to the various online directories, make sure that Auto-sync is enabled. Otherwise, you will need to manually run a synchronisation or enable auto-synchronisation.
Please note that updating your information in the various directories and platforms may take several hours before it appears online.

Step 4: Start interacting with your customers
Once your profile is complete, you can now familiarise yourself with the other features available to you in the Visibilité Pro management interface.
Publish your first content
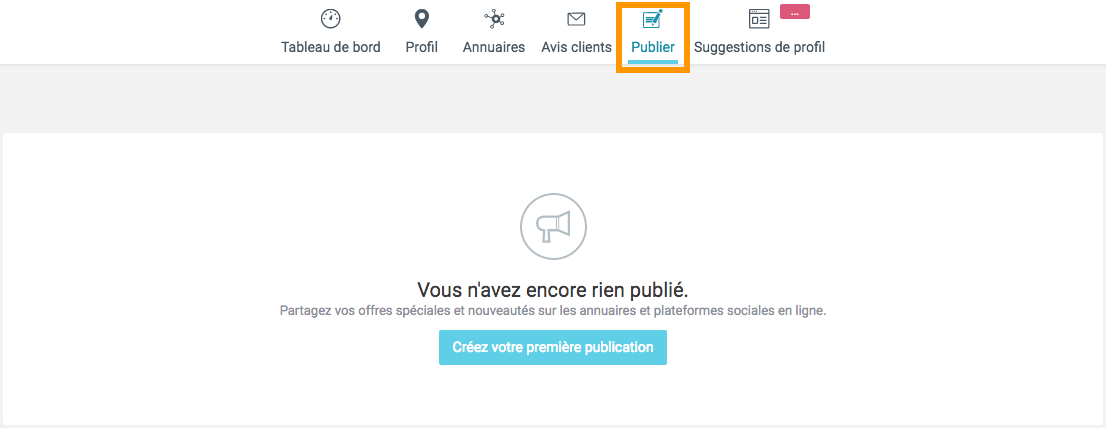
Go to the Publish tab, then click Create your first post.
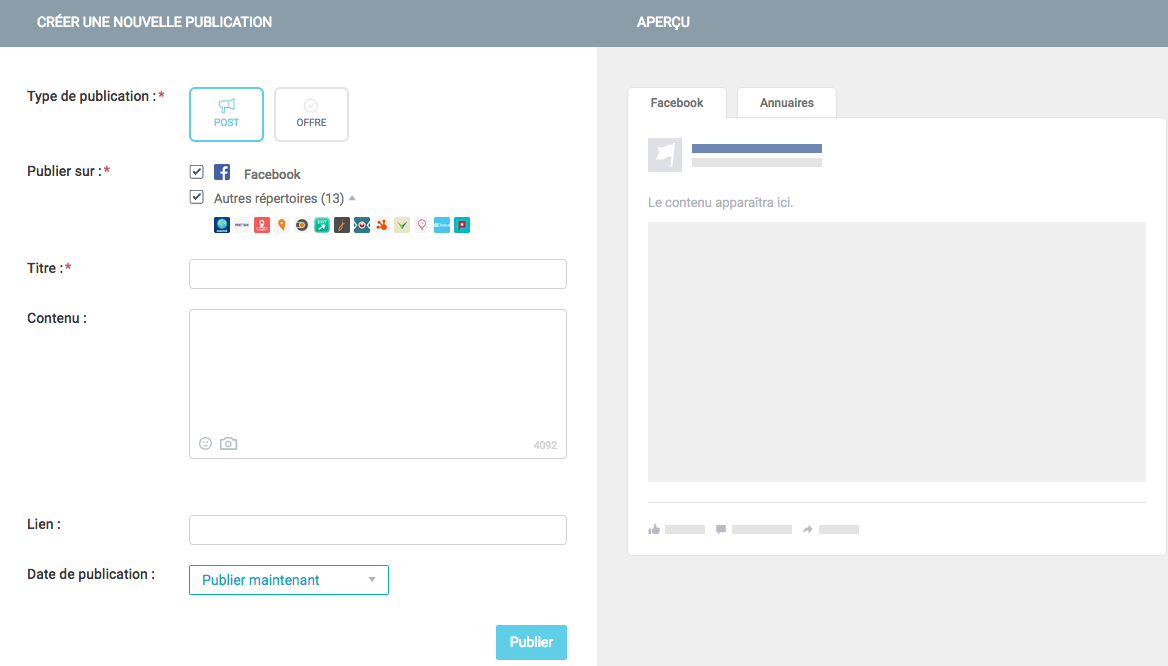
Choose the type of post, where you want to publish it, then define its content. You can use the preview window to get a better idea of how your post will look once it is online.
Finally, select the publication date, then click the Publish button once you are ready.
Return to the Publish tab as often as needed to keep communicating with your customers by creating new posts or tracking those already published or scheduled.
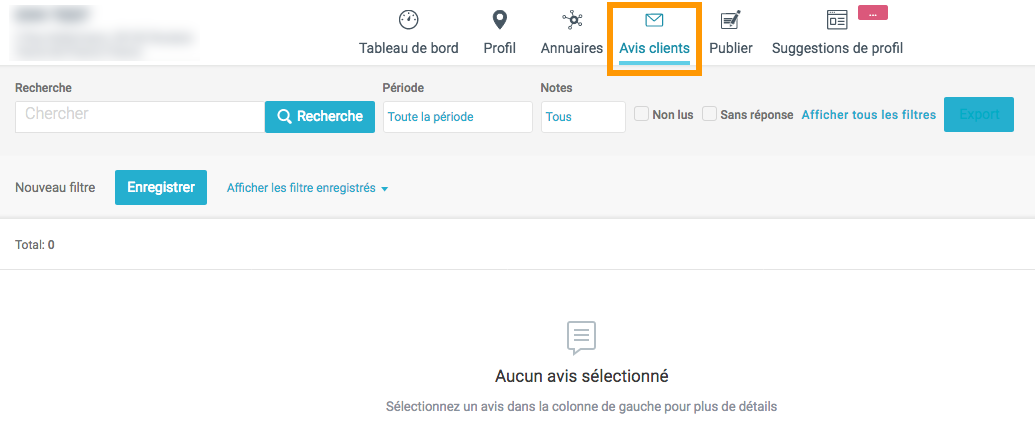
Reply to your customers' reviews
Go to the Customer reviews tab to display them. If no reviews appear, it means none of your customers have left you an online review yet across all the directories your business location is listed in.
As soon as a review is available, you will be able to view it and reply to it directly from the Visibilité Pro interface. Use the filtering and search tools if needed.
We strongly recommend replying to all the reviews you receive, whether they are positive or negative!
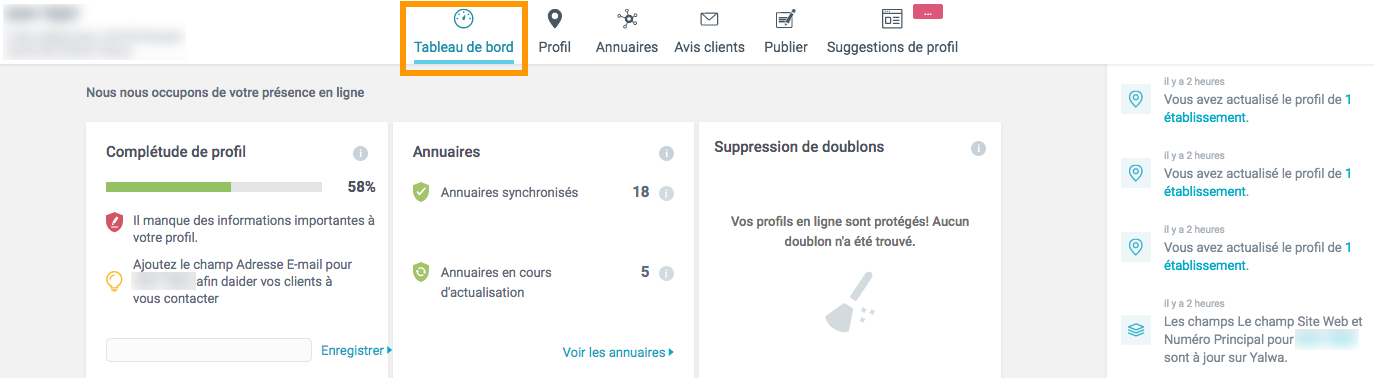
Monitor the performance of your online visibility
Go to the Dashboard tab to access various indicators that let you monitor the performance of your business location's online visibility. We advise you to come back to this tab regularly so that you can view this performance at a glance.
Go further
Join our community of users.