Configuring an Additional IP
Please note that Additional IP addresses can also be configured in a vRack (private network), which allows interconnection over a wide range of OVHcloud services, offering more flexibility.
You can find more information about configuring Additional IP addresses in a vRack for usage with Public Cloud instances in the following guides:
You may need to configure Additional IP addresses on your instances, for example if you are hosting multiple websites or international services. OVHcloud Additional IPs allow you to associate multiple IP addresses with a single network interface.
This guide explains how to add Additional IP addresses to your network configuration.
This guide is designed to assist you in common tasks as much as possible. Nevertheless, we recommend that you contact a specialist service provider if you have difficulties or doubts concerning the administration, usage or implementation of services on a server.
Requirements
- A Public Cloud instance in your OVHcloud account
- An Additional IP address or an Additional IP block
- Administrative access (sudo) via SSH or GUI to your instance
- Basic networking and administration knowledge
Instructions
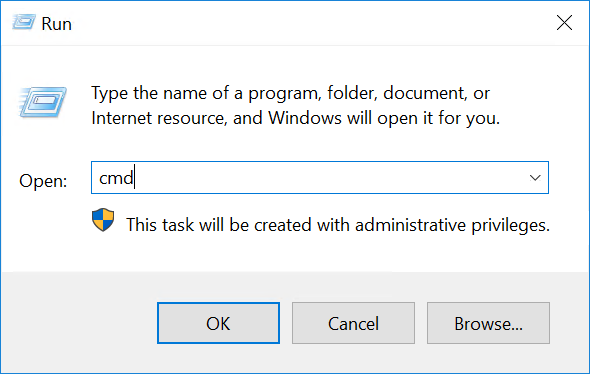
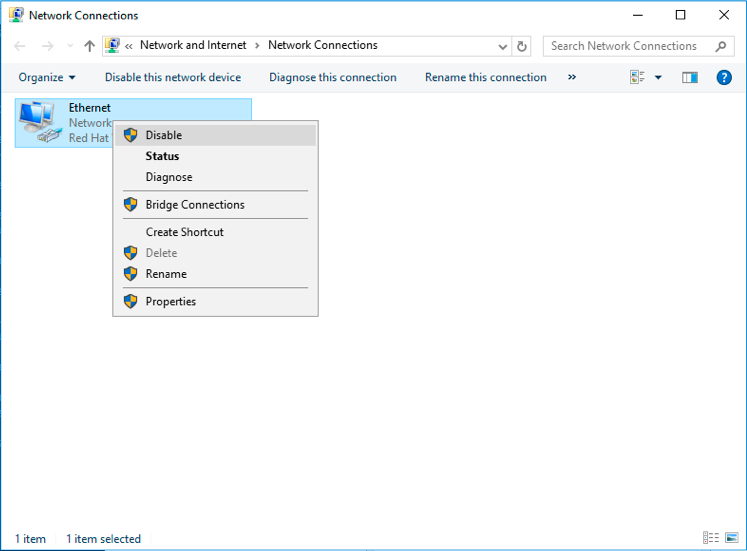
The following sections contain the configurations for the most commonly used distributions/operating systems. The first step is always to log in to your instance via SSH or a GUI login session (VNC for a Windows instance). The examples below presume you are logged in as a user with elevated permissions (Administrator/sudo).
Concerning different distribution releases, please note that the proper procedure to configure your network interface as well as the file names may have been subject to change. We recommend to consult the manuals and knowledge resources of the respective OS versions if you experience any issues.
Please take note of the following terminology that will be used in code examples and instructions of the guide sections below:
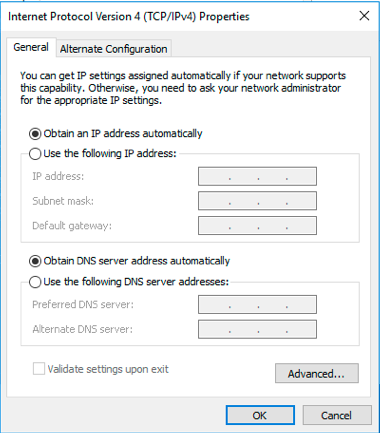
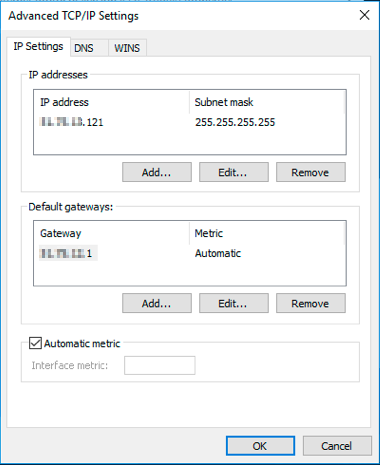
When configuring an Additional IP on a Public Cloud instance, you do not need a gateway and subnet mask.
Select the tab corresponding to your operating system.
Debian 11
Step 1: Disable automatic network configuration
Open the following file path with a text editor:
Enter the following line, then save and exit the editor.
Creating this configuration file will prevent changes to your network configuration from being made automatically.
Step 2: Edit the network configuration file
You can verify your network interface name with this command:
Open the network configuration file for editing with the following command:
Then add the following lines:
Step 3: Restart the interface
Apply the changes with the following command:


Troubleshooting
First, soft-reboot your instance via the instance's OS or from the OVHcloud Control Panel. If you are still unable to establish a connection from the public network to your Additional IP and suspect a network problem, you need to reboot the instance in rescue mode. Then you can set up the Additional IP address directly on the instance.
Once you are connected in rescue mode via SSH, enter the following command:
To test the connection, simply ping your Additional IP from the outside. If it responds in rescue mode, that probably means that there is a configuration error. If, however, the IP is still not working, please inform our support teams by creating a support request in your OVHcloud Control Panel for further investigations.
Go further
If you need training or technical assistance to implement our solutions, contact your sales representative or click on this link to get a quote and ask our Professional Services experts for assisting you on your specific use case of your project.
Join our community of users.