NSX-v Edge Gateway VPN Configuration
NSX-v is no longer supported in the OVHcloud environment.
Objective
A VPN creates a secured tunnel accross public networks to connect remote clients or sites to your infrastructure.
This guide explains the two ways to do it through the NSX Edge Gateway
Requirements
- being an administrative contact of your Hosted Private Cloud infrastructure to receive login credentials
- a user account with access to vSphere as well as the specific rights for NSX (created in the OVHcloud Control Panel)
- a deployed NSX Edge Services Gateway
Instructions
Interface access
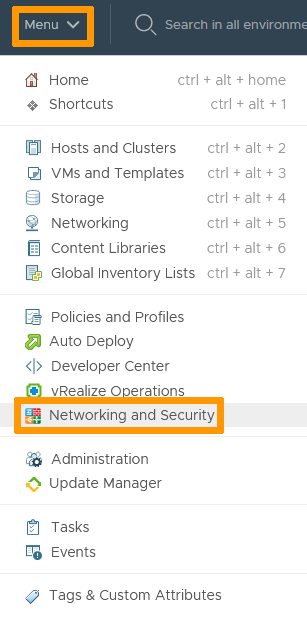
In the vSphere interface menu, go to the Networking and Security dashboard.
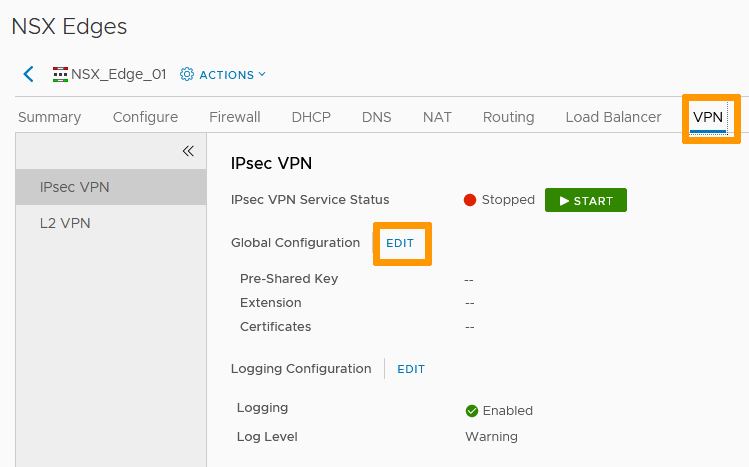
On the left side, navigate to the NSX Edges section then click on the appliance you're setting up.

In the VPN tab, you'll notice two types of VPN:
- IPsec VPN : Internet Protocol Security VPN secures traffic between two networks connected over a public network through IPSec gateways called endpoints. It is hardware agnostic.
- L2 VPN : in the case of NSX Edge Gateway, Layer 2 VPN connects NSX appliances across multiple sites and secures the connection through IPsec.
IPsec VPN
In the IPsec VPN section, click on the Edit button next to Global Configuration.
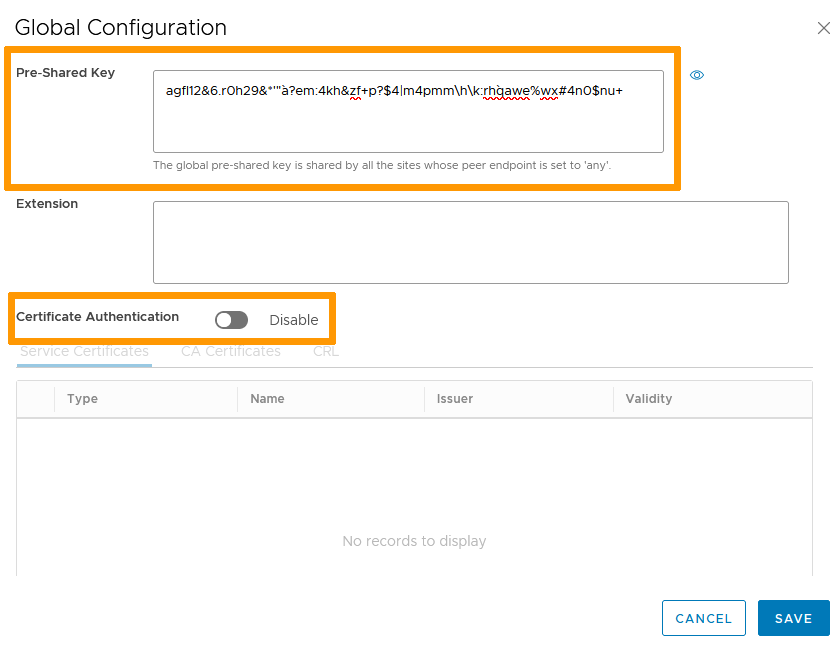
Set a Pre-Shared Key to be used by all connecting endpoints as needed.
You can add certificates if you have created any for VPN purposes in that window.
Click Save when done.
In the IPsec VPN Sites section, click + Add.
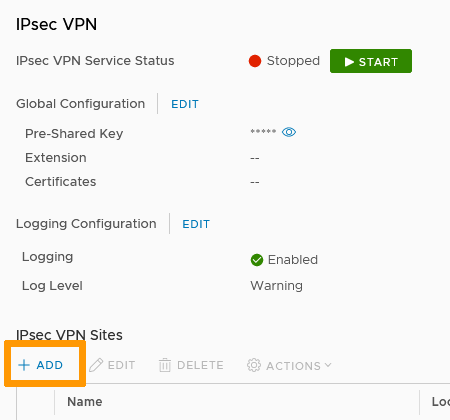
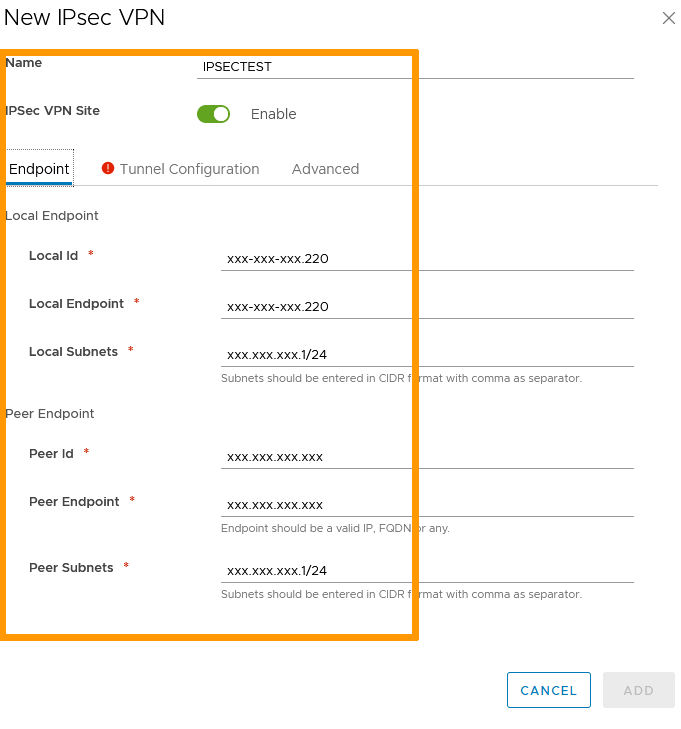
Name the site and enable it.
On the Endpoint page:
- Local Id is the public IP of the VPN or its FQDN.
- Local Endpoint is the IP address or FQDN of the NSX Edge Gateway (typically the same IP as Local ID).
- Local Subnets are the subnets used for the VPN.
- Peer Id is the public IP of the remote site or its FQDN.
- Peer Endpoint default value is "any" but can be changed to an IP or FQDN. If you retain the default value, the Global PSK must be set.
- Peer Subnets are the internal subnets used on the peer site.
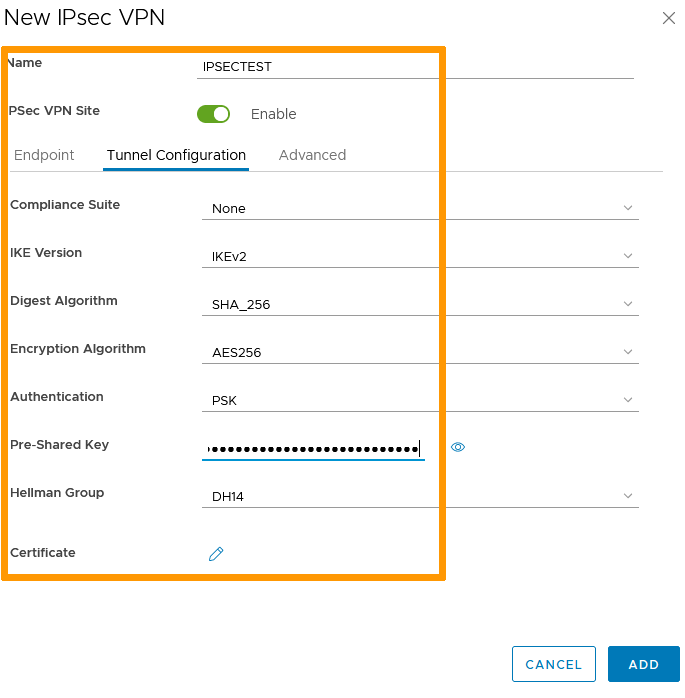
In the Tunnel Configuration page, set your encryption parameters (including certificates if needed) then click Add.
You can now Start the IPsec VPN service and Publish all the changes made.
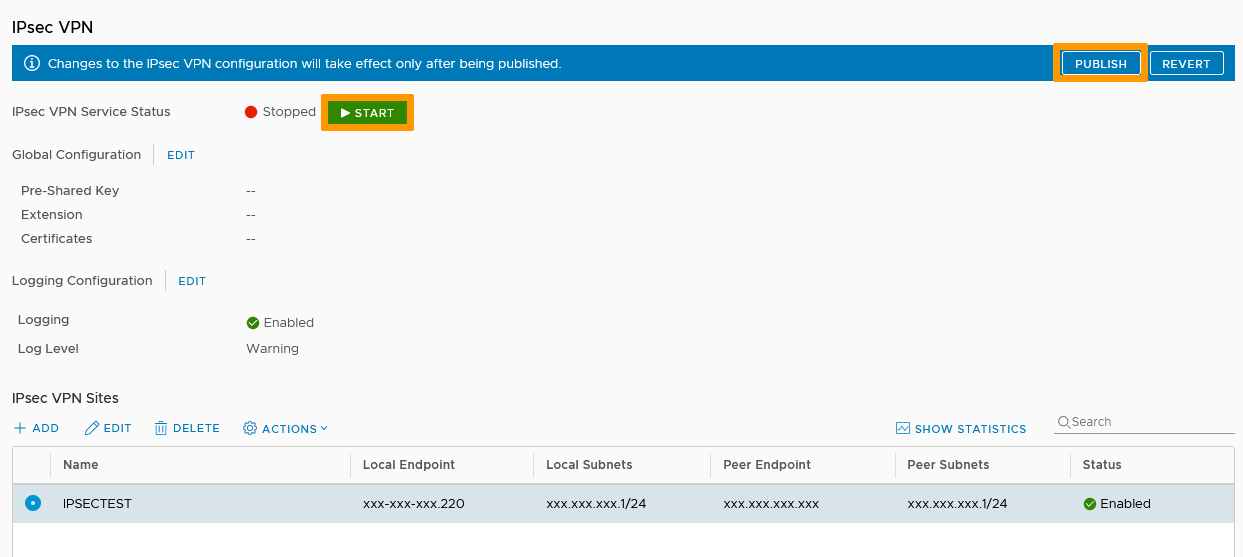
Your tunnel is up and active.
L2 VPN
L2 VPN is a Client-Server type of connection. We will set up the Server first.
Server Side
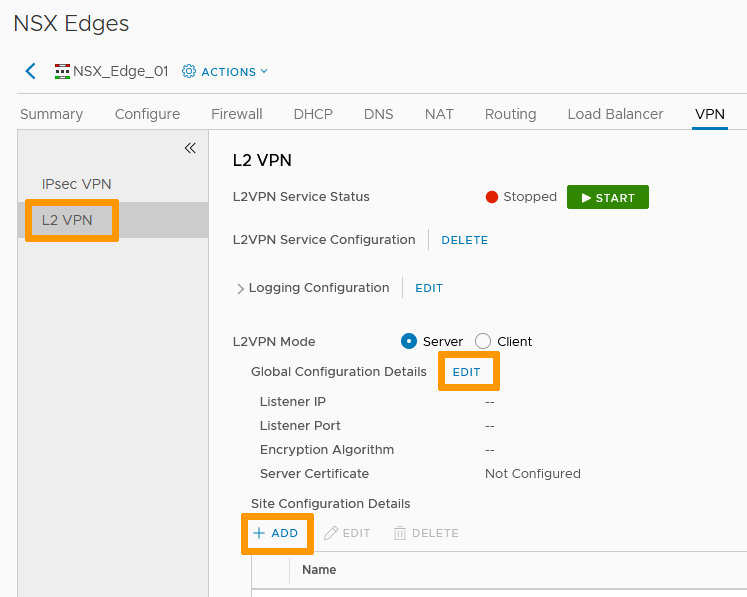
In the L2 VPN section, select Server mode then click on the Edit button next to Global Configuration Details.
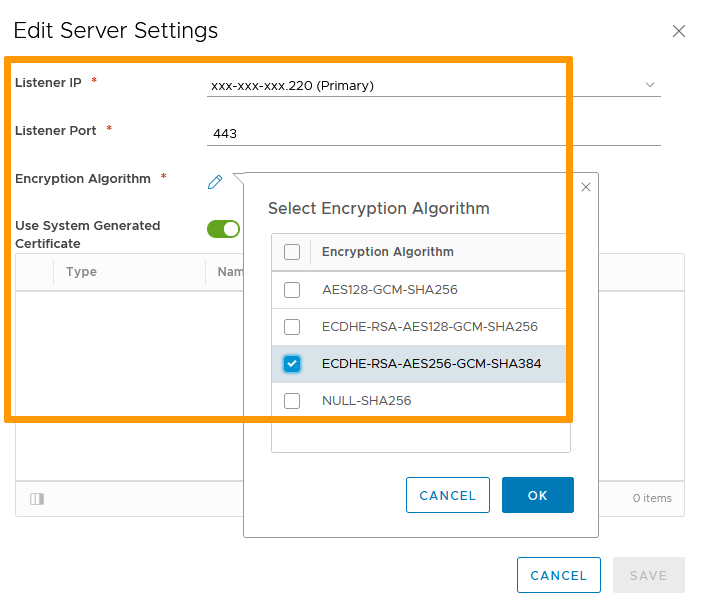
Set your Server Settings:
- Listener IP is the Public IP of the NSX Edge Gateway you will use.
- Listener port is 443 by default (standard https) but can be changed.
- Choose your encryption type.
- Use system generated certificate or select an available third party one if you added one.
Click OK then Save.
Back in the L2 VPN section, click + Add in Site Configuration Details.
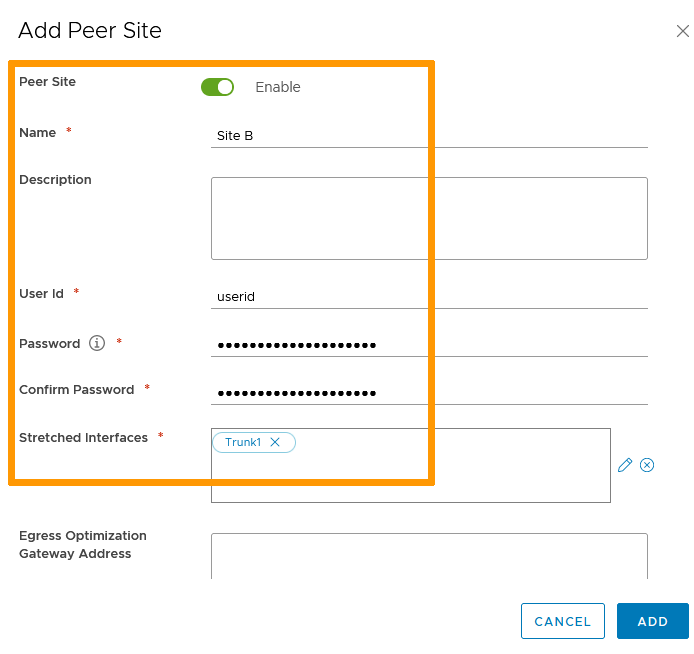
Set your Peer Site Settings:
- Enable the site.
- Name it.
- Define a User Id and password that will be used to authenticate the tunnel connection.
- Stretched Interfaces are the internal interfaces that will communicate with the peer site. Those interfaces need to be trunk interfaces.
Click Add.
You can now Start the L2 VPN service and Publish all the changes made.
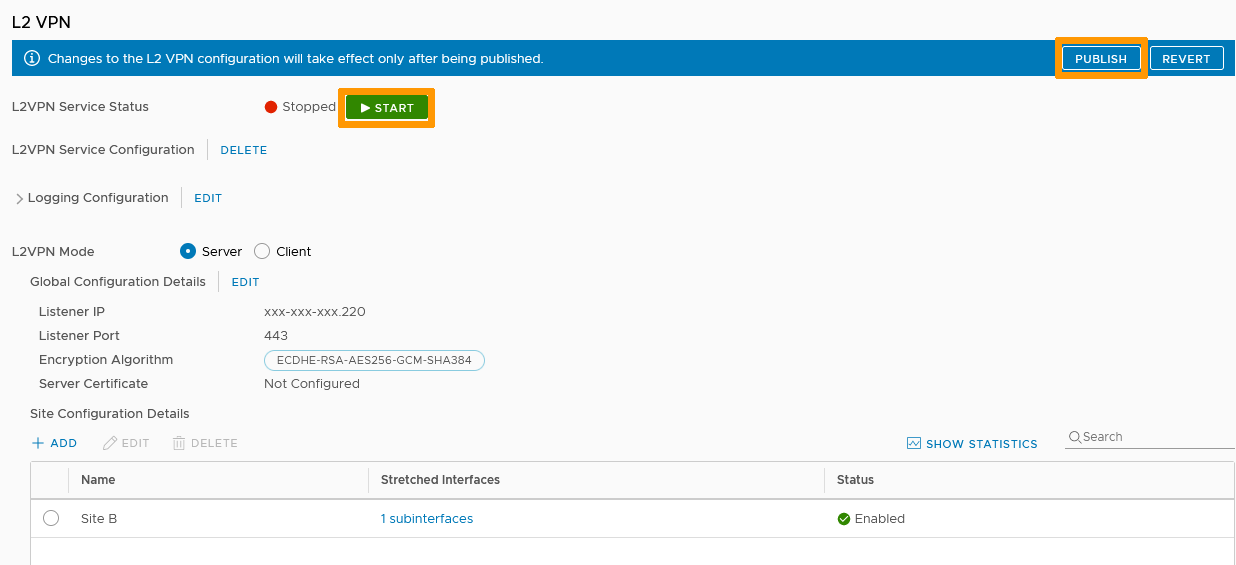
Your server is up and active.
Client Side
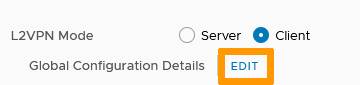
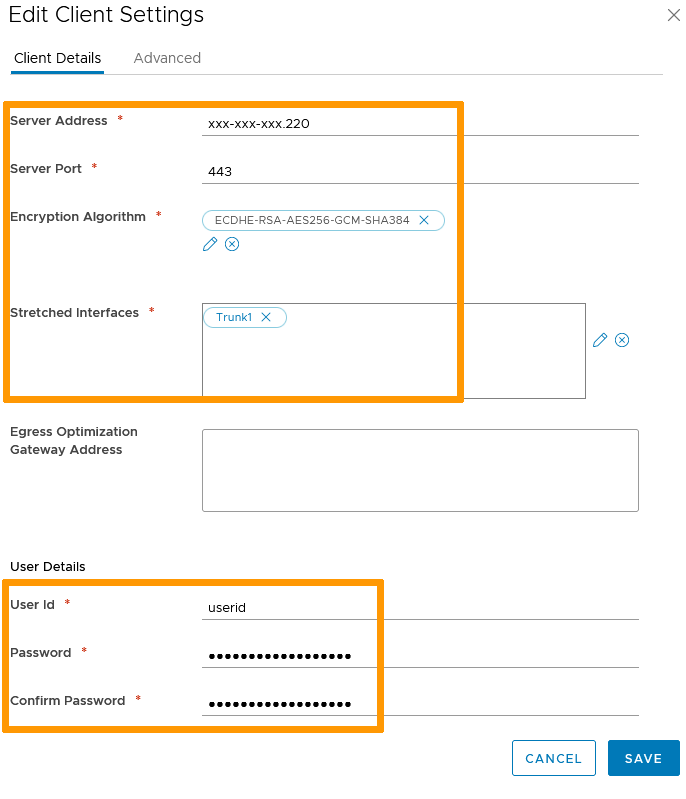
On the client NSX, in the L2 VPN section, select Client mode then click on the Edit button next to Global Configuration Details.
The settings mirror those of the server:
- Server Address is the public IP of the NSX server side.
- The Server Port is the one defined (443 by default but you may have changed it).
- Use the same encryption type as the server.
- This time, the Stretched Interfaces will be the client internal ones that will be communicating with the server side.
- The User Id and password must be the same as defined on the server .
Click Save.
You can now Start the L2 VPN service and Publish all the changes made.
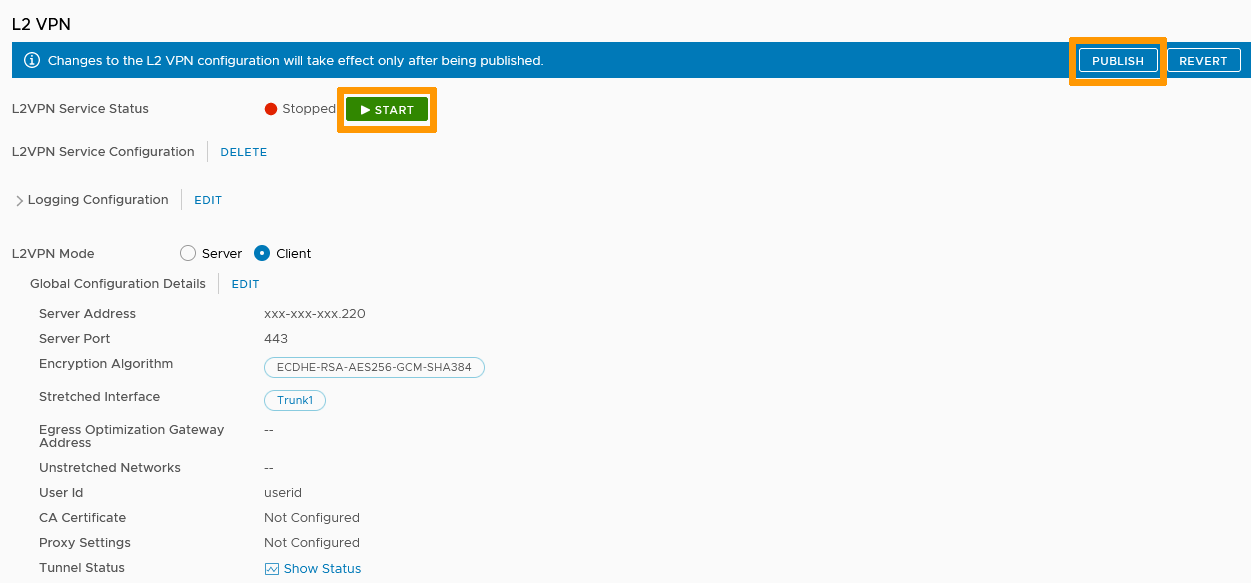
The client side is set and communications should flow.
Go further
Join our community of users on https://community.ovh.com/en/.