
Como utilizar um nome de domínio OVHcloud com o iCloud Mail
Saiba como configurar o seu nome de domínio OVHcloud com o iCloud para criar endereços de e-mail personalizados
Informações sobre a administração dos serviços OVHcloud e como encontrar a assistência adequada
Ao utilizar os guias da OVHcloud, tenha em conta as seguintes condições:
- As instruções procuram fornecer o máximo de detalhes possível, mas não podem abranger todos os casos de utilização individuais. Poderá ser necessário adaptar as ações descritas às suas necessidades.
- O ecossistema OVHcloud foi concebido para oferecer flexibilidade e liberdade de escolha. Os clientes são, por isso, responsáveis pela configuração correta e segura dos seus serviços. Para evitar a perda de dados, recomendamos vivamente a aplicação de estratégias de cópia de segurança a todos os seus dados importantes.
- Os nossos guias e tutoriais podem fazer referência a software ou serviços de terceiros em combinação com as soluções OVHcloud. O suporte técnico fornecido pela OVHcloud não inclui a configuração de sistemas ou produtos fora da nossa responsabilidade. Isto inclui, entre outros:
- Sistemas operativos e interfaces de utilizador (Windows, Debian, Plesk, etc.).
- Qualquer outro software de terceiros (clientes FTP, software de e-mail, etc.).
- Serviços oferecidos por outros fornecedores (DNS, API, interfaces de utilizador, etc.).
Para receber a assistência adequada em caso de problemas, siga estas orientações:
- Procura aconselhamento personalizado ou pretende discutir um tema que não é abordado em detalhe na nossa documentação?
Junte-se à comunidade OVHcloud para pesquisar o seu tema e falar com outros utilizadores. - Precisa de comunicar um incidente relativo ao seu serviço OVHcloud ou tem dificuldades na Área de Cliente OVHcloud?
Crie um pedido de suporte no nosso Centro de Ajuda. - Necessita de assistência profissional para o seu projeto ou de ajuda com tarefas fora do âmbito do nosso suporte?
Visite o nosso portal de parceiros para encontrar especialistas familiarizados com as soluções OVHcloud. - Procura informações mais detalhadas sobre os nossos níveis de suporte e Professional Services?
Visite as nossas páginas web sobre os níveis de suporte OVHcloud e os OVHcloud Professional Services.
Pode participar na melhoria da nossa documentação:
- Pretende partilhar comentários para melhorar uma página de guia ou comunicar informações insuficientes numa página específica?
Utilize os botões «Esta página foi útil?» no final da página para nos informar. - Pretende propor uma atualização concreta da documentação?
Utilize a função «Editar esta página», disponível no final da página e na barra lateral.
Objetivo
Este guia explica-lhe como utilizar um nome de domínio registado na OVHcloud com o serviço iCloud Mail da Apple. Poderá assim criar endereços de e-mail personalizados (john.smith@mydomain.ovh), integralmente geridos e alojados pela Apple.
Requisitos
- Um nome de domínio registado na OVHcloud.
- Um ID Apple com uma subscrição iCloud+.
Acesso à Área de Cliente OVHcloud
- Ligação direta:
- Caminho de navegação:
Web Cloud>Zonas DNS> Selecione o seu nome de domínio
Instruções
1 - Ativar o nome de domínio no iCloud
Para ativar o seu nome de domínio no iCloud, siga as instruções da página "Add a domain you own to iCloud Mail on iCloud.com" da documentação oficial da Apple. Concentre-se na secção "Step 3: Update the records with your domain registrar" (Atualizar os registos junto do seu agente de registo de domínios), para obter os registos DNS a adicionar à sua zona DNS OVHcloud.
No final desta etapa, a Apple comunicar-lhe-á uma lista de registos DNS (MX, CNAME, TXT) a configurar na sua zona DNS OVHcloud. Guarde-os para a etapa seguinte.
2 - Configurar os registos DNS na sua Área de Cliente OVHcloud
Clique nos separadores abaixo para visualizar cada uma das 2 etapas.
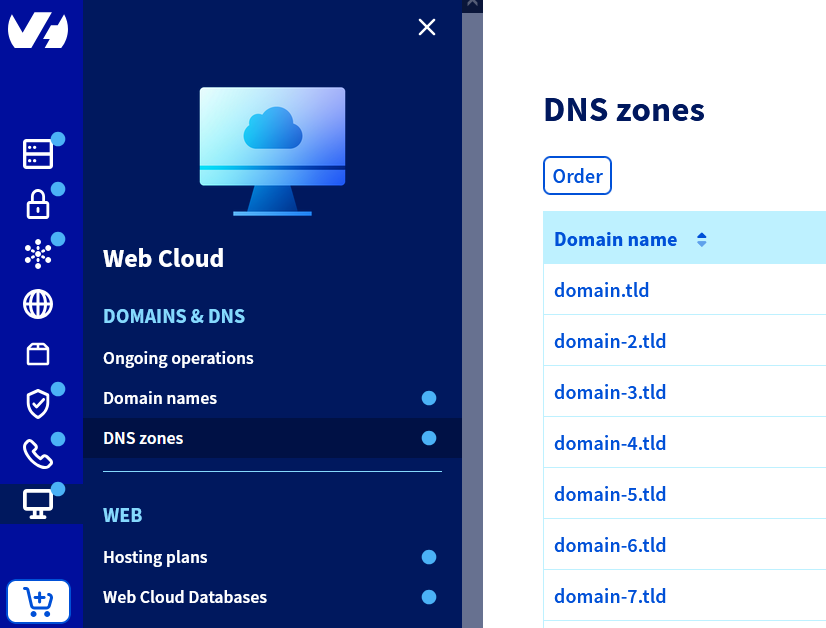
Na secção Zonas DNS, selecione o nome de domínio em questão.
3 - Adicionar um registo DMARC (facultativo)
Para melhorar a entregabilidade dos seus e-mails e evitar que sejam tratados como spam, adicione um registo DMARC.
Para saber como criar um registo DMARC na sua Área de Cliente OVHcloud, consulte o nosso guia "Melhorar a segurança dos e-mails através do registo DMARC".
4 - Verificar e ativar o domínio no iCloud
Depois de os registos DNS (MX, CNAME, TXT, DMARC) terem sido corretamente adicionados à sua zona DNS OVHcloud, volte a iCloud.com.
Siga as instruções da página "Add a domain you own to iCloud Mail on iCloud.com" da documentação oficial da Apple. Concentre-se na secção "Step 4: Finish setting up the domain" (Terminar a configuração do domínio).
Uma vez concluída esta etapa, o seu nome de domínio personalizado fica totalmente ativado e pode criar até 3 endereços por membro da sua família.
A validação pode falhar se os seus registos DNS ainda não tiverem sido propagados. Esta propagação pode demorar várias horas.
Resoluções de problemas frequentes
Verificar onde é gerida a zona DNS
Se o seu nome de domínio utilizar servidores DNS externos à OVHcloud (Wix, Squarespace, Cloudflare, etc.), configure os registos na interface de gestão desses servidores DNS, e não na Área de Cliente OVHcloud.
CNAME já existente
- Um registo CNAME não pode coexistir com um registo A, AAAA ou TXT configurado no mesmo domínio ou subdomínio.
- Elimine o registo antigo antes de criar o CNAME solicitado pela Apple.
SPF duplicado
- Só pode existir um único registo SPF por nome de domínio. Se já existir um registo SPF OVHcloud (ex.:
v=spf1 include:mx.ovh.com ~all), junte-o ao fornecido pela Apple (ex.:v=spf1 include:mx.ovh.com include:icloud.com ~all).
DKIM incompleto
- A Apple pede-lhe que registe várias chaves DKIM (
sig1,sig2, etc.): adicione-as todas à sua zona DNS.
Prazo de propagação
- As alterações DNS podem demorar várias horas (até 24 h) até serem tidas em conta pela Apple.
Quer saber mais?
Para serviços especializados (referenciação, desenvolvimento, etc.), contacte os parceiros OVHcloud.
Se pretender usufruir de ajuda na utilização e na configuração das suas soluções OVHcloud, consulte as nossas diferentes ofertas de suporte.
Fale com a nossa comunidade de utilizadores.