Configure access control using OVHcloud IAM on an OVHcloud Managed Private Registry
Learn how to enable and manage OVHcloud IAM authentication to control access to your Managed Private Registry (MPR) using centralized identities and roles.
Objective
OVHcloud Managed Private Registry (MPR) supports authentication through OVHcloud IAM, allowing you to manage access using centralized user identities and roles.
This guide explains how to enable IAM authentication and control user access to your registry using OVHcloud IAM users and roles.
Requirements
- An OVHcloud Managed Private Registry (see the creating a private registry guide for more information).
- An access to the Harbor UI to operate the private registry (see the connecting to the UI guide for more information).
OVHcloud Console Access
- Direct link:
- Navigation path:
Public Cloud> Select your project >Containers>Managed Private Registry
Instructions
Introduction to OVHcloud IAM
OVHcloud IAM (Identity and Access Management) is a centralized system that lets you manage who can access your OVHcloud services and what they are allowed to do. It provides fine-grained access control through users, groups and roles.
When used with Managed Private Registry (MPR), OVHcloud IAM replaces Harbor's local user database. This enables you to:
- use SSO (Single Sign-On) with your OVHcloud credentials to access Harbor.
- assign predefined IAM roles (admin, standard) to control access levels.
- manage permissions at scale using IAM groups and projects.
By integrating IAM with your registry, you ensure consistent access control across your OVHcloud services — reducing manual management and improving security.
Activate/disable authentication via OVHcloud IAM
When you enable OVHcloud IAM authentication on your Managed Private Registry:
- all existing Harbor users will be removed.
- existing robot accounts remain functional.
- new robot accounts can still be created and managed.
From this point on, all users access are managed through OVHcloud IAM roles and policies.
In your Public Cloud project, click Managed Private Registry under Containers in the left-hand menu. Click the ... button on the row of the relevant registry, then select:
Enable IAM authenticationto enable it.Disable IAM authenticationto disable it.
In the dialog that opens, type CONFIRM in the confirmation field, then click the Enable IAM authentication or Disable IAM authentication button.
Authentication using SSO with OVHcloud IAM users
Once IAM authentication is enabled, access to the Harbor UI is handled via OVHcloud Single Sign-On (SSO). Users no longer log in with Harbor-local credentials but authenticate directly using their OVHcloud IAM identity.
To log in via SSO:
-
In your Public Cloud project, click
Managed Private Registryunder Containers in the left-hand menu, then click the...button on the row of your registry and selectAccess Harbor UI. -
You will be redirected to the OVHcloud authentication page, log in using your OVHcloud IAM credentials.
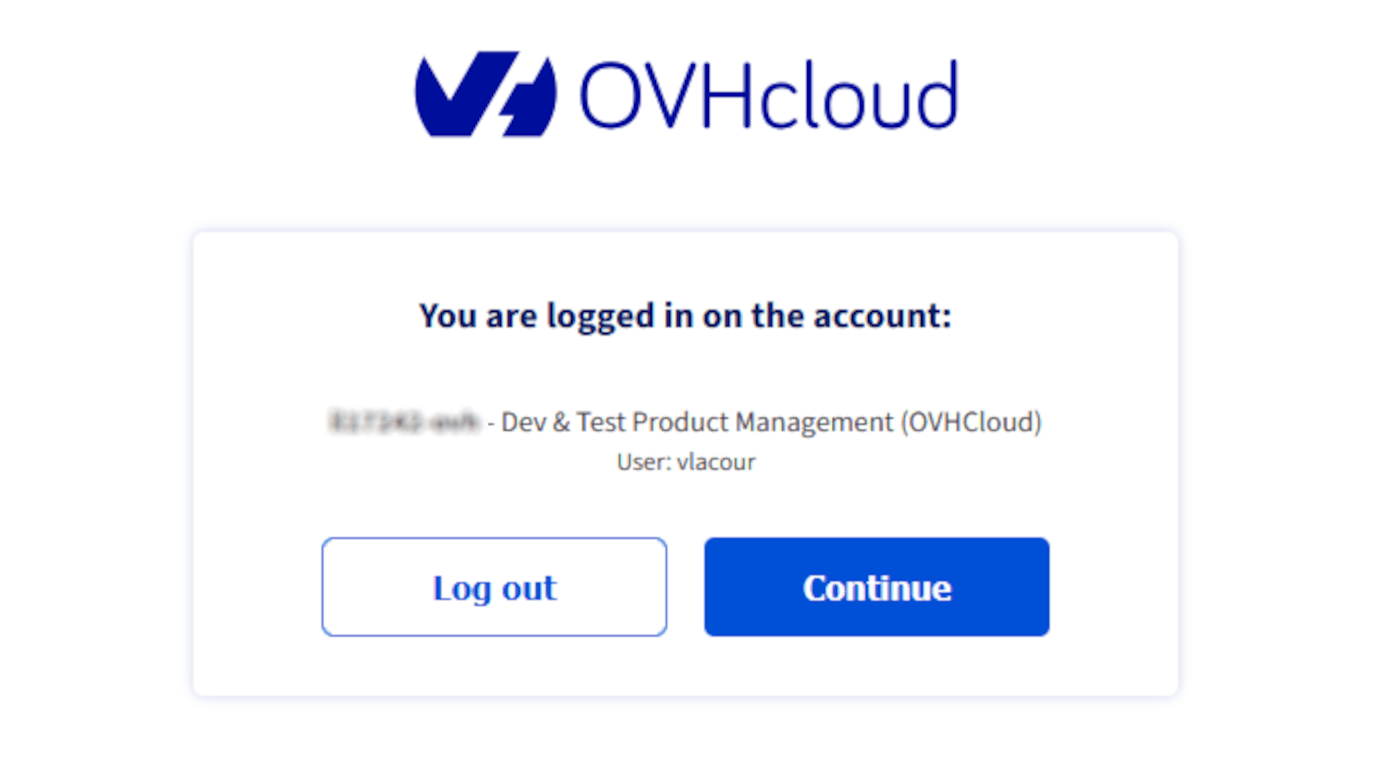
- Access to Harbor is granted based on the IAM role associated with your user account.
Only users with the appropriate IAM role (admin or standard) can access the registry after IAM authentication is enabled.
Managing access rights with OVHcloud IAM
OVHcloud IAM provides two predefined roles for managing access to your Managed Private Registry (MPR):
- Standard
- Admin
Admin role: Regardless of the user group defined in the Identities section, assigning the Admin role will grant full administrative privileges on the selected registry.
Standard role: Be aware that users belonging to the Default group in the Identities section automatically inherit admin privileges on the registry. Assigning them the Standard role will not override these inherited rights. To ensure proper separation of roles, we recommend:
- Organizing users into clearly defined groups.
- After changing a user's group and assigning the Standard role, fine-tune their permissions directly in Harbor for better control and consistency. See the different roles in Harbor here.
These roles are assigned through IAM policies. To create a policy, open Identity and Access Management in the left-hand menu of the OVHcloud Console, click Policies, then Create a policy.
Name your policy, then in the Identities section select the users you want to include and, optionally, user groups (Groups tab) if they have already been created.
Set permissions for MPR:
- In the Product types section, select
Public Cloud Project / Managed Registry. - In the Resources field of the same section, choose the specific MPR instance to which the policy will apply.
- In the Actions section, expand the ROLE category of
publicCloudProject/managedRegistryand tick the desired role for the identities defined in the policy:publicCloudProject:harbor:managedRegistry/adminorpublicCloudProject:harbor:managedRegistry/standard.
Go further
To go further you can look at our guides on: