
Build your own connector with Custom Sources
Custom Sources let you bring your own connector for an API that Data Platform has no connector for
Objective
Custom Sources let you bring your own connector for an API that Data Platform has no connector for. Your coding agent writes and tests the connector on your machine, guided by a skill you download from Data Platform. You upload the result as a package, Data Platform checks and publishes it, and anyone with source rights in the project can then create sources from it.
A source built on a custom connector works like any other source: it appears in the Sources list, its metadata is extracted, and it feeds Load actions, tables and lineage. Only the name of its connector sets it apart.
Custom Sources or HTTP REST
The HTTP REST connector already covers APIs you can describe in a form. Use a custom source when the API needs Python to be read:
- pagination that HTTP REST cannot follow;
- several calls to build one record;
- responses that must be reshaped before they are loaded;
- an authentication scheme HTTP REST does not support.
A custom connector is never built or edited in Data Platform. The package is the connector: its code, its endpoints and its credential fields come from the package, and they change only when you upload a new one.
Requirements
- An AI coding agent on your machine, to build the connector.
- The documentation of the API, or an OpenAPI file or cURL examples, and valid credentials if the API needs them.
- The permission to write sources in the project (see Permissions).
Instructions
Download the skill
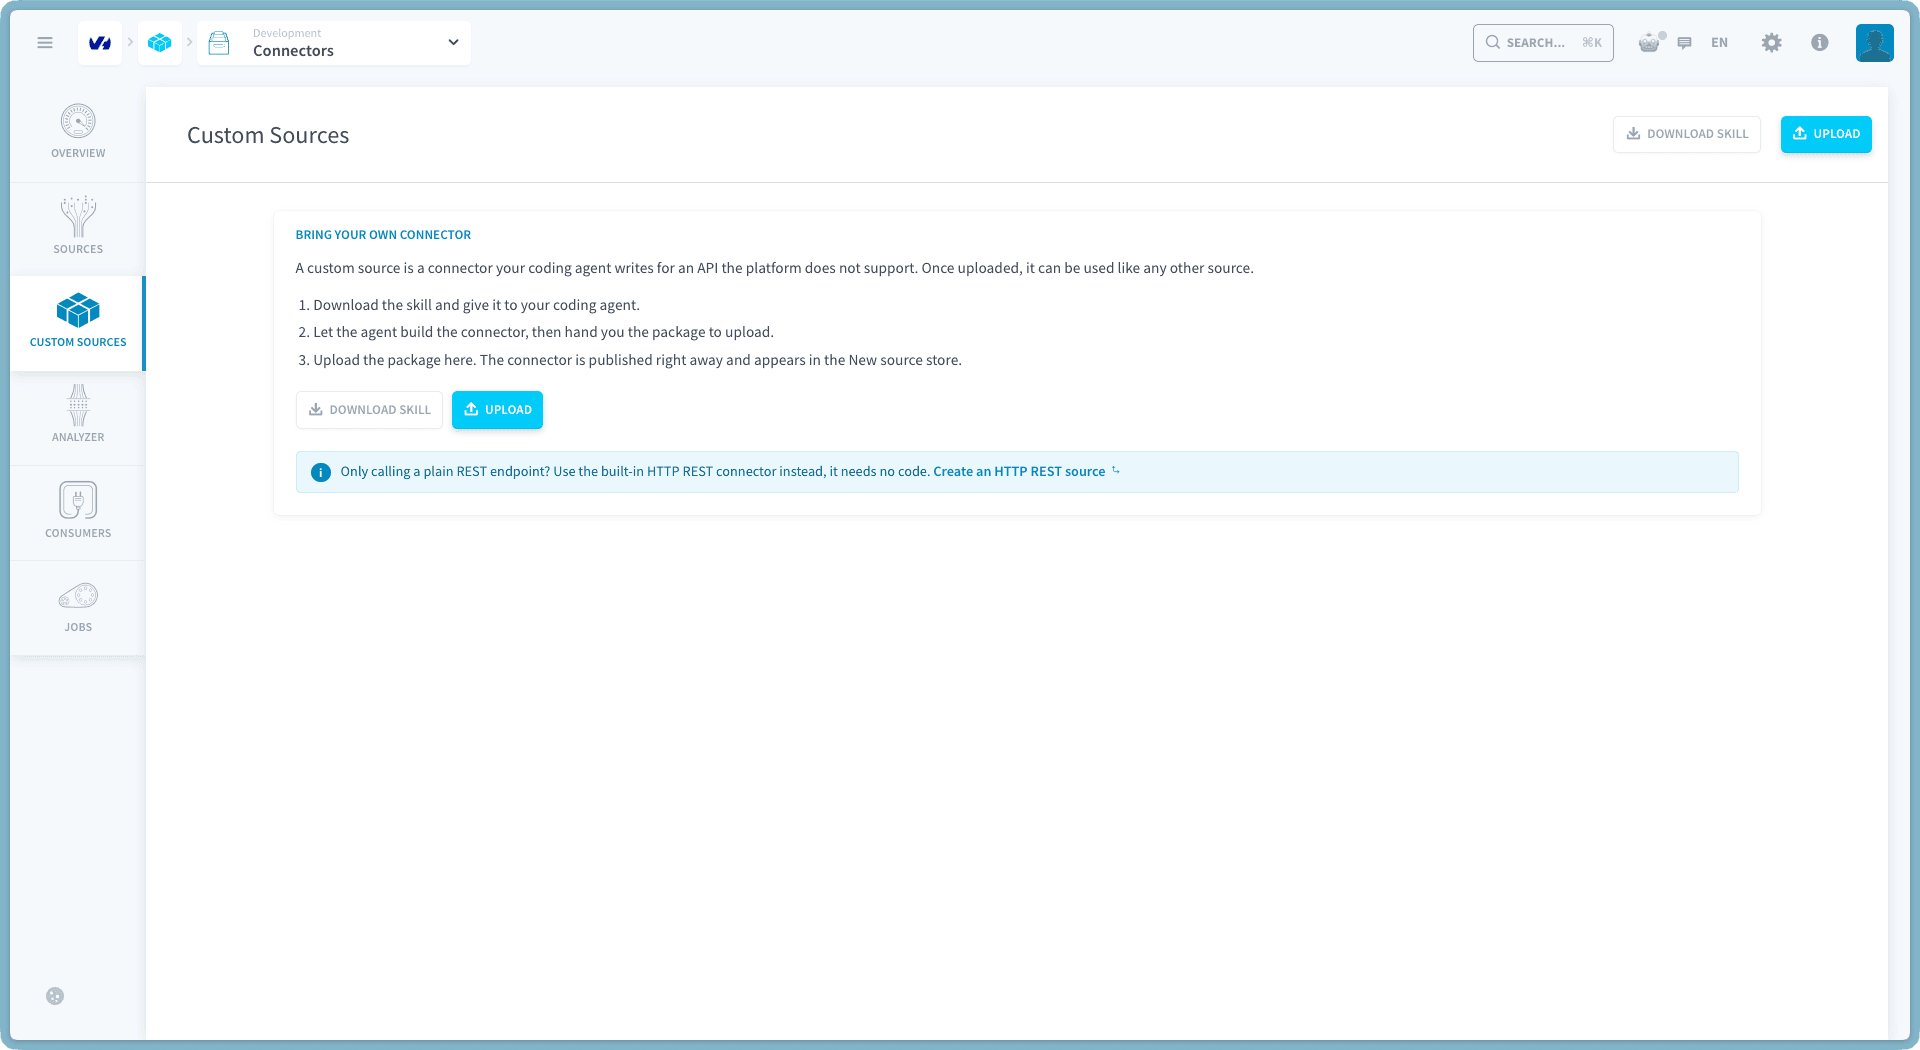
In the Connectors service, open Custom Sources and click Download skill. The skill is a folder you give to your coding agent. It holds:
You can download the skill again at any time from the same page.
Build and test the connector with your agent
Give the skill folder to your coding agent and ask it to build a connector for your API. Following the skill, the agent:
- Checks that a custom source is the right tool, rather than HTTP REST.
- Asks you for the API documentation, the data you want and how authentication works.
- Writes the connector: a manifest (
forepaas.json) and a Python module. - Runs the connector against the real API, with credentials you export as
CUSTOM_SOURCE_<KEY>environment variables. Credential values are never written in a file. - Runs the same checks Data Platform runs at upload, then builds the package, a
.tgzfile. - Tells you what the connector extracts, which credential fields it declares, which warnings remain and what it could not run.
The test runs on your machine, against the real API: Data Platform never sees your credentials while the connector is built.
Upload the connector
On the Custom Sources page, click Upload, then drop the .tgz file in the window or click to pick it.
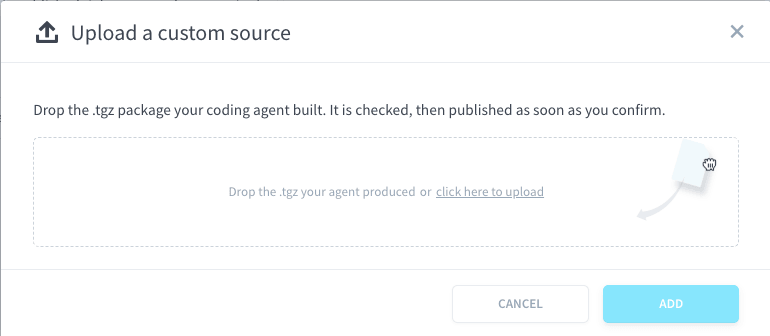
Data Platform runs its checks and shows the endpoints it found, with:
- errors, which block the upload: fix them with your agent and upload the new package;
- warnings, which do not block it: read them, and fix them with your agent if they apply to you.
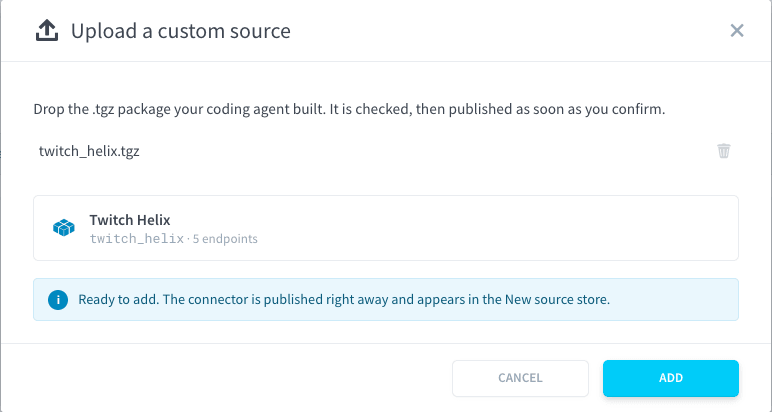
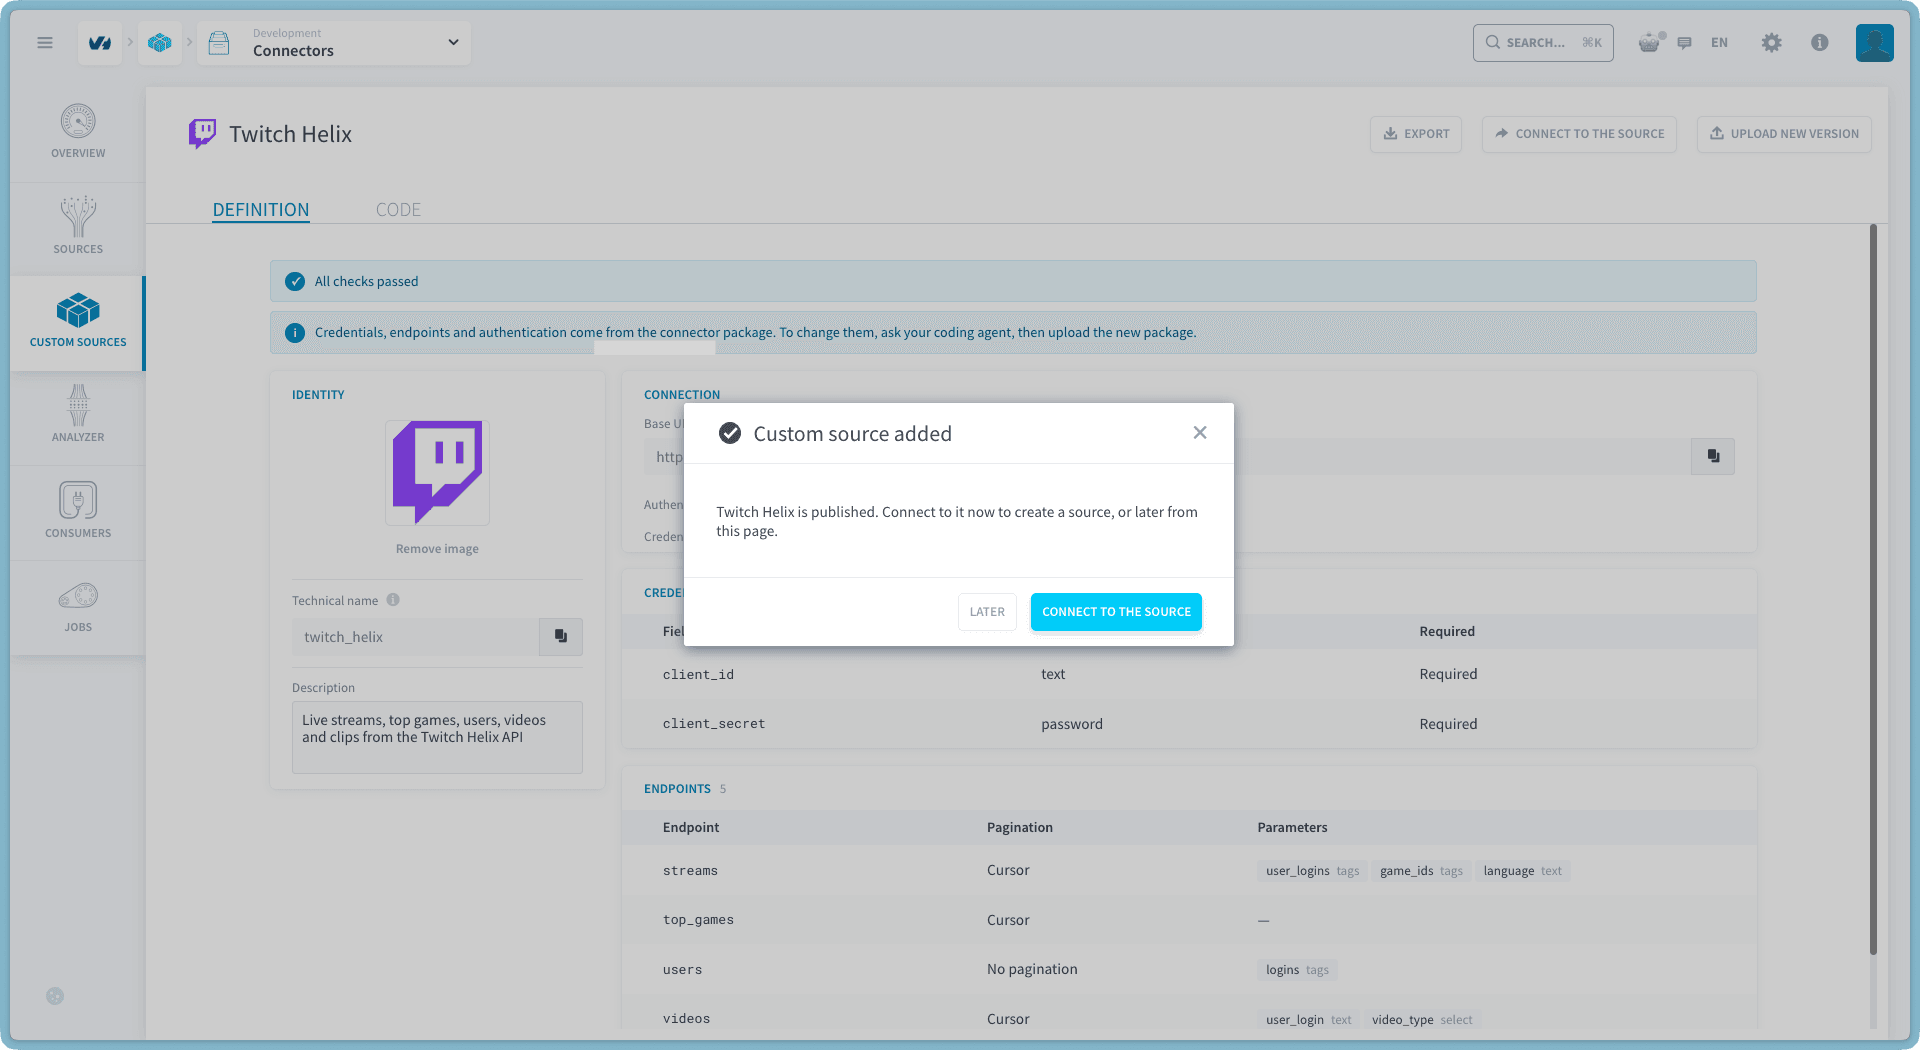
Click Add. The connector is published at once and its page opens. You can create a source from it right away, or later from the same page.
A package is refused when it declares a dependency other than a Python dependency, contains a script, or holds a file other than the manifest, the Python module and the icon. Its technical name cannot be the name of a connector built into Data Platform.
Review and edit the connector
Open a connector from the Custom Sources list. Its page has 2 tabs:
- Definition: the result of the checks, with any remaining warning, then the identity of the connector, its connection (base URL, authentication method), its credential fields and its endpoints with their parameters.
- Code: the Python code that runs in the extraction jobs.
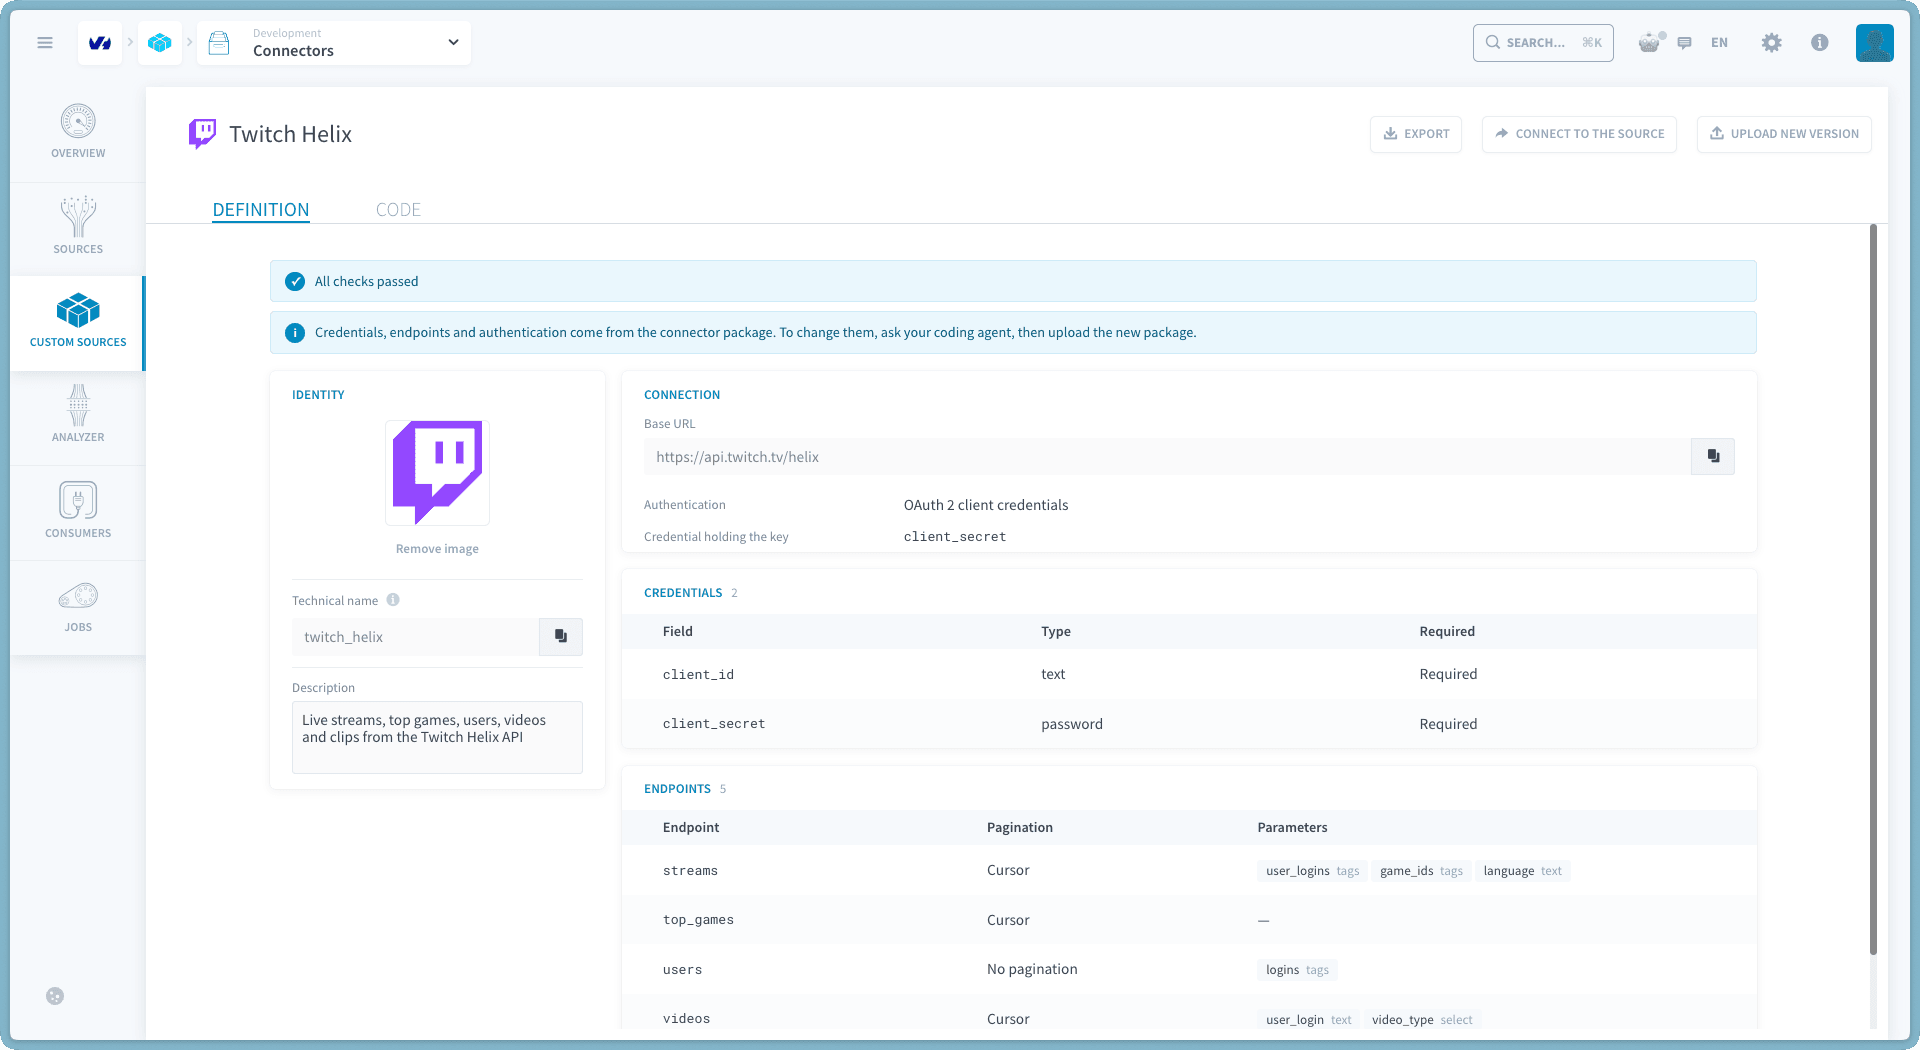
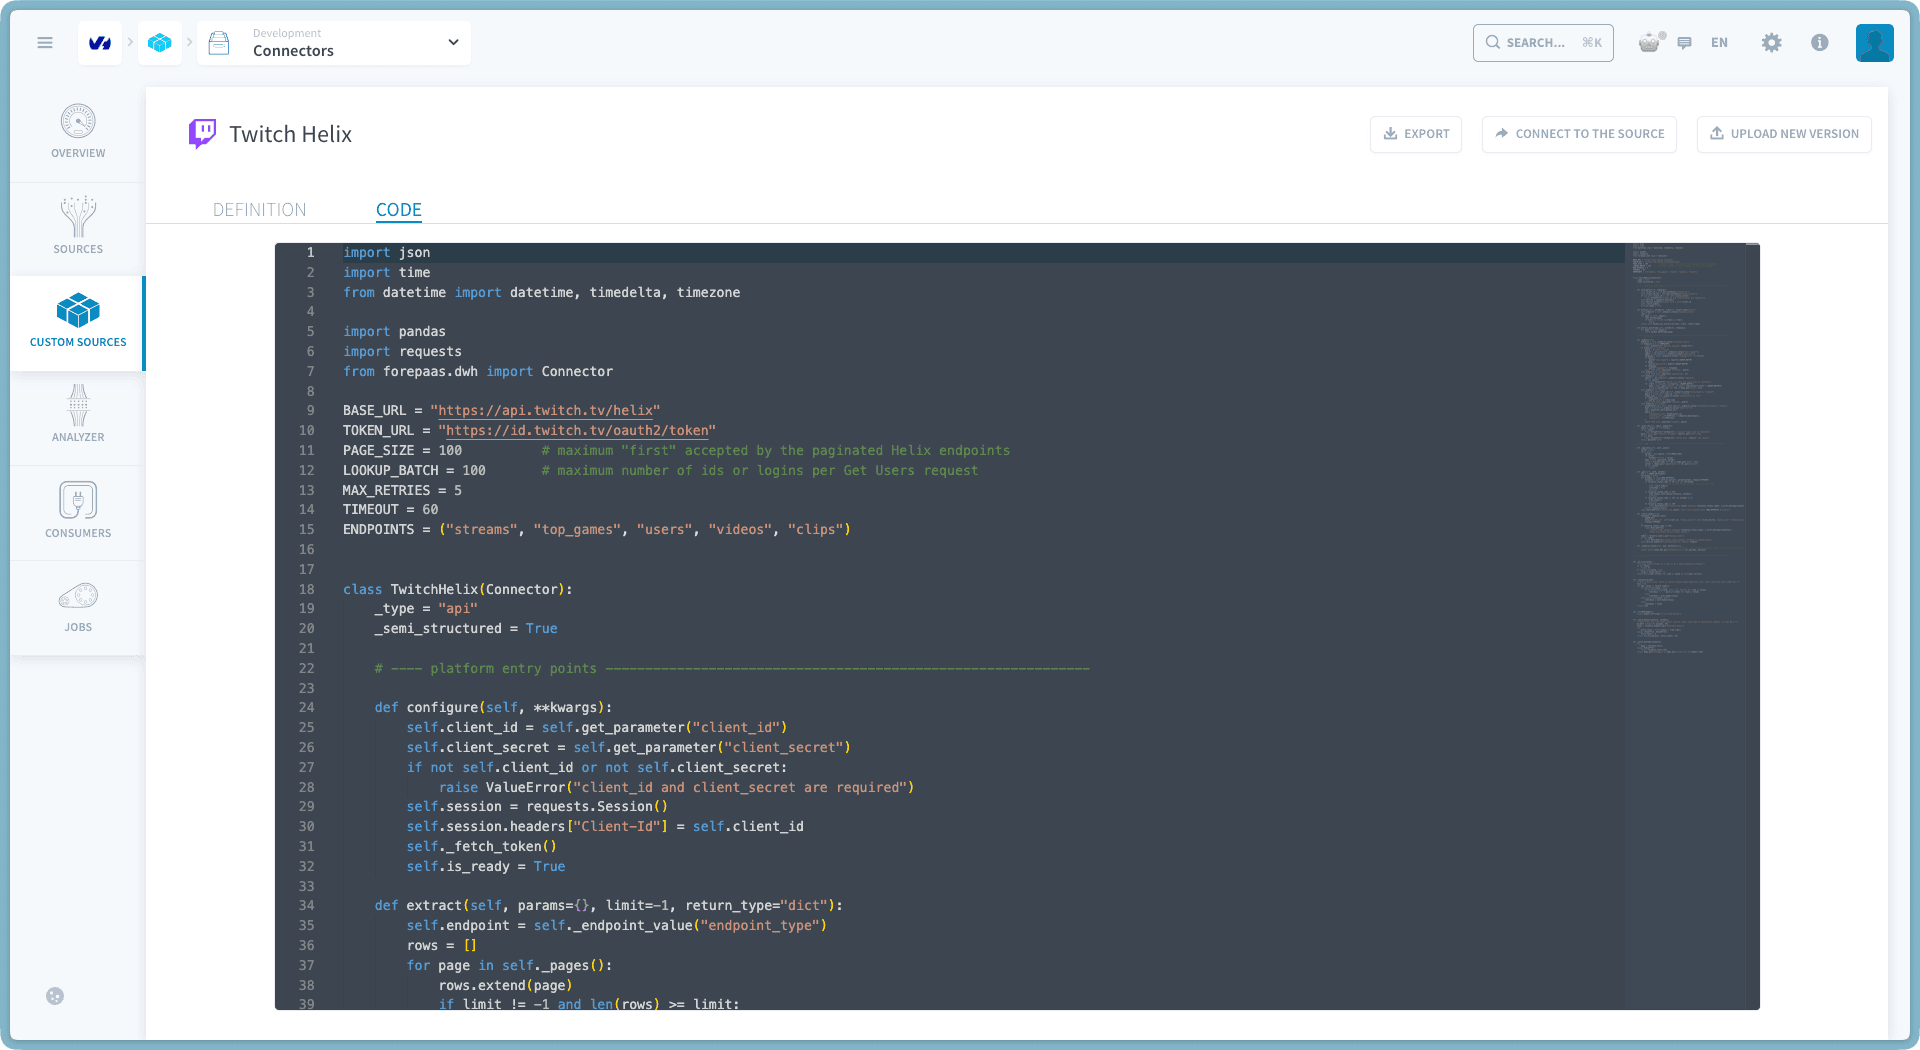
You can change 3 things in Data Platform: the display name (up to 200 characters), the description (up to 2,000 characters) and the icon. A Save button appears when you change one of them. Everything else comes from the package and is read-only: to change the code, the endpoints, the credential fields or the authentication, update the connector with your agent and upload a new version.
The technical name cannot change. It identifies the connector, and an upload with the same technical name replaces it.
Create a source from the connector
On the page of the connector, click Connect to the source. You can also click New Source in the Sources list: custom connectors are listed under the Custom Source category of the store, next to the built-in ones.
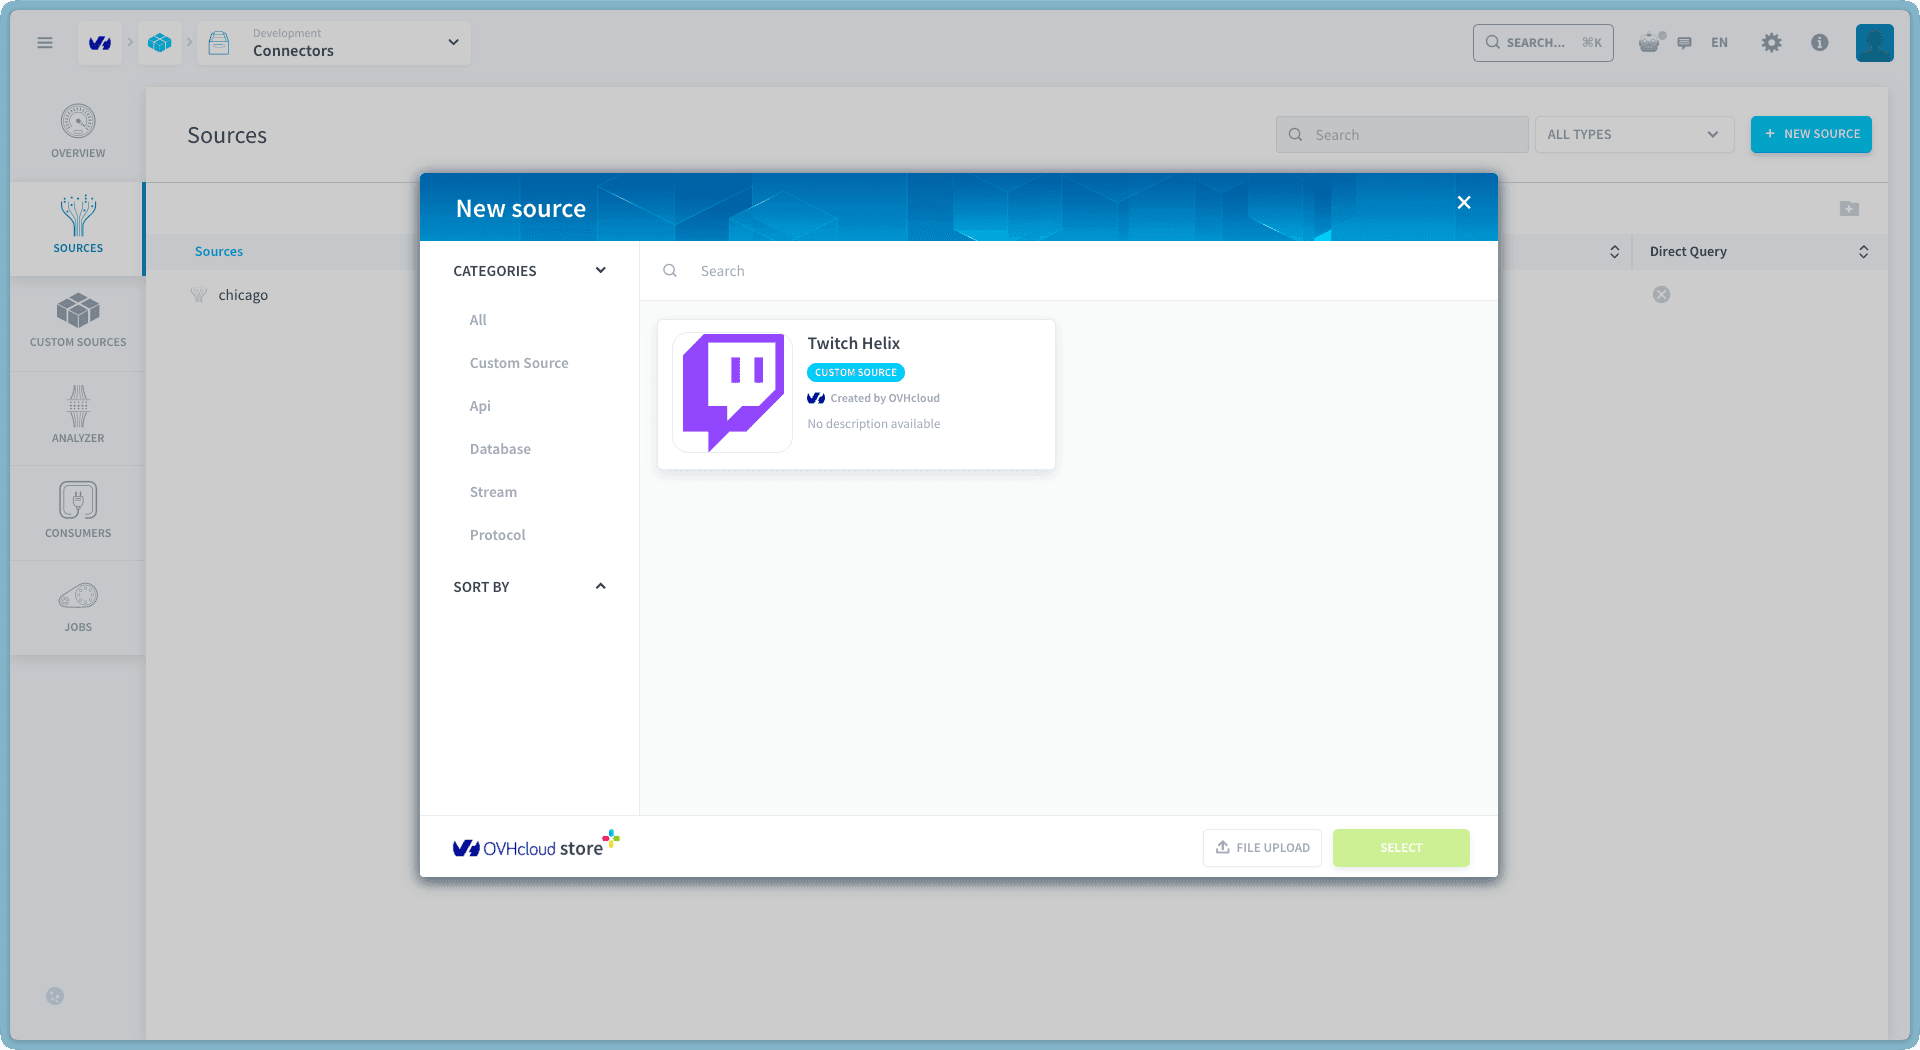
The standard source wizard opens. Name the source, fill in the credential fields the connector declares, pick the endpoints and their parameters, then save. See Configure your connector for the steps that follow, from metadata extraction to loading.
Update a connector
- On the page of the connector, click Export. The package downloads, without any credential value. Keep it as a backup.
- Give the exported package to your agent, with the skill, and ask for the change. The agent keeps the technical name, tests every endpoint, runs the checks and builds a new package.
- Click Upload new version and upload the new package. It replaces the previous one.
Sources on the connector run the new code from their next job. If something breaks, upload the package you exported in step 1 again.
Uploading a package with the same technical name from Upload on the Custom Sources page also replaces the connector: the window offers to replace it, never to create a second one. Upload new version refuses a package whose technical name is different.
Share a connector with another project
Click Export on the page of the connector, then upload the package in the other project with Upload. The same connector is published there. Credential values are not part of the package: each source in the other project needs its own.
Delete a connector
Click Delete in the Custom Sources list. The page of the connector has no delete button.
Sources that use the connector stop working. When sources depend on the connector, the confirmation lists them by name. Once the connector is deleted, these sources are kept as orphans, and their next job fails with a message naming the missing connector.
Permissions
Custom Sources use the existing source permissions of the Identity Access Manager. There is no dedicated role.
Without source rights, the Custom Sources page and the Custom Source store category are not shown. With read rights only, the page and the connectors are visible, and Save, Upload, Upload new version and Delete are disabled.
Good to know
- The code runs in your project's extraction jobs only, like a built-in connector. It never runs in a shared Data Platform service.
- Credentials are declared as secret fields in the package and filled in when you create a source. Their values are never part of a package, including an exported one.
- A new version applies to every source on the connector from their next job. If the new package drops an endpoint that a source uses, the upload does not warn you: that source's next job fails.
- There is no version history in Data Platform. Export the connector before you upload a new version, so you can restore it.
Troubleshooting
Go further
For training or technical assistance implementing our solutions, contact your sales representative or visit our Professional Services page to request a quote and have your project analysed by our experts.
Ask questions, give your feedback and interact directly with the team building the Data Platform on the dedicated Discord channel.
If you need support with your OVHcloud services, create a request in our Help Centre.
Join our community of users.