Getting started with your SNC Cloud Platform project
Find out how to get started with and configure your SNC Cloud Platform environment
Objective
This guide shows you how to connect to the graphical interfaces of the SNC Cloud Platform as a service administrator.
Requirements
To follow this guide, you will need the following information:
- The management interface URL provided when the service was delivered.
- The credentials (organisation ID, login and password) provided when the service was delivered.
Instructions
User interface layout
The URL provided gives you access to the Regional Manager interface of the SNC Cloud Platform.
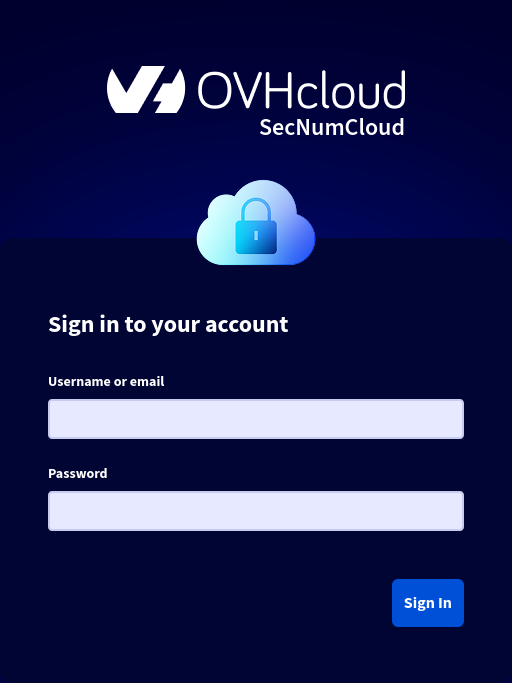
Once you are logged in with your credentials, you will have access to the product dashboard.
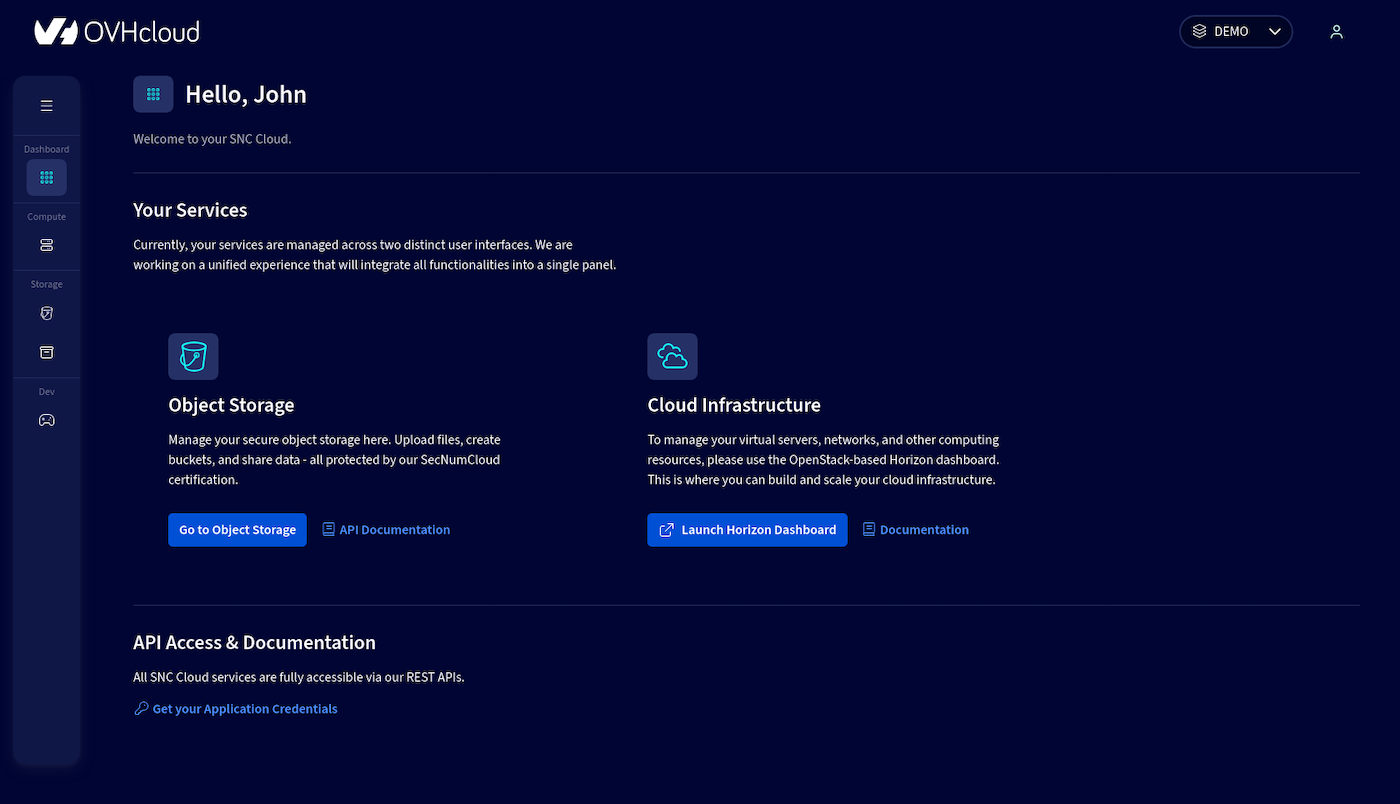
Your interface gives you access to:
- the OpenStack management interface, Horizon. This is a graphical web interface for managing the entire OpenStack infrastructure. It allows the user to make use of the machine resources made available by the administrators, as well as to create, start and stop instances, configure networks and manage their accessibility.
- the Object Storage management interface.
Overview of the OpenStack Horizon interface
The OpenStack Horizon graphical interface offers the ability to perform various actions depending on users' permissions and the project they belong to. The main features available to an end user include: instance management, network management and resource monitoring.
Accessing the OpenStack Horizon administration interface
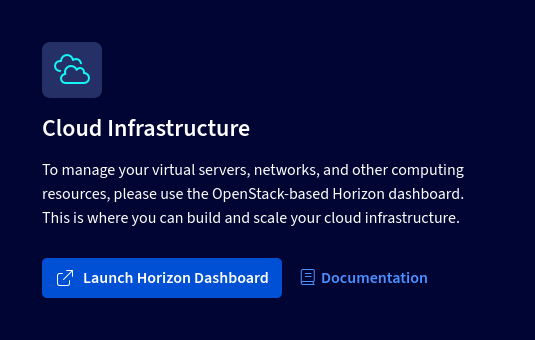
From the Regional Manager interface of the SNC Cloud Platform, the OpenStack Horizon interface is accessible via the link in the dashboard.
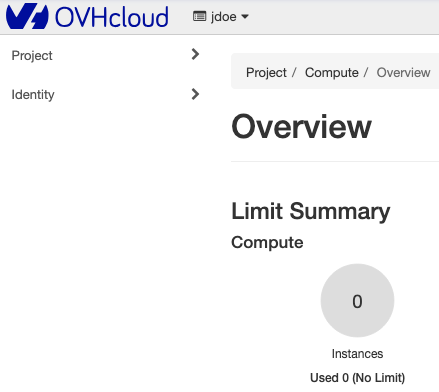
Once you are logged in, the OpenStack Horizon interface appears as follows:
The side menu on the left of the interface provides access to the various elements of the interface. There are two parent entries in this menu:
- Project, which includes four elements: Overview, Compute, Volumes and Network. These elements bring together all the features for managing instances and their networks, within the defined quota limits.
- Identity, which includes the Projects, Users and Application Credentials elements, which contain the user management features.
Project view
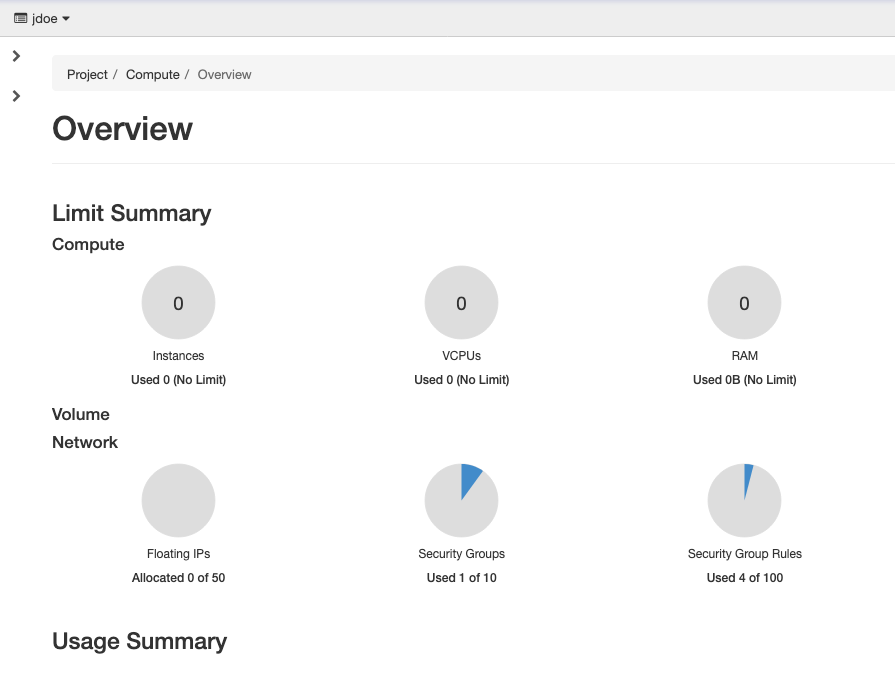
The main Project element is made up of various sub-elements that provide access to all the resource management features. The first sub-element, called Overview, provides a global view of the resource quotas allocated to the project, as well as visual monitoring of overall resource consumption.
Overview section
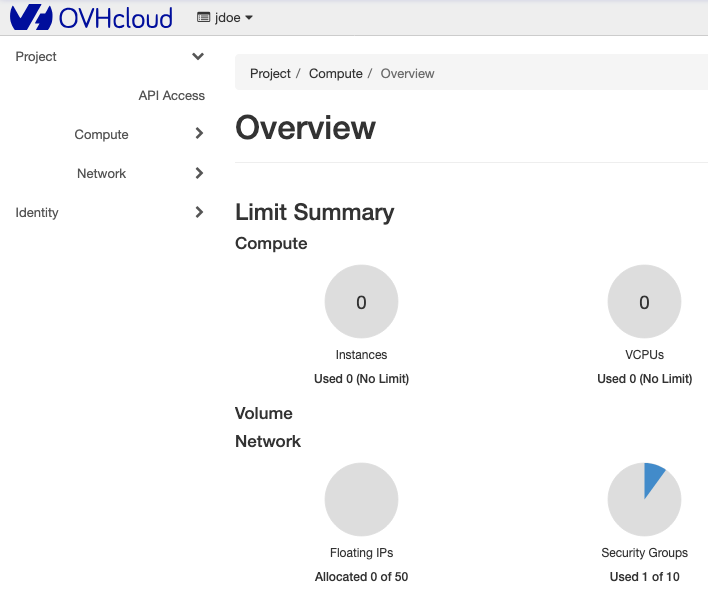
The Overview section is made up of two main parts:
-
Limit Summary: The quota limits allocated to the project for each type of resource. This also makes it possible to view the level of resource consumption in relation to the available capacities. The quotas are grouped into two categories, as shown in the image below:
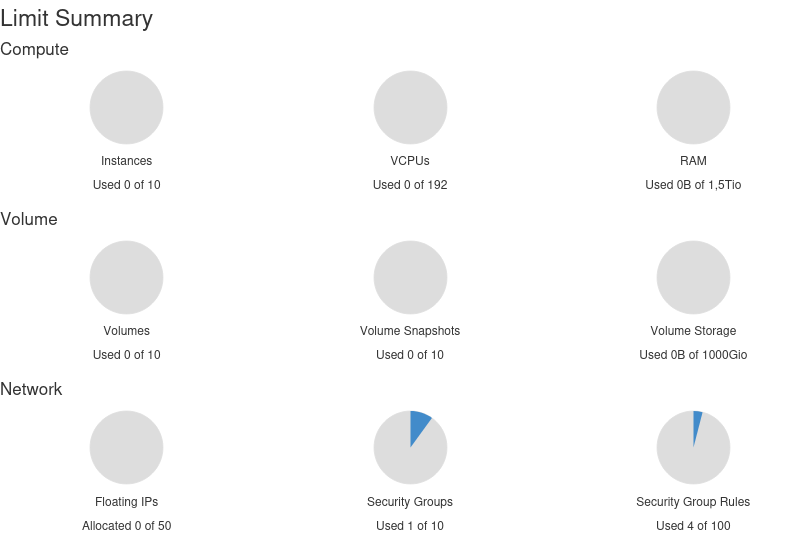
- Compute, which includes the instance limits, the vCPUs and the RAM.
- Network, which monitors the network resource quotas: floating IPs, security groups, security group rules, networks and ports.
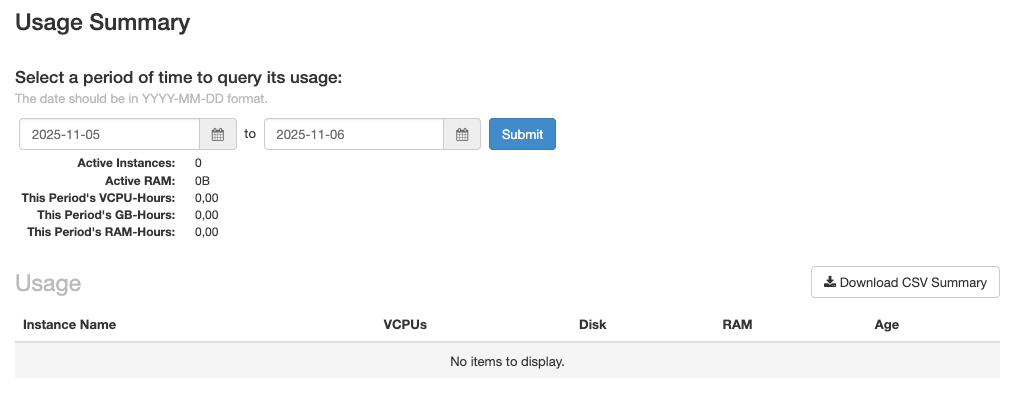
-
Usage Summary: a usage history of the resources over a period of time that lets you observe how resource usage evolves over time.
Compute view
The Compute section brings together the features used to configure the instances of your project. This section is divided into different interfaces:
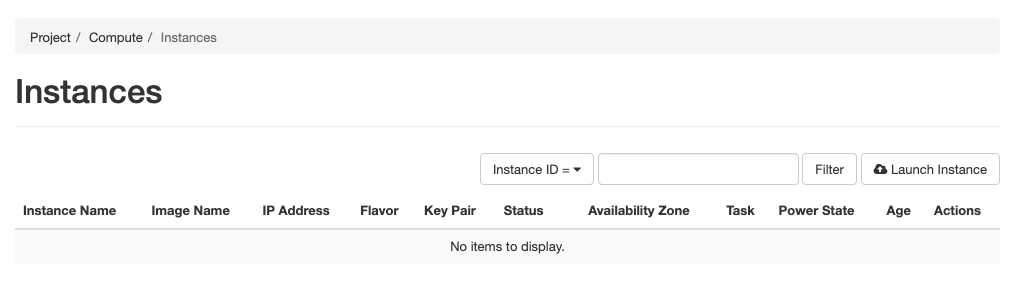
Instances section
An interface for listing and managing instances that are already configured.
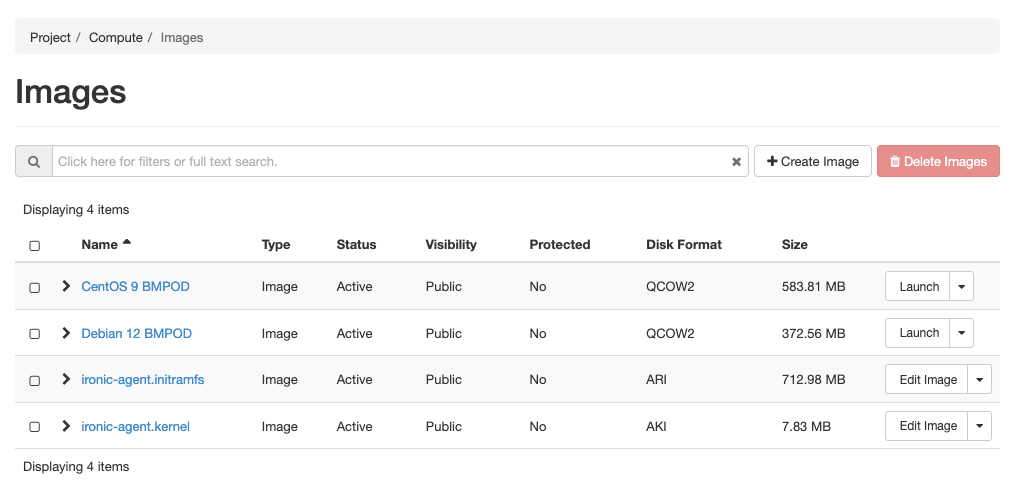
Images section
You can manage the OS images available for creating instances. It is also possible to upload new images or select from the images already available in order to set up instances. You can thus generate your own images to manage additional operating systems.
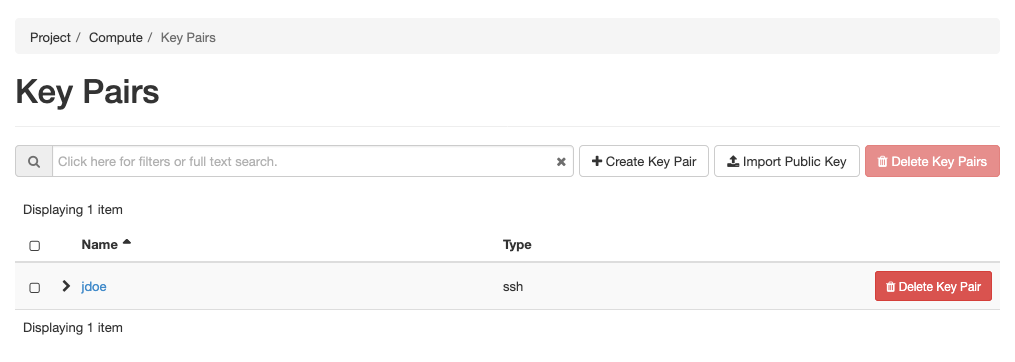
Key Pairs section
In order to authenticate via SSH on your machines after installation, you need to use asymmetric encryption keys. This interface allows you to import the public keys that will be deployed during the installation of the dedicated servers to ensure you have an SSH connection.
Network view
The Network view allows you to view and manage the networks of your project. This interface lets you create shared or separate networks between your instances.
Your entire network configuration is controlled by this graphical interface or via the OpenStack APIs with the Neutron network component. The switches of your infrastructure will be automatically configured based on the information coming from OpenStack.
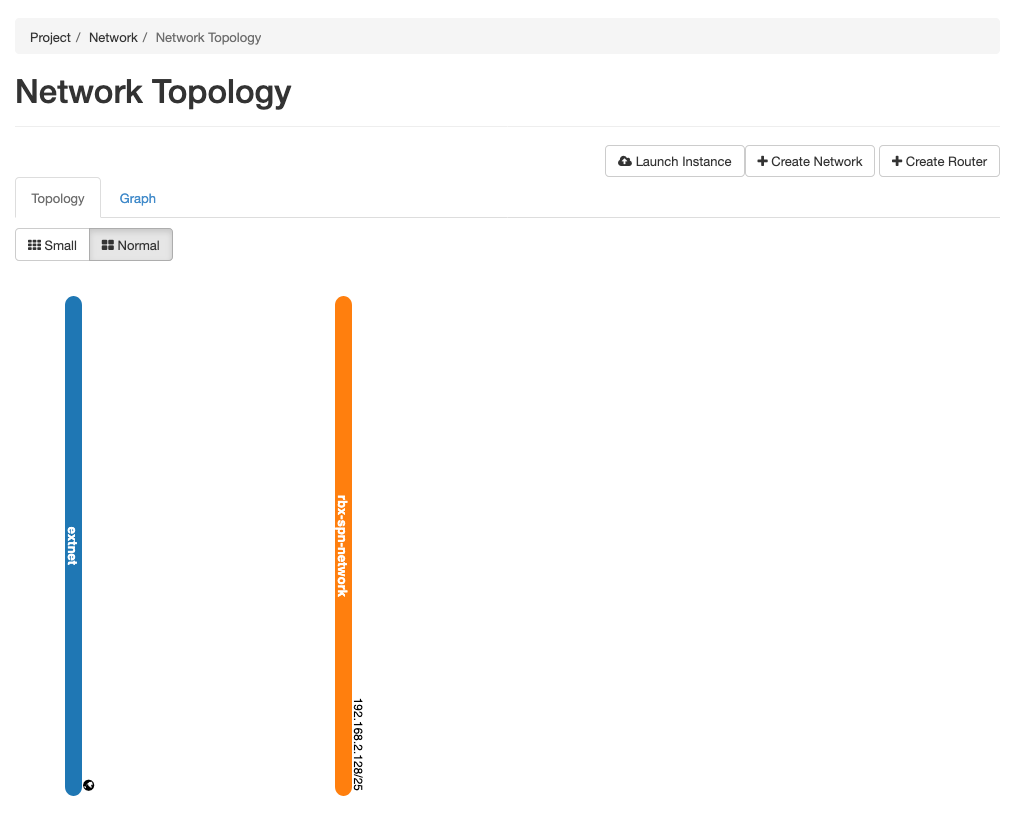
Network Topology section
This section represents all the networks created on this project via a coloured vertical line. The squares correspond to services or instances connected to one or more of these networks.
Networks section
This section contains the list of networks available for the instances on your project.
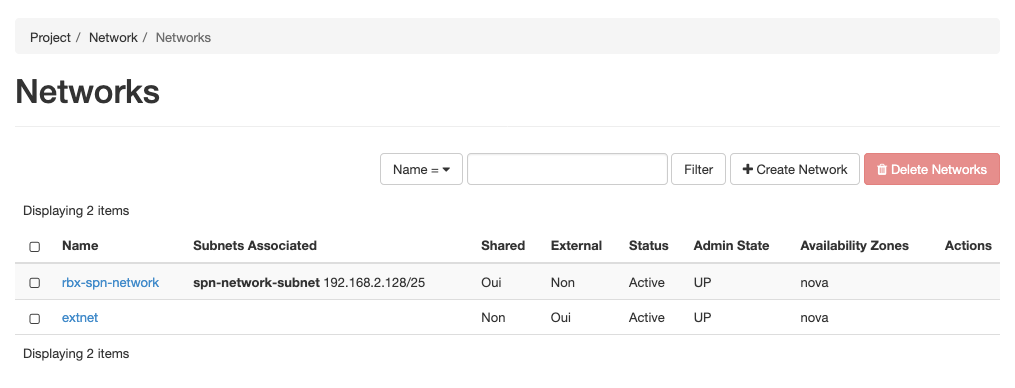
To find out more about how networks work with OpenStack, we recommend that you consult the OpenStack Networking documentation.
Overview of the Object Storage interface
From the Regional Manager interface of the SNC Cloud Platform, the Object Storage interface is accessible via the link in the dashboard.

Buckets tab
In this tab, you will find the list of Object Storage buckets created on your project.

You can also create new ones via the Create bucket button.
Access Keys tab
In this tab, you will find the list of Object Storage Access Keys created on your project. This allows external tools to be used to send or retrieve objects on Object Storage.

You can also create new ones via the Request new Access Key button.
Go further
If you need training or technical assistance to implement our solutions, contact your sales representative or click on this link to get a quote and request a personalised analysis of your project from our Professional Services experts.
Join our community of users.