
Dashboards - Configure your Dashboards instance to accept incoming connections
Find out how to configure your Dashboards instance to accept incoming connections
Objective
Public Cloud Databases allow you to focus on building and deploying cloud applications while OVHcloud takes care of the database infrastructure and maintenance in operational conditions.
This guide explains how to configure your Dashboards instance to accept incoming connections.
Requirements
- A Public Cloud project in your OVHcloud account
- A Dashboards service running on your OVHcloud Public Cloud Databases (this guide can help you to meet this requirement)
OVHcloud Control Panel Access
- Direct link:
- Navigation path:
Public Cloud> Select your project >Analytics
Instructions
Configure your Dashboards instance to accept incoming connections
Before making a connection, we need to verify that our Dashboards instance is correctly configured.
Click on Analytics in the left-hand navigation bar and select your Dashboards instance.
Step 1: Verify your user roles and password
Select the General information tab and Reset the password of avnadmin user, which comes with the Admin role, in the Login information section.
Other users can be created in your Dashboards instance web UI, from the Users tab of the Server Admin panel.
Step 2: Authorise incoming connections to your Dashboards instance
For security reasons the default network configuration doesn't allow any incoming connections. It is thus critical you authorise the suitable IP addresses in order to successfully access your service.
In this step, select the Authorised IPs tab. IP addresses must be authorised here before they can connect to your serbice.
Clicking on Add an IP address or IP address block (CIDR) opens a new window in which you can add single IP addresses or blocks to allow access to the service.
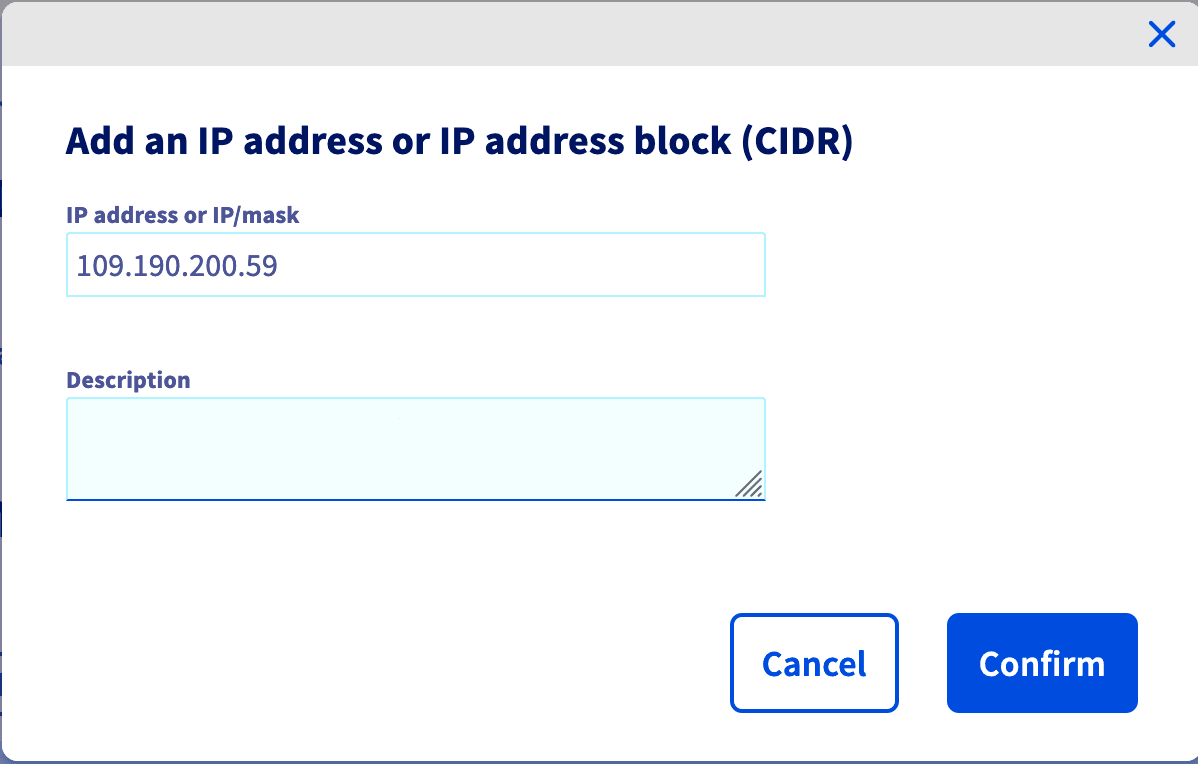
You can edit and retract database access via the ... button in the IP table.
If you want to allow connections from the outside, you can enter the IP 0.0.0.0/0. Please use it carefully.
Connect to your Dashboards Instance
In your Dashboards instance, collect the URI in the Login informations section of the General information tab.
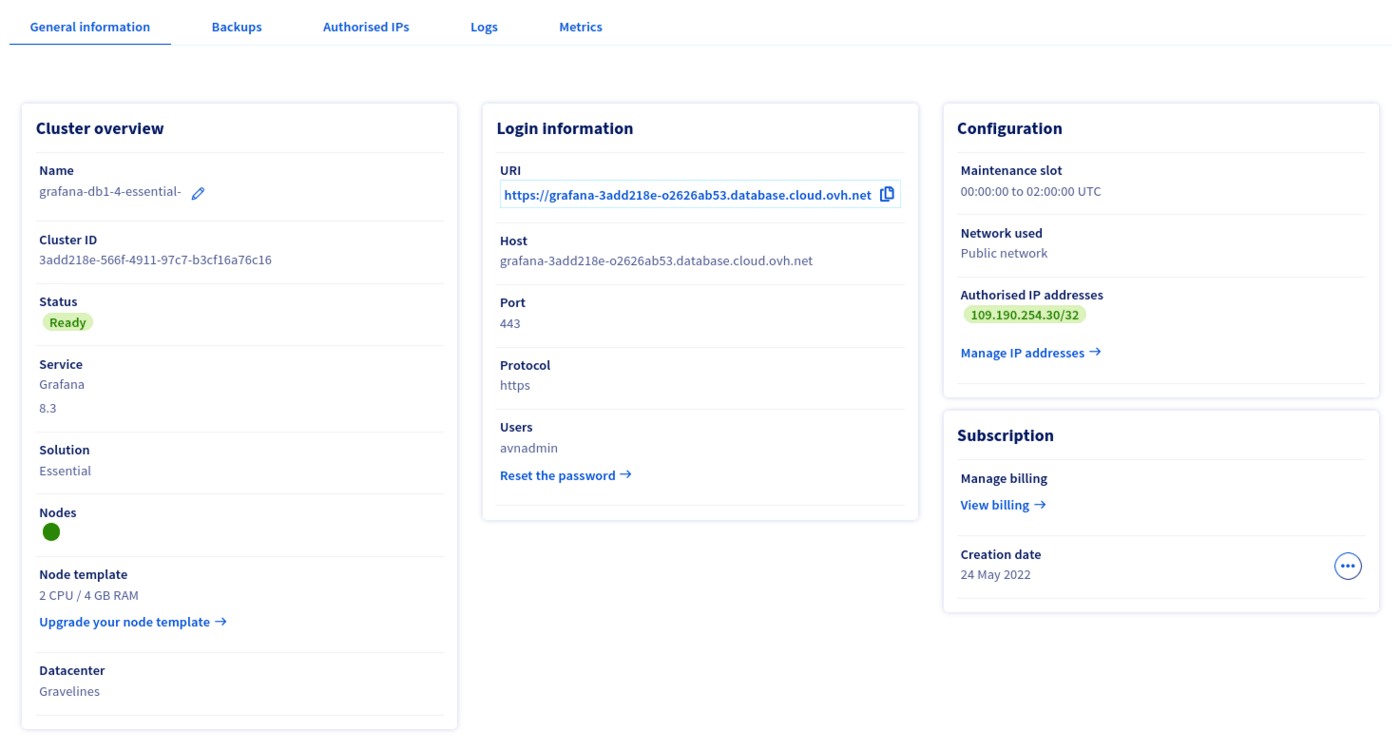
Then connect to your Dashboards instance:
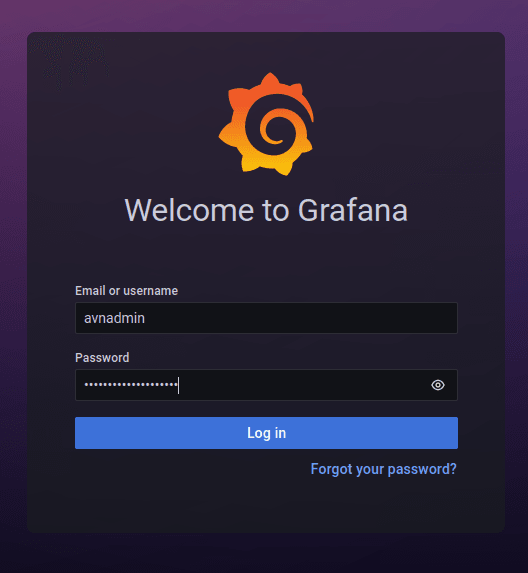
Congratulations! You are now connected to your Dashboards instance.
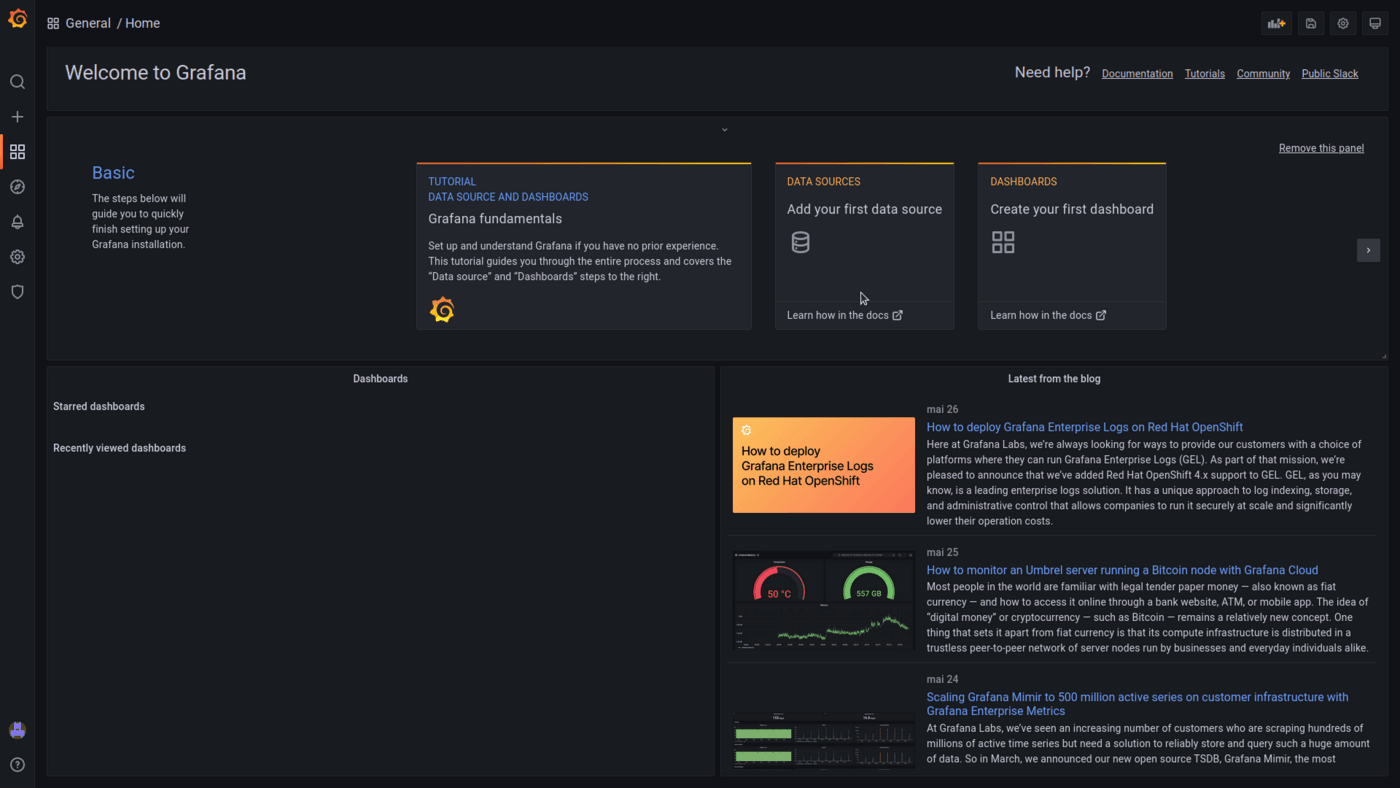
Learn more about Grafana® in the following tutorial: Grafana fundamentals
Go further
Visit our dedicated Discord channel: https://discord.gg/ovhcloud. Ask questions, provide feedback and interact directly with the team that builds our databases services.
For training or technical assistance implementing our solutions, contact your sales representative or visit our Professional Services page to request a quote and have your project analysed by our experts.
Join our community of users.