Find out how to sanitize your OVHcloud Managed Kubernetes with Popeye and export the generated report on an OVHcloud Object Storage container
Objective
Popeye is a tool that scans Kubernetes clusters and reports potential issues with deployed resources and configurations.
It sanitizes your cluster based on what is deployed. By scanning your cluster, it detects misconfigurations and helps you to ensure that best practices are in place, thus preventing future headaches. It aims at reducing the cognitive overload one faces when operating a Kubernetes cluster in the wild.
Popeye also reports potential resources over/under allocations and attempts to warn you about your cluster running out of capacity.
Popeye scans your cluster for best practices and potential issues. Currently, Popeye looks at nodes, namespaces, pods and services.
For your information, Popeye is a read-only tool, it only retrieves informations in order to help you to securize and sanitize your cluster, it does not modify or delete resources on a Kubernetes cluster.
At OVHcloud, we like to provide you with the best products and services. For us, security is important, that's why we want to help you discover Popeye which will help you secure your OVHcloud Managed Kubernetes with helpful reports.
In this guide you will:
Install Popeye (locally)
Generate and export reports
Fix common issues
Store report on OVHcloud Object Storage
You can use the Reset cluster function in the Public Cloud section of the to reinitialize your cluster before following this tutorial.
Requirements
This tutorial presupposes that you already have a working OVHcloud Managed Kubernetes cluster, and some basic knowledge of how to operate it.
Navigation path:Public Cloud > Select your project
At this time you should have a running Kubernetes cluster with hello-world deployment and pod like below:
$ kubectl get po,deployNAME READY STATUS RESTARTS AGEpod/hello-world-deployment-66d599d4c6-bh5w8 1/1 Running 0 4d2hNAME READY UP-TO-DATE AVAILABLE AGEdeployment.apps/hello-world-deployment 1/1 1 1 4d22h
Instructions
Installing Popeye CLI
You can install Popeye on your computer from the binaries, the source, HomeBrew and even use it directly from a Docker image.
For this tutorial you will install it via HomeBrew:
brew install derailed/popeye/popeye
The output should be like this:
$ brew install derailed/popeye/popeyeRunning `brew update --preinstall`......==> Tapping derailed/popeyeCloning into '/Users/avache/homebrew/Library/Taps/derailed/homebrew-popeye'...remote: Enumerating objects: 233, done.remote: Counting objects: 100% (104/104), done.remote: Compressing objects: 100% (52/52), done.remote: Total 233 (delta 25), reused 0 (delta 0), pack-reused 129Receiving objects: 100% (233/233), 25.13 KiB | 12.57 MiB/s, done.Resolving deltas: 100% (57/57), done.Tapped 1 formula (12 files, 37KB).==> Downloading https://github.com/derailed/popeye/releases/download/v0.10.0/popeye_Darwin_arm64.tar.gz==> Downloading from https://objects.githubusercontent.com/github-production-release-asset-2e65be/176379662/c65e86e0-4e3e-4591-9bb7-62b7bddd46e4?X-Amz-Algorithm=AWS4-HMAC-SHA256&X-Amz-Credential=AKIAIWNJY######################################################################## 100.0%==> Installing popeye from derailed/popeye...==> Running `brew cleanup popeye`...Disable this behaviour by setting HOMEBREW_NO_INSTALL_CLEANUP.Hide these hints with HOMEBREW_NO_ENV_HINTS (see `man brew`).
After the installation, check that the popeye CLI is working correctly:
popeye version
You should have a behavior like this:
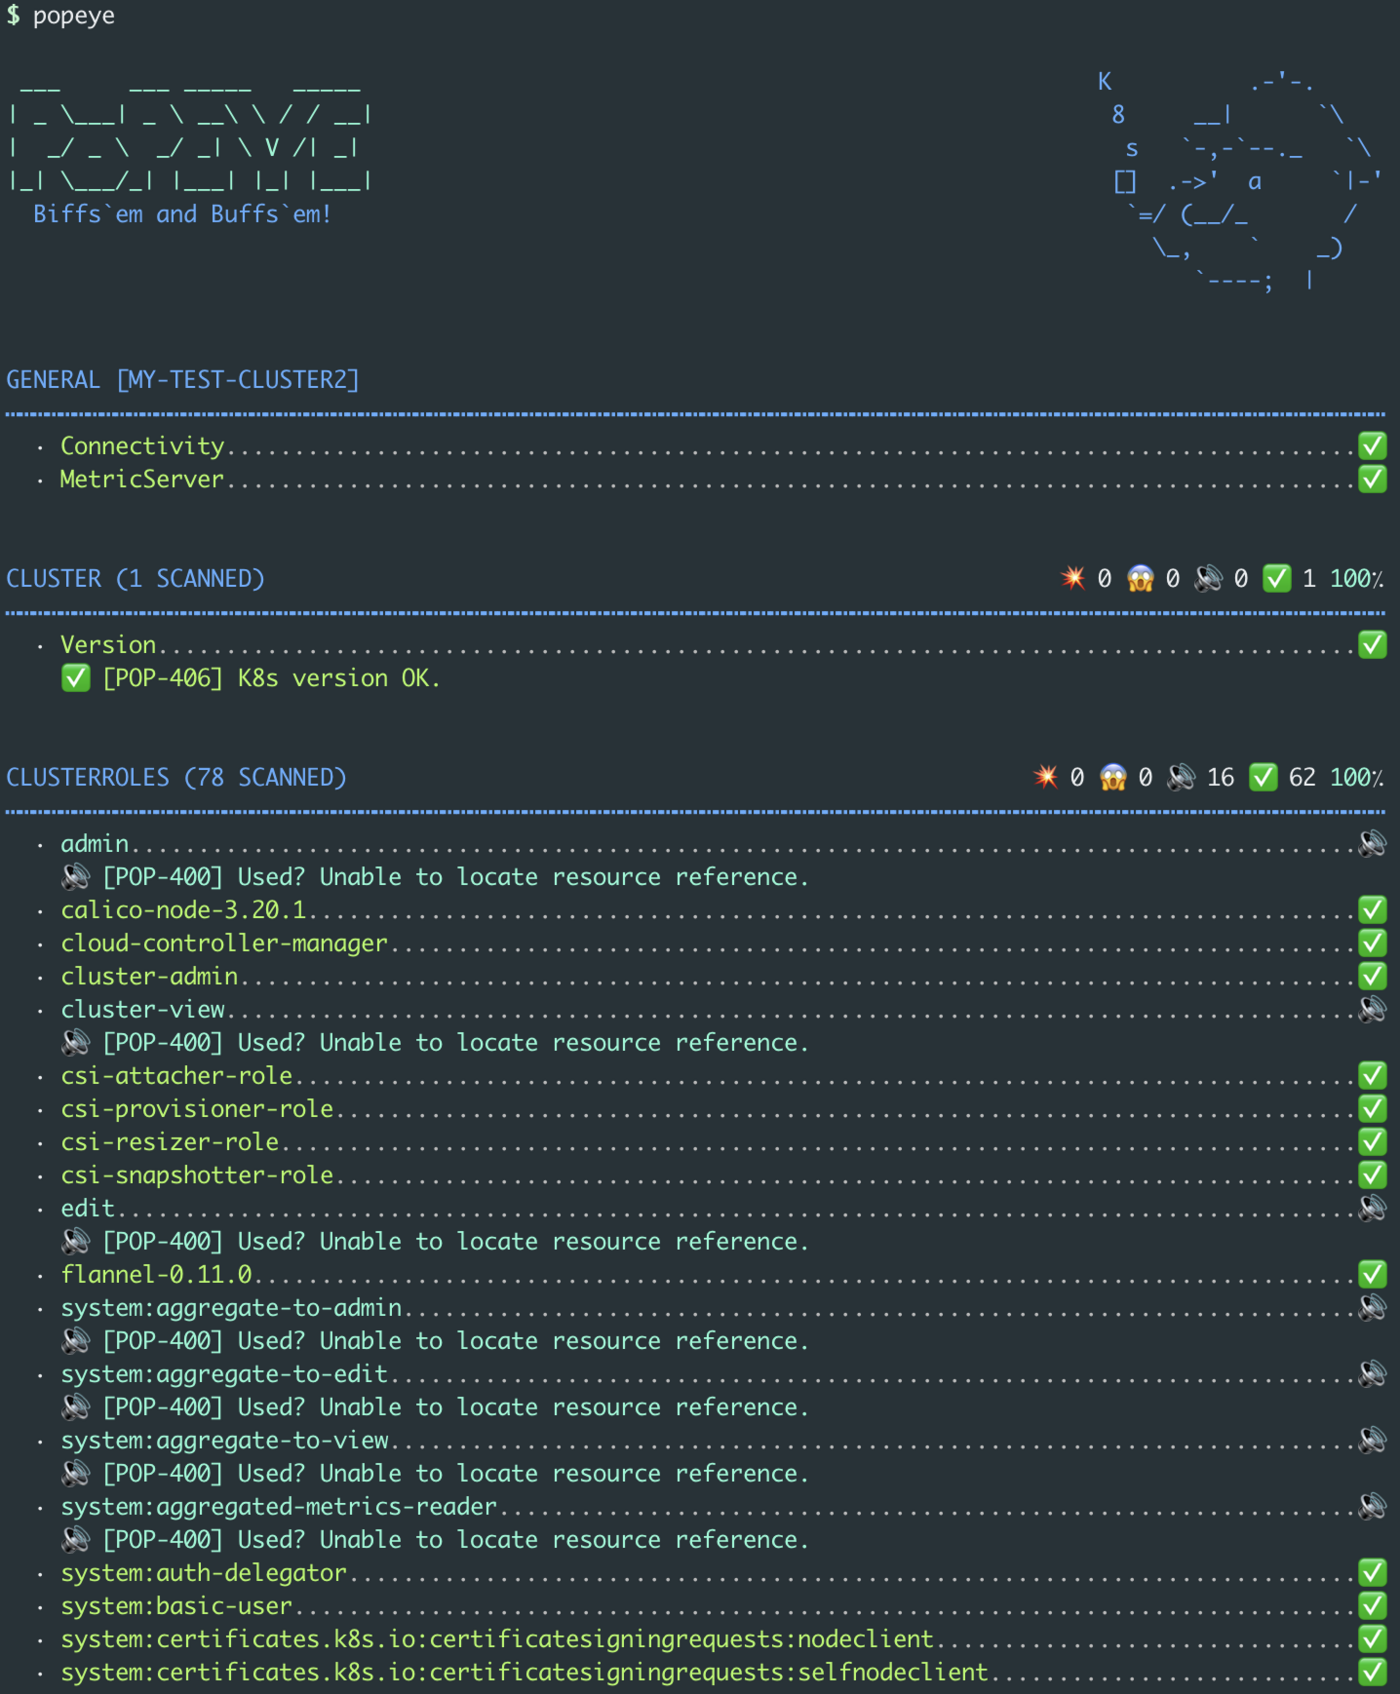
$ popeye version ___ ___ _____ _____ K .-'-.| _ \___| _ \ __\ \ / / __| 8 __| `\| _/ _ \ _/ _| \ V /| _| s `-,-`--._ `\|_| \___/_| |___| |_| |___| [] .->' a `|-' Biffs`em and Buffs`em! `=/ (__/_ / \_, ` _) `----; |Version: 0.10.0Commit: d1d807b721b0393e7b69e970bdf947895c61d8f4Date: 2022-04-14T15:51:42ZLogs: /var/folders/lq/xp6s4vbn13s5vj_kq3cch50w0000gn/T/popeye.log
Popeye is correctly installed on your computer, you can now use it to see if your cluster matches with Kubernetes security best practices.
Generate Popeye reports
The popeye CLI works like kubectl command. So when you execute the CLI, it searches your cluster configuration.
To generate a report, simply execute the CLI:
popeye
This command run tests on all nodes and namespaces by default:
As you can see, by default, our OVHcloud Managed Kubernetes cluster (and with an hello world application deployed) has a 83 score.
Though it's a good score, let's take a look on what should be improved or fixed.
The report can be very big. So, in order to take a look at what you should improve or fix, a good practice is to run the popeye command only on a specified namespace.
This way, you can better improve and fix your cluster resources step by step.
As we deployed an hello world app in the default namespace, you can run popeye on the default namespace and generate a report only for deployments:
Export reports on an OVHcloud Object Storage container
You can also export the generated report to an OVHcloud Object Storage container, as they are compatible with the S3 * API. It's like a AWS S3 bucket but on the OVHcloud infrastructure.
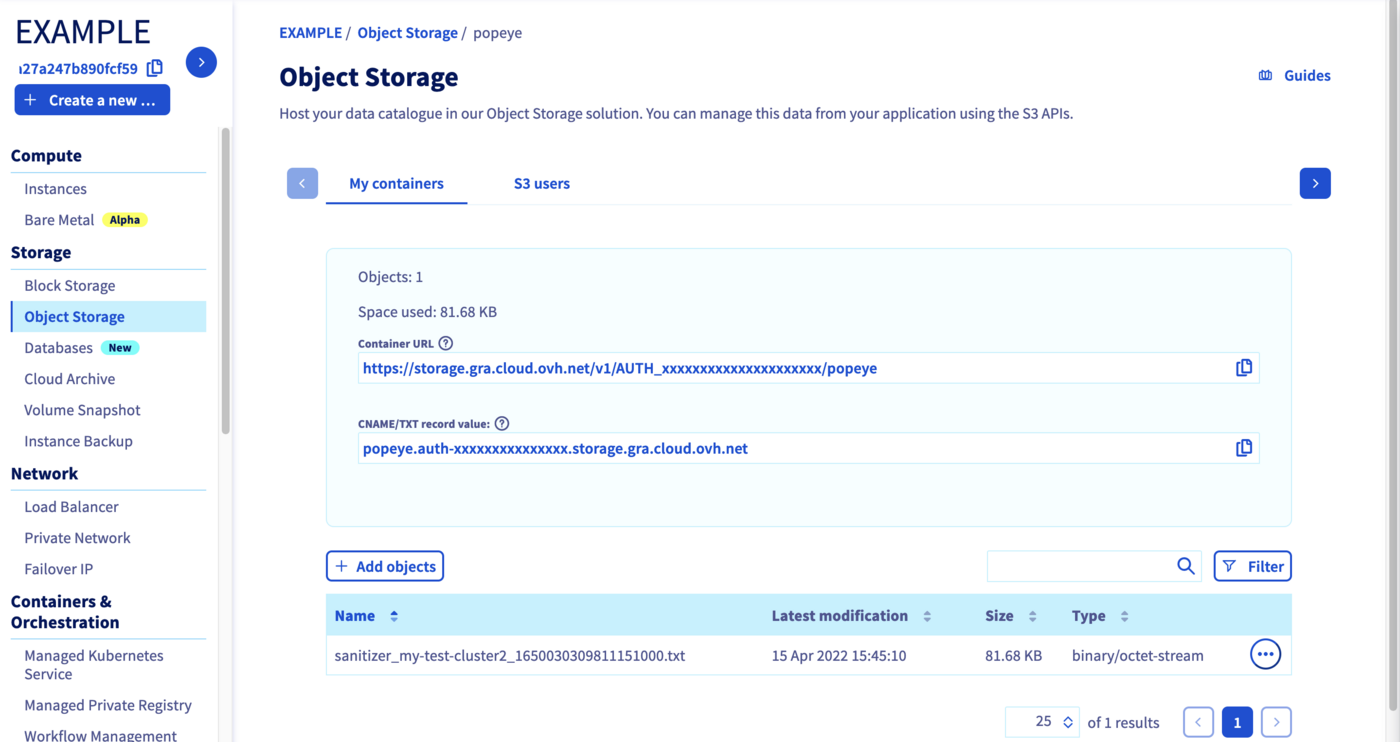
First, you need to have an Object Storage container, if you don't already had one, you can follow the Creating an Object Storage container guide.
For this guide, our Object Storage container is named popeye and its region is GRA.
Creating an OpenStack user with Object Storage rights
In order to store your Popeye reports on an OVHcloud Object Storage, and generally if you want to interact with the Object Storage, you need to have the rights to manage an Object Storage.
In order to do that you will create an OpenStack user.
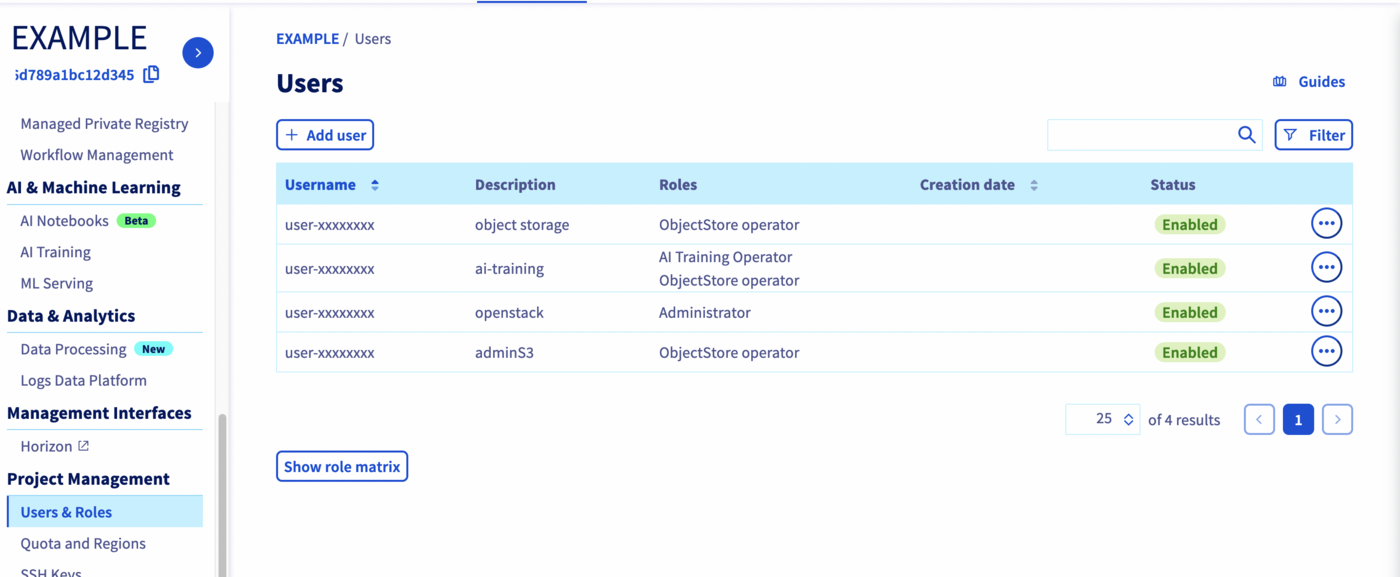
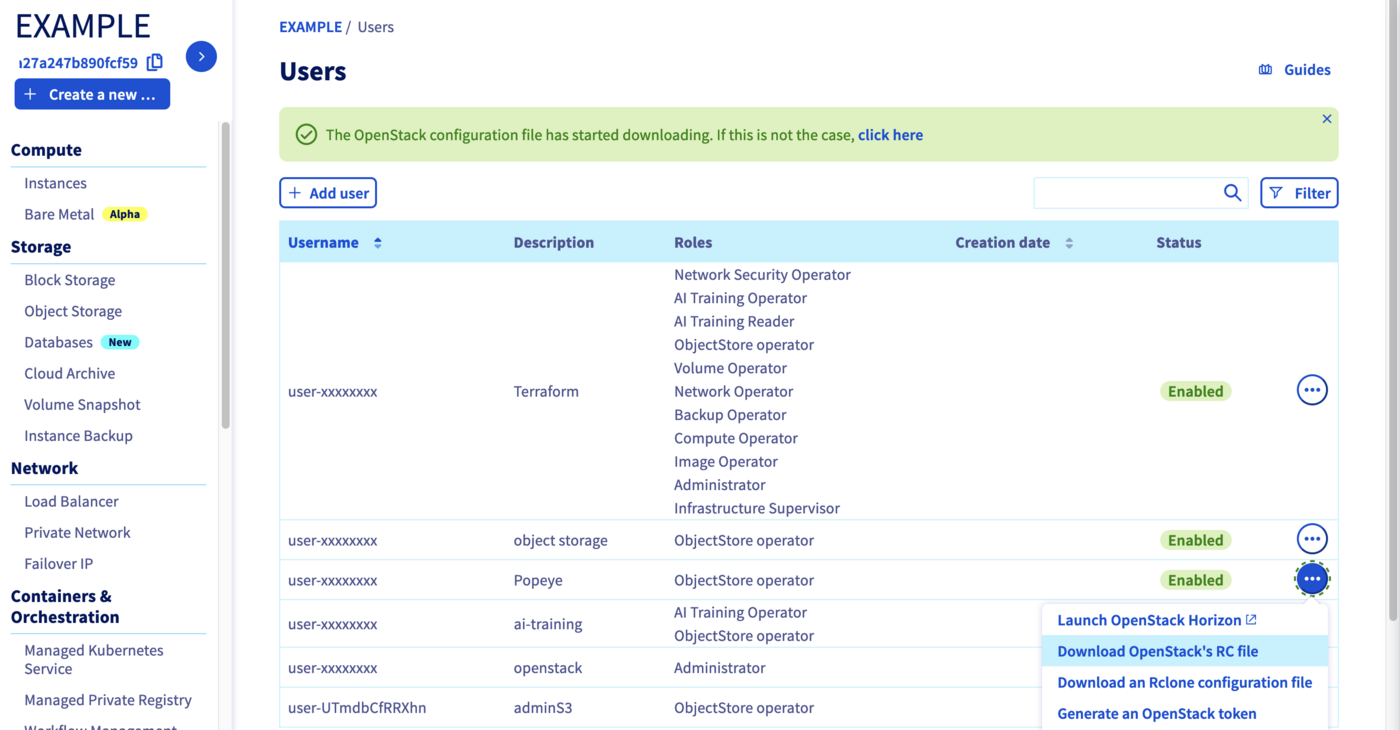
From your Public Cloud project, click on Users & Roles in the left-hand menu, then click on + Add user.
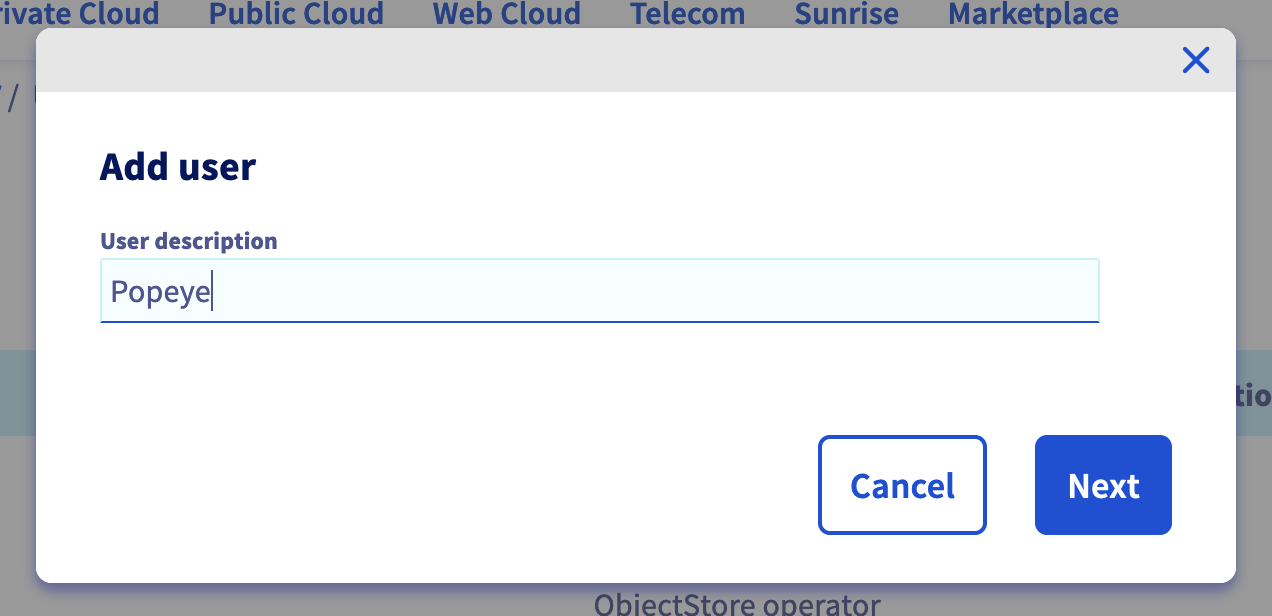
Enter a description for the user you want to create, for example Popeye and click on Next.
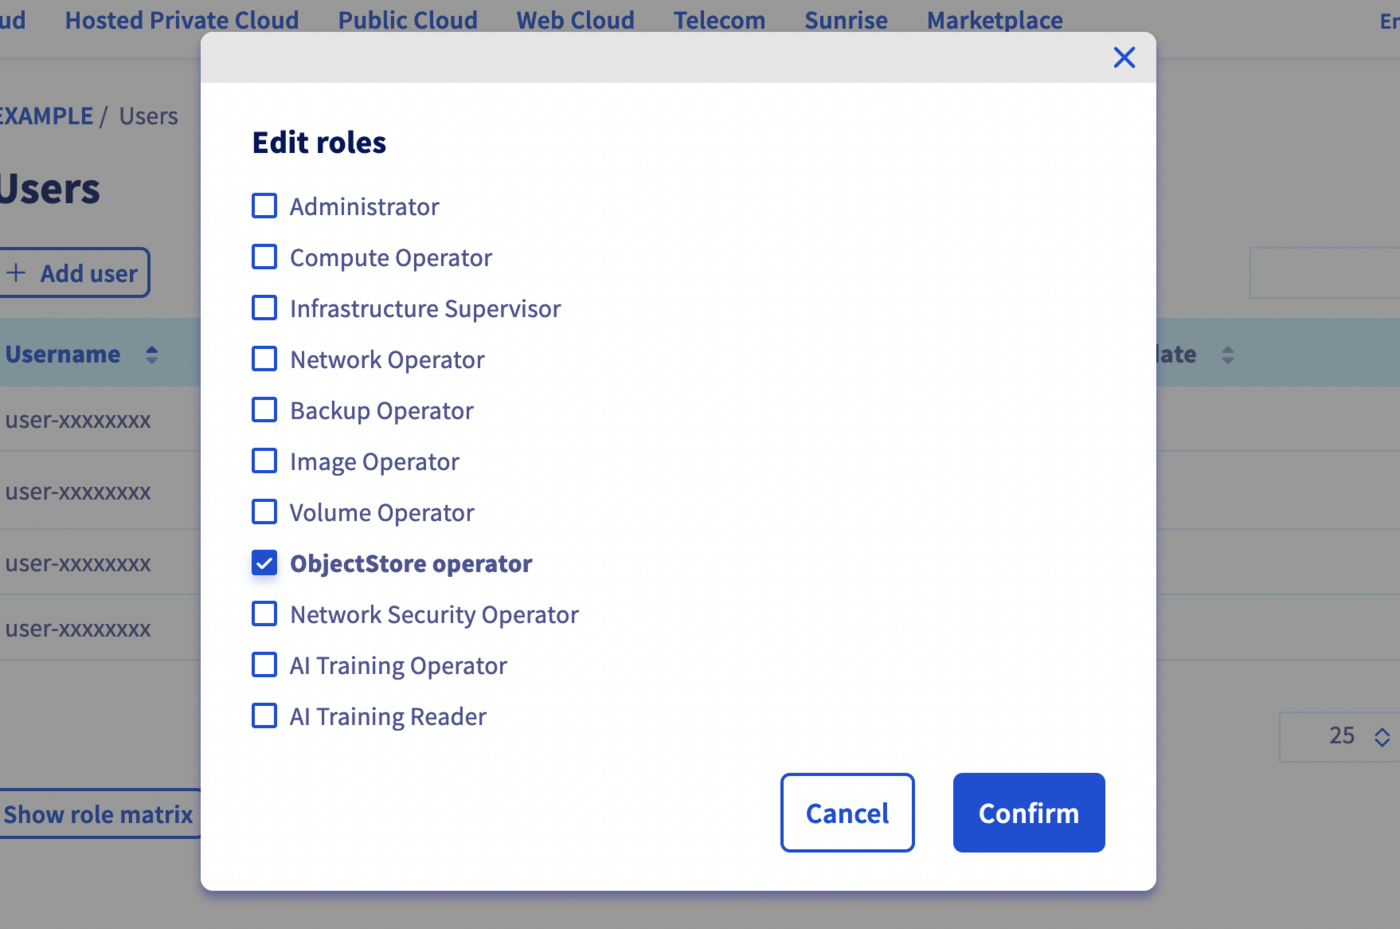
Check the ObjectStore operator role and click on Confirm.
Your user is being created.
Username and password will be automatically generated and displayed in your Control Panel.
Get OpenStack RC file
In order to interact with the Object Storage through the Amazon S3 API, you need to generate your OpenStack credentials.
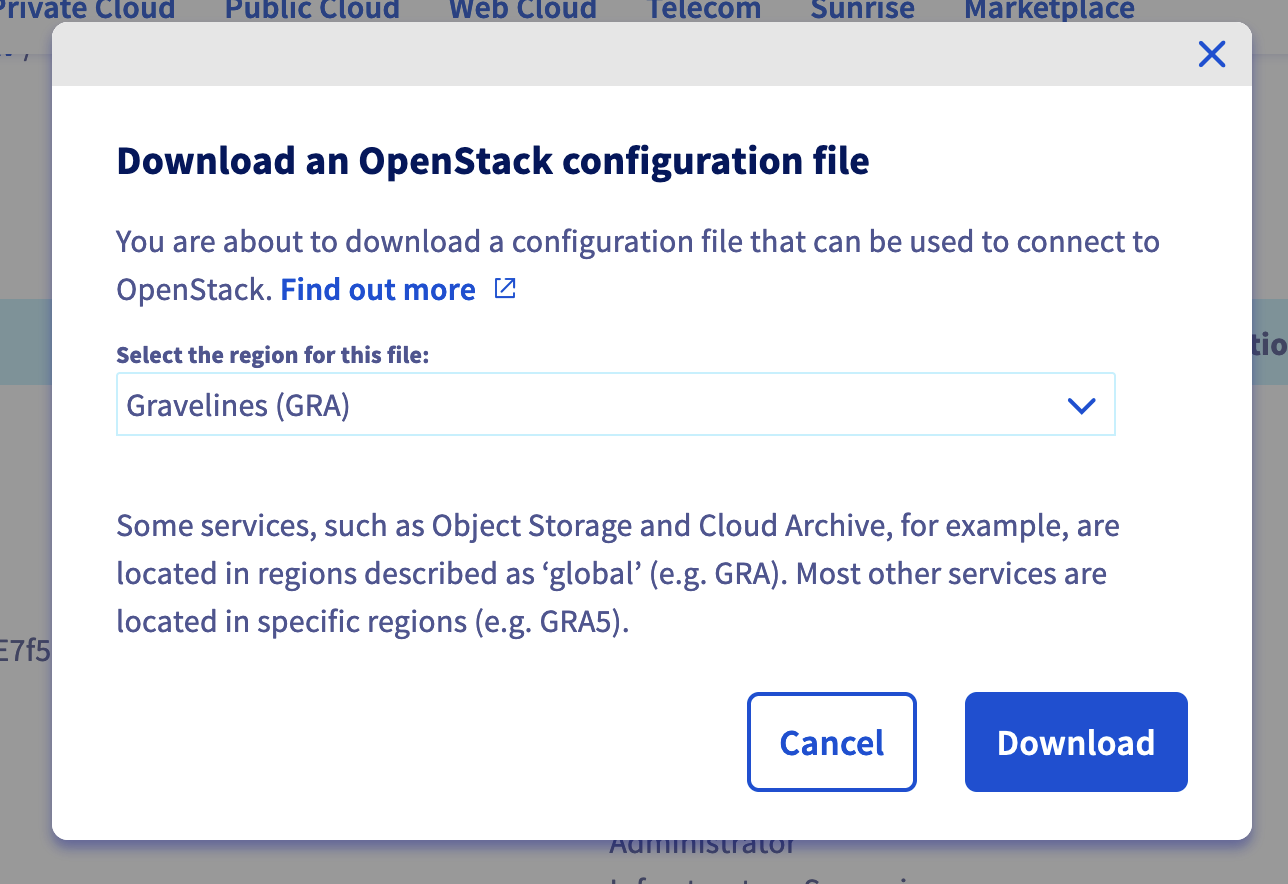
Click on Download OpenStack's RC file to retrieve the OpenStack RC file.
Then select the region of your Object Storage container (GRA for this guide) and click on the Download button.
At this step, you should have an openrc.sh file like this:
cat openrc.sh
$ cat openrc.sh#!/bin/bash# To use an Openstack cloud you need to authenticate against keystone, which# returns a **Token** and **Service Catalog**. The catalog contains the# endpoint for all services the user/tenant has access to - including nova,# glance, keystone, swift.#export OS_AUTH_URL=https://auth.cloud.ovh.net/v3export OS_IDENTITY_API_VERSION=3export OS_USER_DOMAIN_NAME=${OS_USER_DOMAIN_NAME:-"Default"}export OS_PROJECT_DOMAIN_NAME=${OS_PROJECT_DOMAIN_NAME:-"Default"}# With the addition of Keystone we have standardized on the term **tenant**# as the entity that owns the resources.export OS_TENANT_ID=a123b456c789d901export OS_TENANT_NAME="11111111111"# In addition to the owning entity (tenant), openstack stores the entity# performing the action as the **user**.export OS_USERNAME="user-xxxxxxxx"# With Keystone you pass the keystone password.echo "Please enter your OpenStack Password: "read -sr OS_PASSWORD_INPUTexport OS_PASSWORD=$OS_PASSWORD_INPUT# If your configuration has multiple regions, we set that information here.# OS_REGION_NAME is optional and only valid in certain environments.export OS_REGION_NAME="GRA"# Don't leave a blank variable, unset it if it was emptyif [ -z "$OS_REGION_NAME" ]; then unset OS_REGION_NAME; fi
Source the openrc.sh file to set the OpenStack environment variables:
source openrc.sh
You should execute this command and enter your password:
$ source openrc.shPlease enter your OpenStack Password:
Install CLI tools
Now, you need to install the CLI tools:
pip install python-openstackclient awscli
The command installs openstack client to generate your credentials and aws CLI:
$ pip install python-openstackclient awscliDEPRECATION: Configuring installation scheme with distutils config files is deprecated and will no longer work in the near future. If you are using a Homebrew or Linuxbrew Python, please see discussion at https://github.com/Homebrew/homebrew-core/issues/76621Collecting python-openstackclient Using cached python_openstackclient-5.7.0-py3-none-any.whl (970 kB)Collecting awscli Using cached awscli-1.22.54-py3-none-any.whl (3.8 MB)...Successfully installed PrettyTable-3.1.0 PyYAML-5.4.1 appdirs-1.4.4 attrs-21.4.0 autopage-0.5.0 awscli-1.22.54 botocore-1.23.54 certifi-2021.10.8 cffi-1.15.0 charset-normalizer-2.0.12 cliff-3.10.0 cmd2-2.3.3 colorama-0.4.3 cryptography-36.0.1 debtcollector-2.4.0 decorator-5.1.1 docutils-0.15.2 dogpile.cache-1.1.5 idna-3.3 iso8601-1.0.2 jmespath-0.10.0 jsonpatch-1.32 jsonpointer-2.2 keystoneauth1-4.4.0 msgpack-1.0.3 munch-2.5.0 netaddr-0.8.0 netifaces-0.11.0 openstacksdk-0.61.0 os-service-types-1.7.0 osc-lib-2.4.2 oslo.config-8.7.1 oslo.i18n-5.1.0 oslo.serialization-4.2.0 oslo.utils-4.12.1 packaging-21.3 pbr-5.8.1 pyasn1-0.4.8 pycparser-2.21 pyparsing-3.0.7 pyperclip-1.8.2 python-cinderclient-8.2.0 python-dateutil-2.8.2 python-keystoneclient-4.4.0 python-novaclient-17.6.0 python-openstackclient-5.7.0 pytz-2021.3 requests-2.27.1 requestsexceptions-1.4.0 rfc3986-2.0.0 rsa-4.7.2 s3transfer-0.5.1 simplejson-3.17.6 stevedore-3.5.0 urllib3-1.26.8 wcwidth-0.2.5 wrapt-1.13.3
mkdir ~/.aws
Create the AWS CLI config file and set up the good endpoint to our Object Storage stored in the GRA region:
You can check on your OVHcloud Object Storage popeye container that the report has been correctly stored:
Go further
If you need training or technical assistance to implement our solutions, contact your sales representative or click on this link to get a quote and ask our Professional Services experts for assisting you on your specific use case of your project.
*: S3 is a trademark of Amazon Technologies, Inc. OVHcloud’s service is not sponsored by, endorsed by, or otherwise affiliated with Amazon Technologies, Inc.