Create an OVHcloud Managed Private Registry (MPR) through Terraform
Objective
Creating an OVHcloud Managed Private Registry (MPR) through the OVHcloud Control Panel is cool but do you know you can deploy a private registry programmatically, with Terraform?
Terraform
Terraform is an open-source infrastructure as code (IaC) tool created by Hashicorp in 2014, written in Go. It aims to build, change and version control your infrastructure. You can define and provision your infrastructure by writing the definition of your resources in Hashicorp Configuration Language (HCL).
This tool has a powerful and very intuitive command line interface (CLI).
If you are interested in leveraging your knowledge about Terraform CLI, a Cheat Sheet exists.
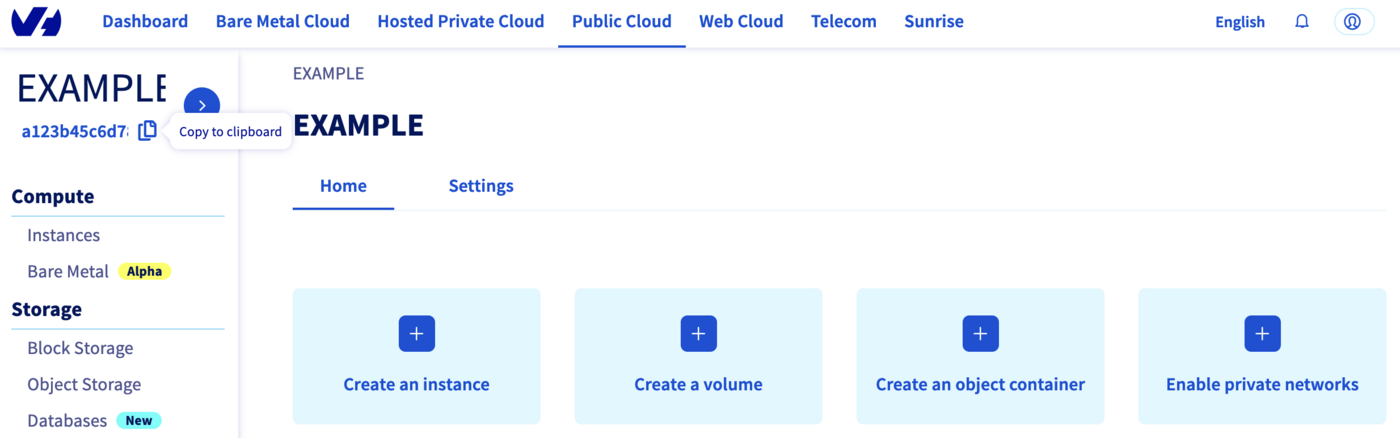
Navigation path:Public Cloud > Select your project
Before you begin
You should have installed Terraform CLI, version 0.12.x minimum, on your machine. You can install it by following detailed installation instructions or with the tool tfenv.
OVHcloud Terraform provider
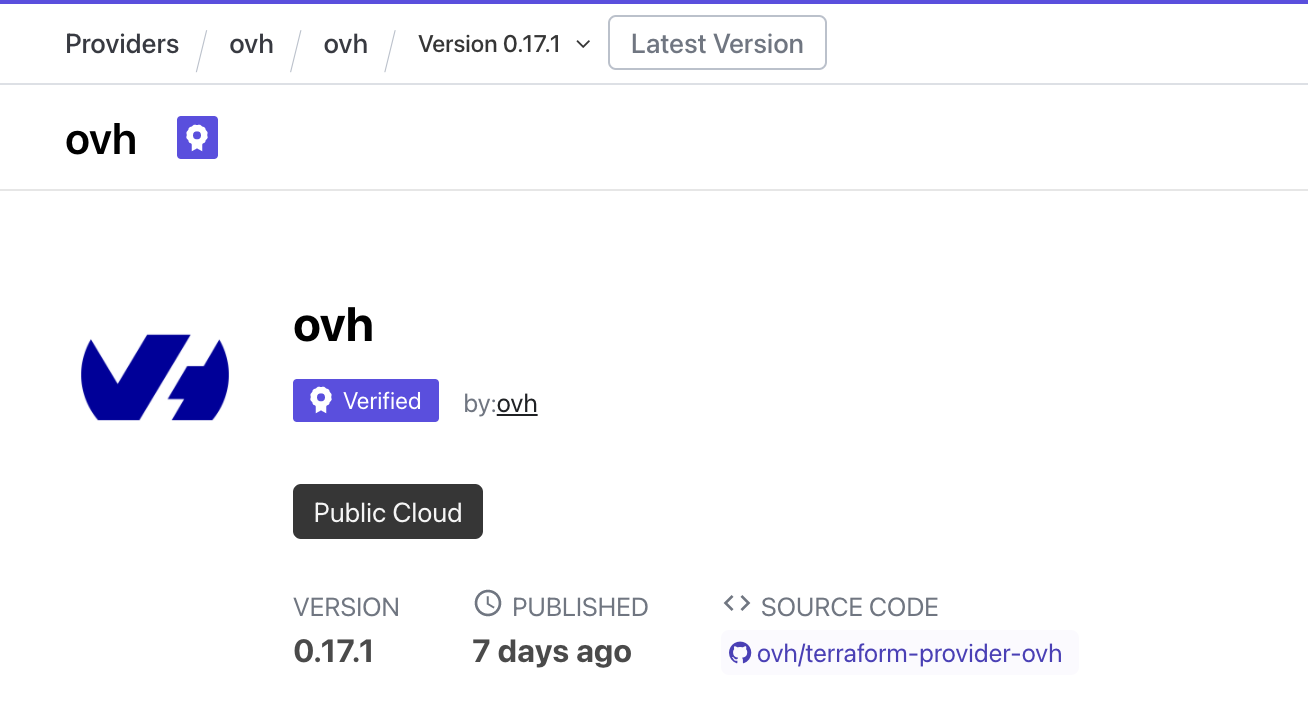
In order to create a private registry and other resources, OVHcloud provides a Terraform provider which is available in the official Terraform registry.
All available resources and data sources have their definition and documentation.
When you have successfully generated your OVH tokens, please keep them. You'll have to define them in the coming minutes ;-).
The last needed information is the service_name: it is the ID of your Public Cloud project.
How to get it?
In the Public Cloud section, you can retrieve your service name ID thanks to the Copy to clipboard button.
You will also use this information in Terraform resources definition files.
Instructions
When you want to manage (create, modify, and remove) your infrastructure, getting started with Terraform is easy.
Just create files ending with .tf containing the description of the resources you want to have.
In our case, we want to create:
an OVHcloud Managed Private Registry
a user attached to the registry
So, let's start!
Resources definition
First, create a provider.tf file with the minimum version, european endpoint ("ovh-eu") and keys you previously got in this guide.
In this resources configuration, we ask Terraform to create a private registry, in the GRA region and in the small plan.
And we tell Terraform to create a user attached to the registry.
Info
OVHcloud Managed private registries are only available in the GRA region for the moment and several other regions are coming.
Finally, create a output.tf file with the following content:
output "registry-url" { value = ovh_cloud_project_containerregistry.myregistry.url}output "user" { value = ovh_cloud_project_containerregistry_user.myuser.user}output "password" { value = ovh_cloud_project_containerregistry_user.myuser.password sensitive = true}
Info
We specified that the password output is sensitive data, so it will be censored during the terraform apply but you can retrieve it with the terraform output command as we will show you in this guide.
With this output, we tell Terraform to retrieve the URL of this registry to access to it, moreover the user login and the generated password.
For your information, outputs are useful to retrieve and display specific information after the resources creation.
Now we need to initialize Terraform, generate a plan, and apply it.
$ terraform initInitializing the backend...Initializing provider plugins...- Reusing previous version of ovh/ovh from the dependency lock file- Using previously-installed ovh/ovh v0.17.1Terraform has been successfully initialized!You may now begin working with Terraform. Try running "terraform plan" to seeany changes that are required for your infrastructure. All Terraform commandsshould now work.If you ever set or change modules or backend configuration for Terraform,rerun this command to reinitialize your working directory. If you forget, othercommands will detect it and remind you to do so if necessary.
The init command will initialize your working directory which contains .tf configuration files.
It’s the first command to execute for a new configuration, or after doing a checkout of an existing configuration in a given Git repository for example.
The init command will:
Download and install Terraform providers/plugins
Initialize backend (if defined)
Download and install modules (if defined)
Now, we can generate our plan:
$ terraform applyTerraform used the selected providers to generate the following execution plan. Resource actions are indicated with the following symbols: + createTerraform will perform the following actions: # ovh_cloud_project_containerregistry.myregistry will be created + resource "ovh_cloud_project_containerregistry" "myregistry" { + created_at = (known after apply) + id = (known after apply) + name = "my-docker-private-registry" + plan = (known after apply) + plan_id = "9f728ba5-xxxx-xxxx-xxxx-497cd8bc6a89" + project_id = (known after apply) + region = "GRA" + service_name = "xxxxxxxxxxxxxxxx" + size = (known after apply) + status = (known after apply) + updated_at = (known after apply) + url = (known after apply) + version = (known after apply) } # ovh_cloud_project_containerregistry_user.myuser will be created + resource "ovh_cloud_project_containerregistry_user" "myuser" { + email = "my.user@mycompany.com" + id = (known after apply) + login = "myuser" + password = (sensitive value) + registry_id = (known after apply) + service_name = "xxxxxxxxxxxxxxxxxxxxxxxxxxxxxxxx" + user = (known after apply) }Plan: 2 to add, 0 to change, 0 to destroy.Changes to Outputs: + password = (sensitive value) + registry-url = (known after apply) + user = (known after apply)Do you want to perform these actions? Terraform will perform the actions described above. Only 'yes' will be accepted to approve.
Now you can accept this plan and enter the yes command to execute it.
Enter a value: yesovh_cloud_project_containerregistry.myregistry: Creating...ovh_cloud_project_containerregistry.myregistry: Still creating... [10s elapsed]ovh_cloud_project_containerregistry.myregistry: Still creating... [20s elapsed]ovh_cloud_project_containerregistry.myregistry: Still creating... [30s elapsed]ovh_cloud_project_containerregistry.myregistry: Still creating... [40s elapsed]ovh_cloud_project_containerregistry.myregistry: Still creating... [50s elapsed]ovh_cloud_project_containerregistry.myregistry: Still creating... [1m0s elapsed]ovh_cloud_project_containerregistry.myregistry: Still creating... [1m10s elapsed]ovh_cloud_project_containerregistry.myregistry: Still creating... [1m20s elapsed]ovh_cloud_project_containerregistry.myregistry: Still creating... [1m30s elapsed]ovh_cloud_project_containerregistry.myregistry: Still creating... [1m40s elapsed]ovh_cloud_project_containerregistry.myregistry: Still creating... [1m50s elapsed]ovh_cloud_project_containerregistry.myregistry: Still creating... [2m0s elapsed]ovh_cloud_project_containerregistry.myregistry: Still creating... [2m10s elapsed]ovh_cloud_project_containerregistry.myregistry: Still creating... [2m20s elapsed]ovh_cloud_project_containerregistry.myregistry: Still creating... [2m30s elapsed]ovh_cloud_project_containerregistry.myregistry: Still creating... [2m40s elapsed]ovh_cloud_project_containerregistry.myregistry: Still creating... [2m50s elapsed]ovh_cloud_project_containerregistry.myregistry: Still creating... [3m0s elapsed]ovh_cloud_project_containerregistry.myregistry: Creation complete after 3m6s [id=xxxxxxx-xxxx-xxxx-xxxx-xxxxxxxx]ovh_cloud_project_containerregistry_user.myuser: Creating...ovh_cloud_project_containerregistry_user.myuser: Creation complete after 2s [id=3]Apply complete! Resources: 2 added, 0 changed, 0 destroyed.Outputs:password = <sensitive>registry-url = "https://1ab234c5.gra7.container-registry.ovh.net"user = "myuser"
Info
If after running the terraform apply command, you get the error message Error: Your query returned no results. Please change your search criteria and try again, it means you have entered an incorrect region.
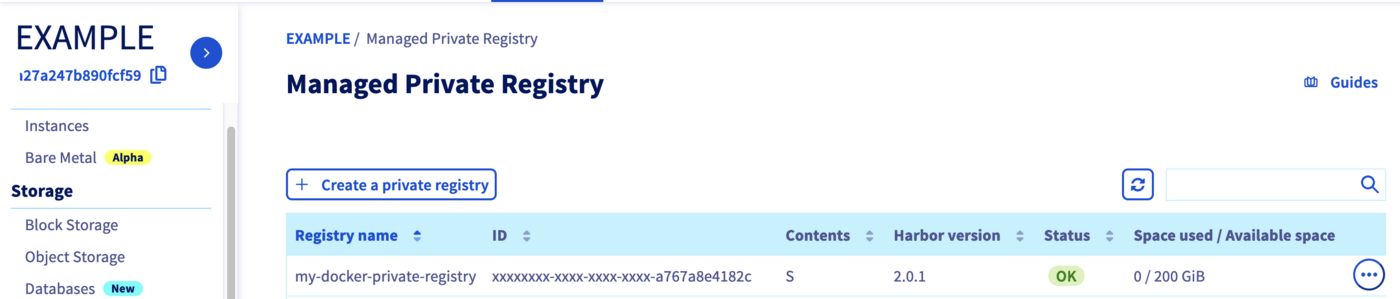
Go to the Managed Private Registry section. Your registry has been successfully created:
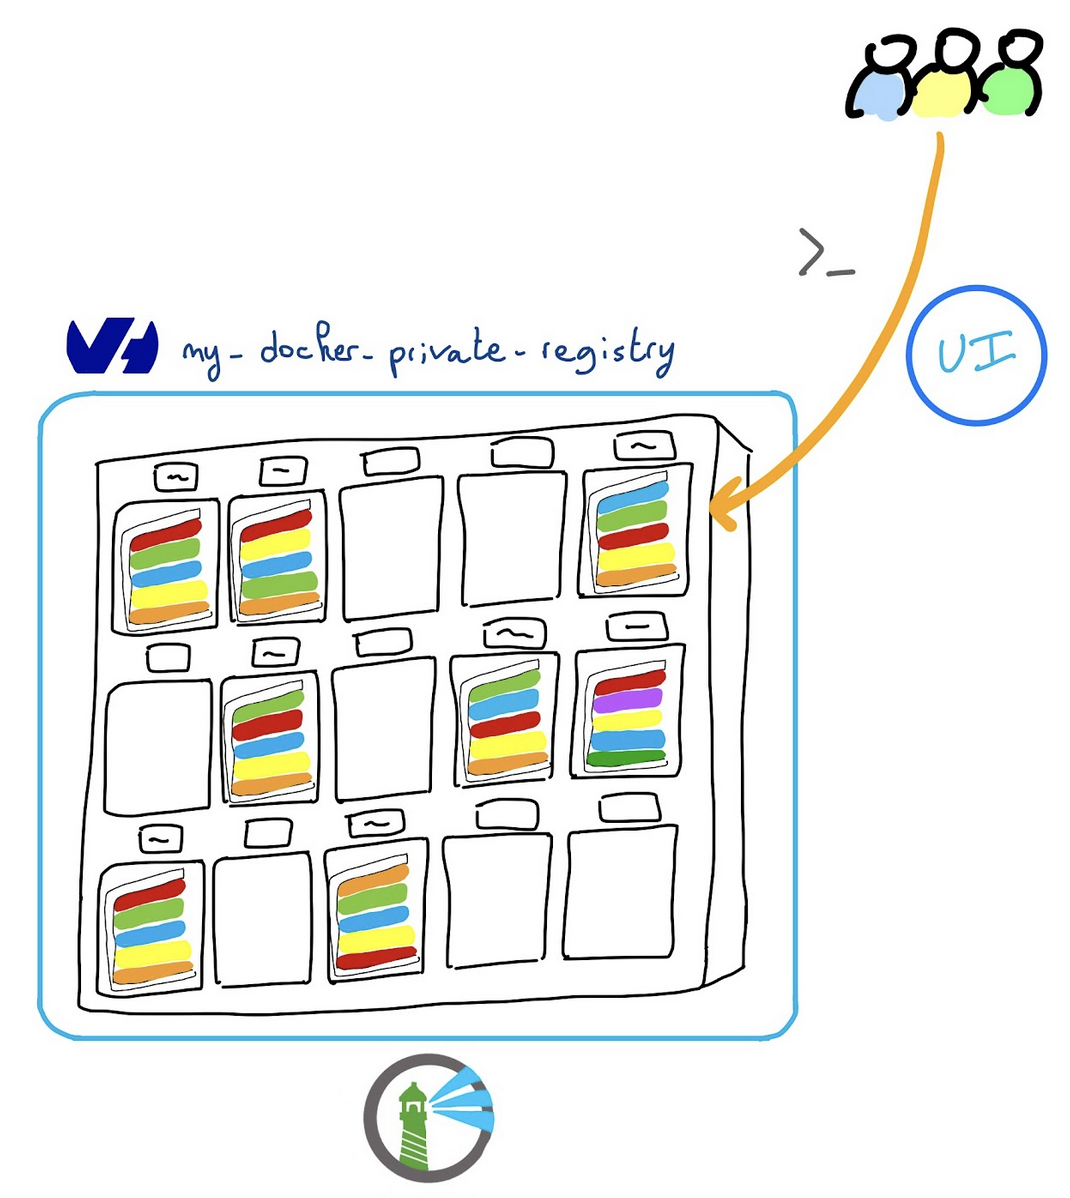
Connect to the private registry
Our registry is created, now we can access to and see the interface/UI of your managed Harbor.
In order to do this, retrieve the necessary information locally: