Managing users and projects in Managed Rancher Service
Objective
Managed Rancher Service by OVHcloud provides a powerful platform for orchestrating Kubernetes clusters seamlessly. This guide will explain how to manage users and projects on your OVHcloud Managed Rancher Service.
Requirements
- A Public Cloud project in your OVHcloud account
- An OVHcloud Managed Rancher Service (see the creating a Managed Rancher Service guide for more information)
- An access to the Rancher UI to operate it (see the connecting to the Rancher UI guide for more information)
Instructions
You can manage projects, users and rights on your Managed Rancher Service by using the Rancher UI.
Creating a new user
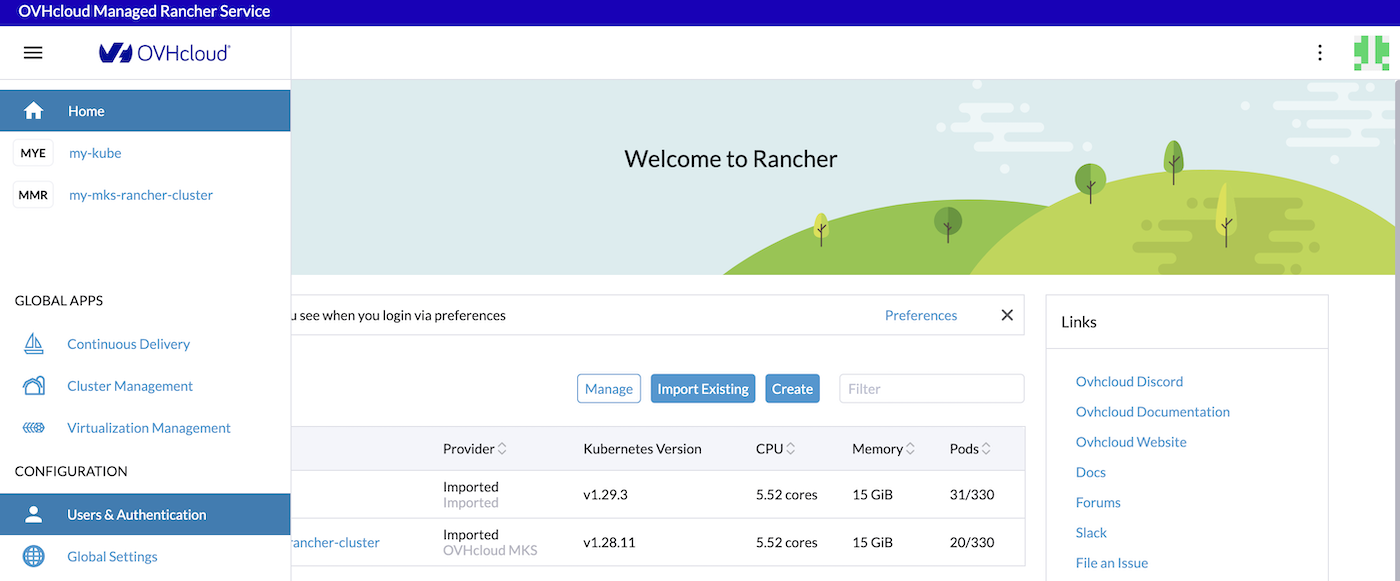
Log in to your Managed Rancher Service UI.
In the menu, click on Users & Authentication.
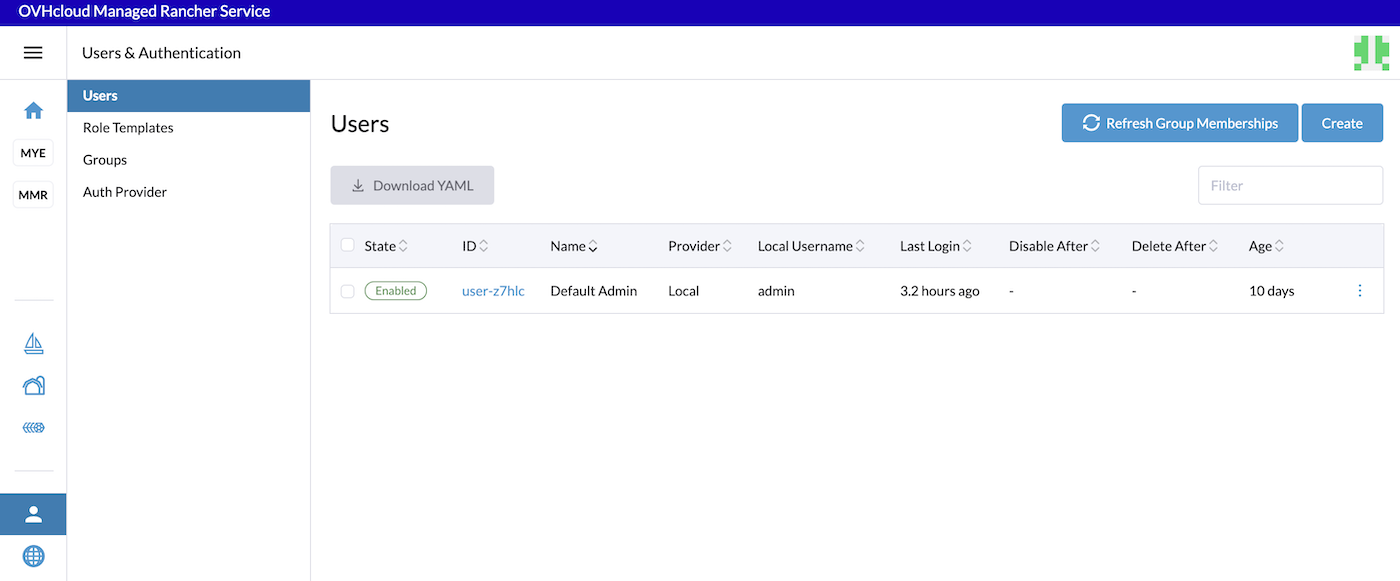
A list of existing users is displayed. You should have at least a Default Admin user.
To create a new user, click on the Create button.
Fill in the username, a new password and confirm the password. You can also optionally enter a display name and a description.
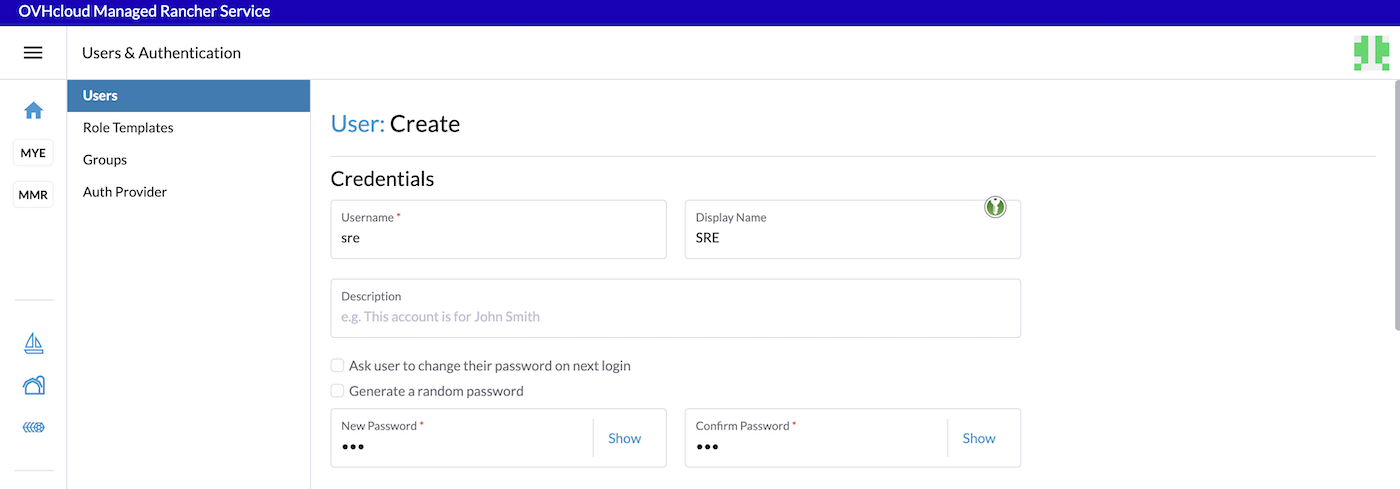
The password needs to have at least 12 characters.
Rancher has several levels of global permissions. If your user needs rights to create and managed new clusters, you can choose Standard User global permission.
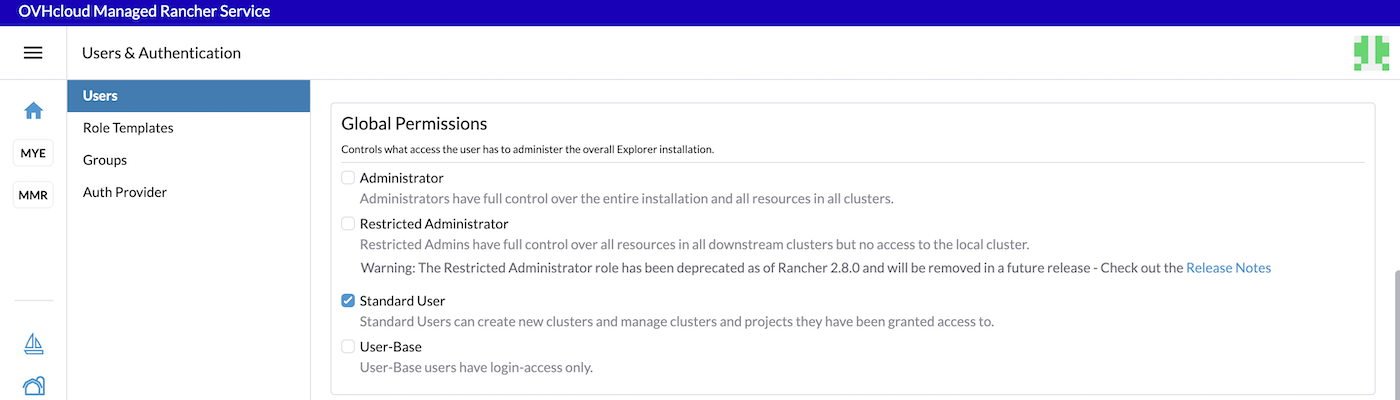
Please refer to the official documentation to know more about global permissions.
Once you chose the initial permission, if you want fine-grained built-in roles, click the Create button.
The user has been created.
Creating a new project
A project in Rancher is a group of Kubernetes namespaces. Projects allow you to manage multiple namespaces as a group and perform Kubernetes operations in them. You can use projects to support multi-tenancy, so that a team can access a project within a cluster without having access to other projects in the same cluster.
In terms of hierarchy:
- Clusters contain projects.
- Projects contain namespaces.
In Kubernetes, features like Role-Based Access Rights (RBAC) or cluster resources are assigned to individual namespaces. A project allows you to save time by giving an individual or a team access to multiple namespaces simultaneously.
Let's create a project:
Log in to your Managed Rancher Service UI.
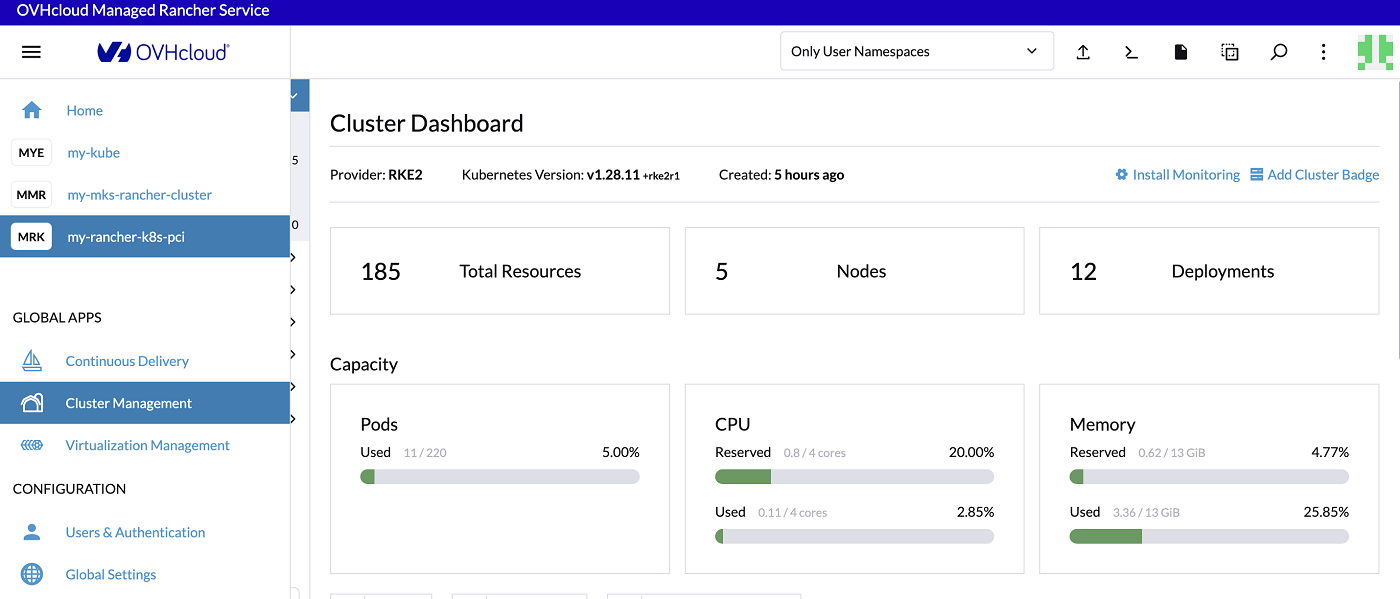
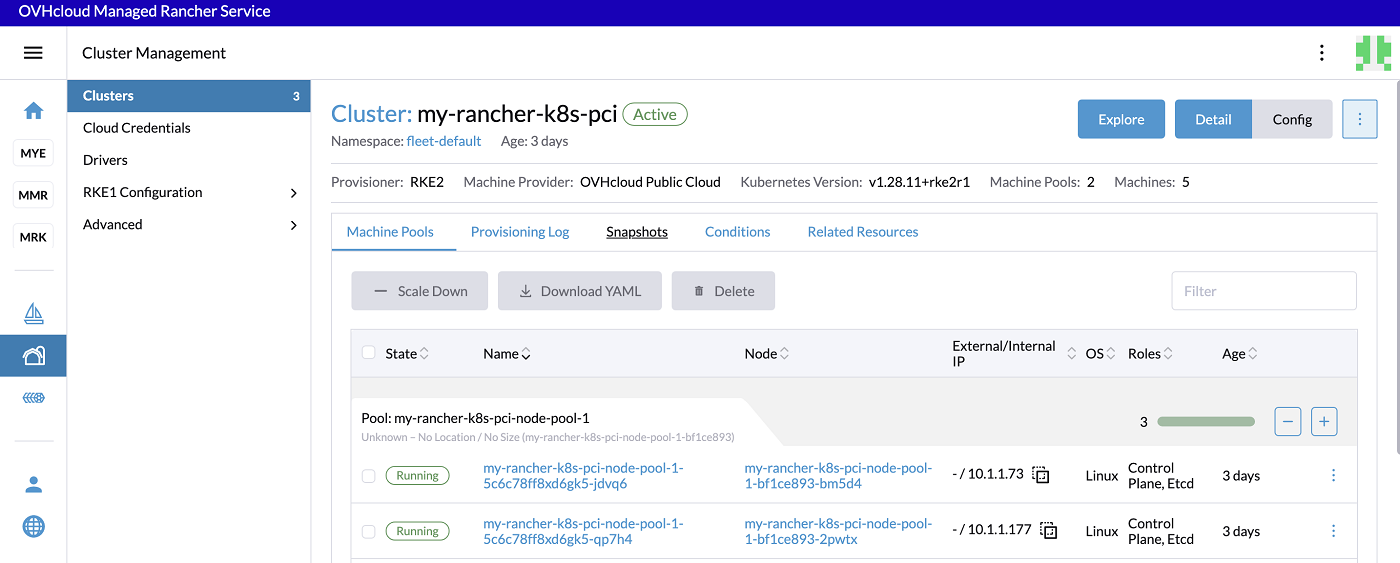
Click on the name of your choosen Kubernetes cluster.
In the Cluster menu, click on Projects/Namespaces.
You can see that our example cluster has several existing projects: Default and System. The Default project contains the default namespace and there are several namespaces that are not in a project.
You will create a project that will contain several namespaces for a special team in your company.
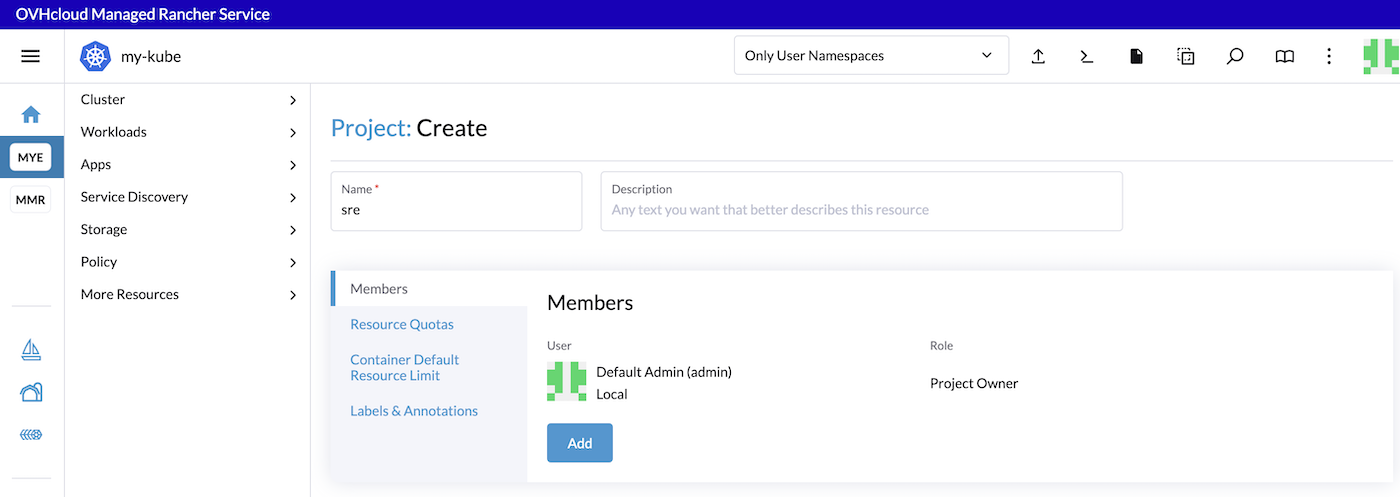
Click the Create Project button.
Enter the name of the project then click the Add button to add a member to the sre project.
Select the user sre you previously created and select the project permissions. You can select the Member permission if you want a user that can manage the resources inside the project but not the project itself.
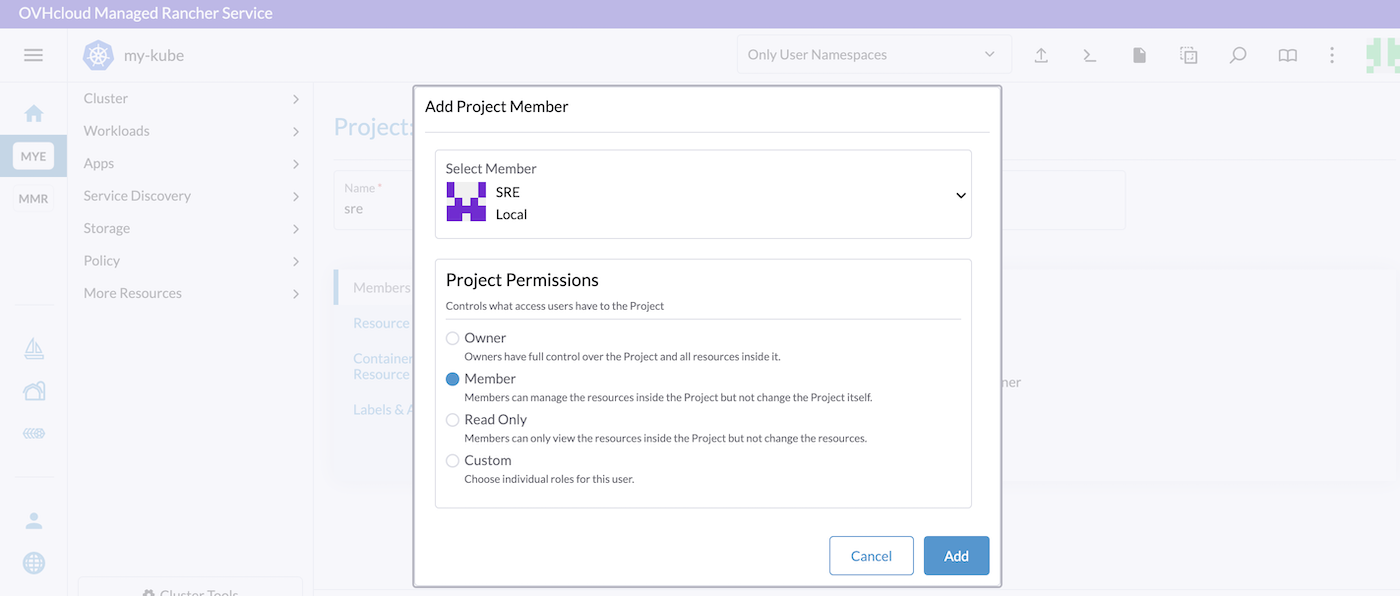
Then click the Add button to add the member to the project.
Finally, click the Create button to create the project.
To move the existing wanted namespaces in your sre project, click on the three dots button and click on Move.
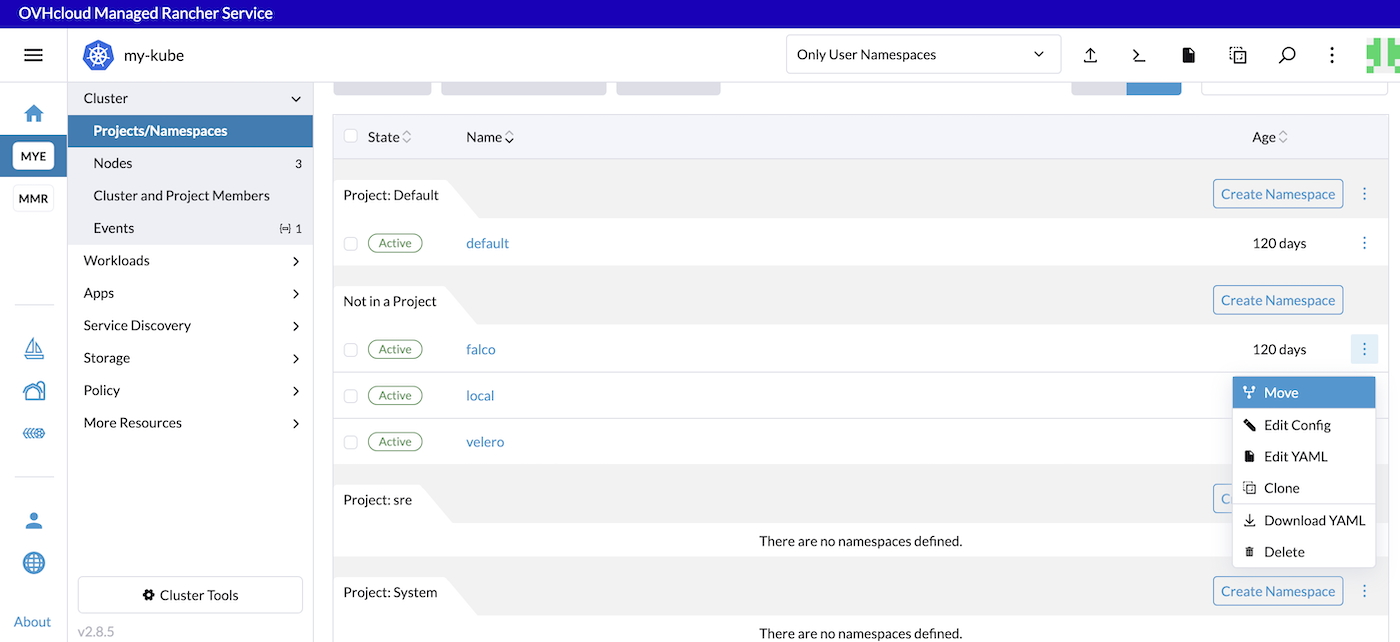
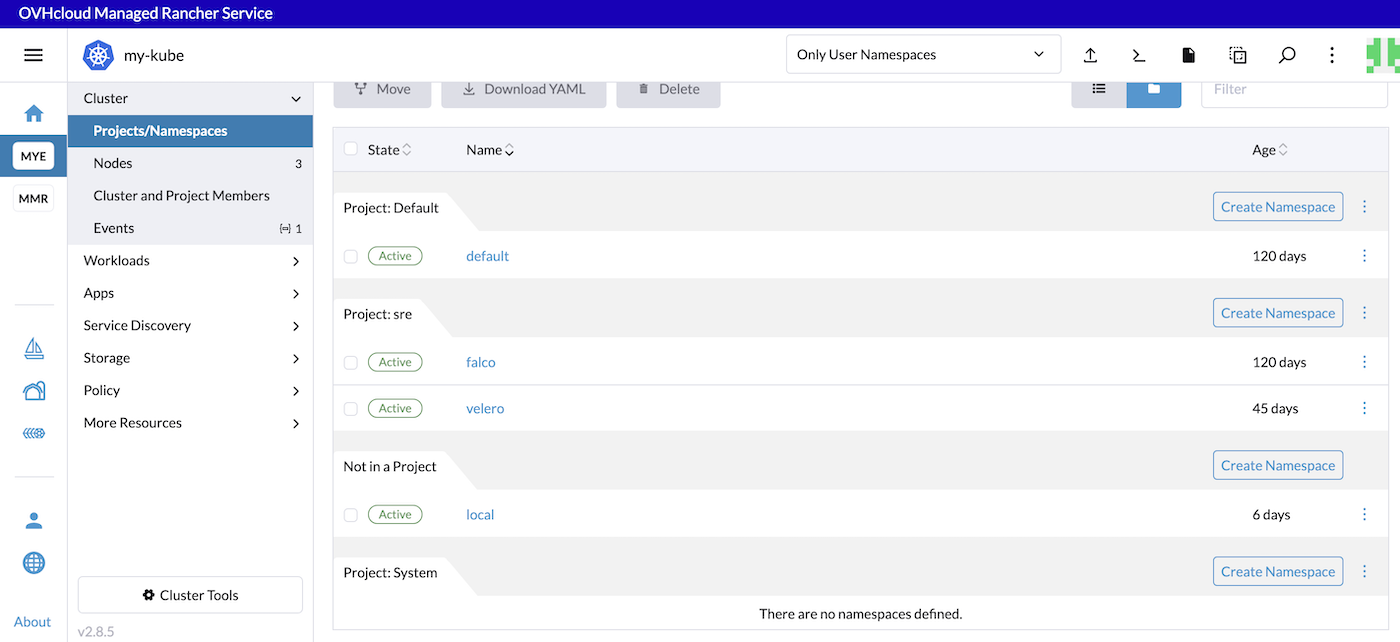
Select the project then click the Move button to move the falco namepace in your project.
You can do the same thing for all of the namespaces you want.
Go further
To have an overview of OVHcloud Managed Rancher Service, you can go to the OVHcloud Managed Rancher Service page.
Follow the offical documentation from Rancher to know more about:
Our team remains available on our dedicated Discord Channel, do not hesitate to join and reach us : https://discord.gg/ovhcloud. Ask questions, provide feedback and interact directly with the team that builds our Container and Orchestration services.
Join our community of users.