
Using Ceph with Proxmox
Find out how to set up the Cloud Disk Array on Proxmox
Objective
This guide explains how to set up the Cloud Disk Array on Proxmox.
Requirements
First of all, you need your Cloud Disk Array up and ready. Make sure you have:
- created a cluster pool for storing data
- created a Ceph user that Proxmox will use to access the CDA cluster
- configured permissions for this user and pool (allow read and write)
- configured your IP access control list to allow Proxmox nodes to access the CDA
Instructions
In this guide we assume you already have your Proxmox installation up and running. This guide has been tested with Proxmox 6.4.
Ceph RBD storage setup
In order to use Cloud Disk Array, Proxmox needs to know how to access it. This is done by adding the necessary data to the /etc/pve/storage.cfg file.
Log in to your Proxmox node, open the file and enter the following lines:
monhost: the IP list of CDA cluster monitorscontent: the content type you want to host on the CDApool: the CDA pool name that will be used to store datausername: the username of the user connecting to the CDA
Ceph keyring setup
Your cluster is now configured. To be able to authenticate, Proxmox will also need the keyring.
In order to add the keyring, edit the file /etc/pve/priv/ceph/<STORAGE_ID>.keyring. Replace <STORAGE_ID> with the actual name you used in the storage.cfg file. In the following example output, the name is ovhcloud-cda.
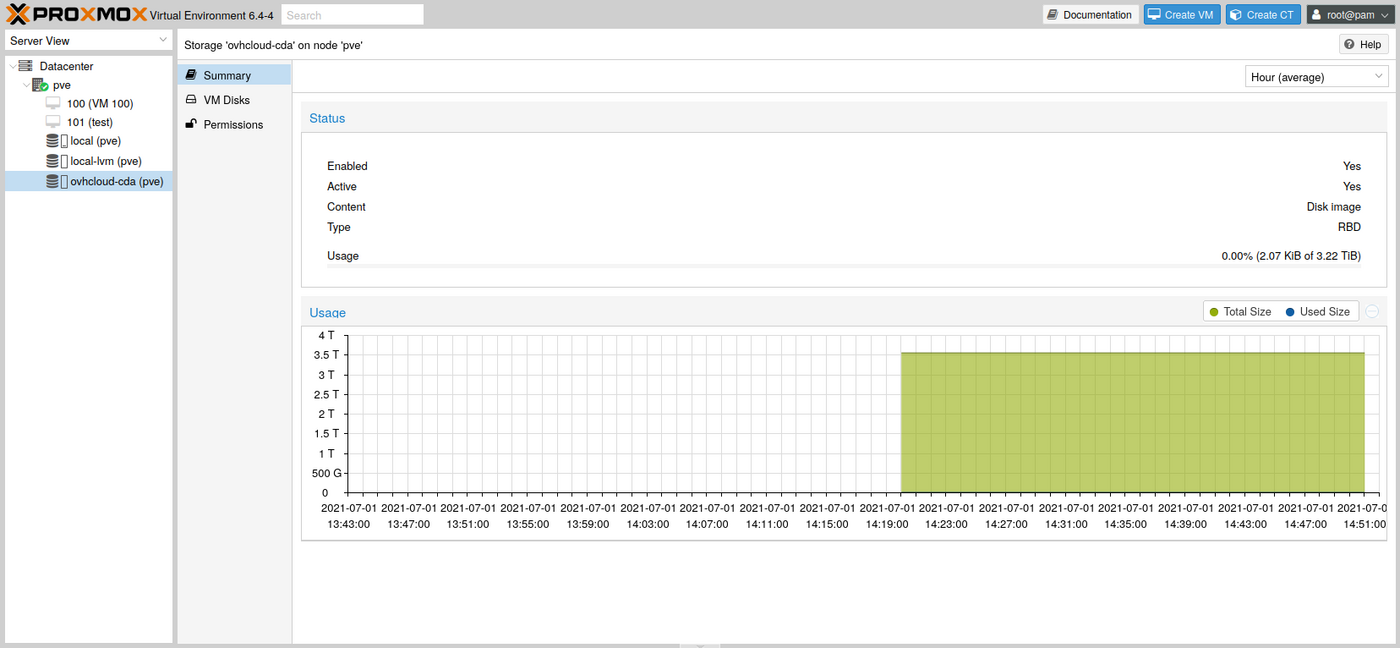
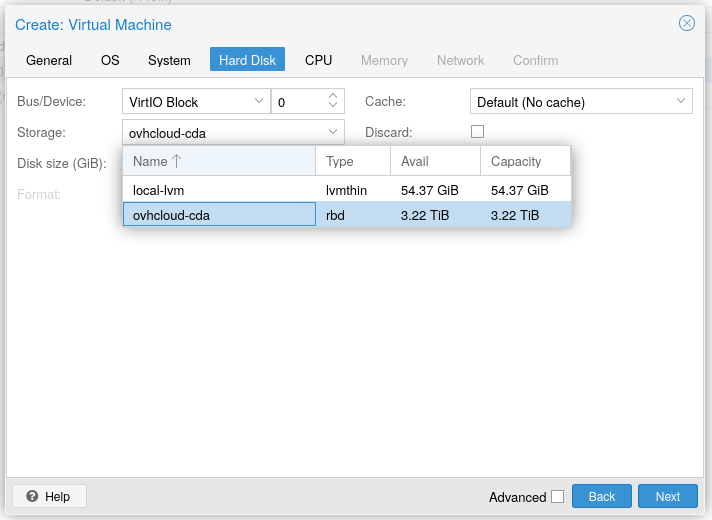
You can now see your cluster info using the Proxmox web interface and create a VM on this storage.
CephFS storage setup
In order to use CephFS, you need to enable it through the Cloud Disk Array API. The user defined in the first step can be used to access both RBD and CephFS.
The user has to be granted access to the cephfs.fs-default.data and cephfs.fs-default.meta pools. After that, add the following lines to your /etc/pve/storage.cfg config file.
monhost: the IP list of CDA cluster monitorscontent: the content type you want to host on the CDAusername: the username of the user connecting to the CDA
CephFS secret
CephFS is now configured. You need to add the secret of your Proxmox user (proxmox in this example), so Proxmox can authenticate.
Edit the file /etc/pve/priv/ceph/<STORAGE_ID>.secret. Replace <STORAGE_ID> with the actual name you used in the storage.cfg file. In the following example output, the name is ovhcloud-cda-cephfs.
Unlike with the RBD keyring, you need to provide only the secret.
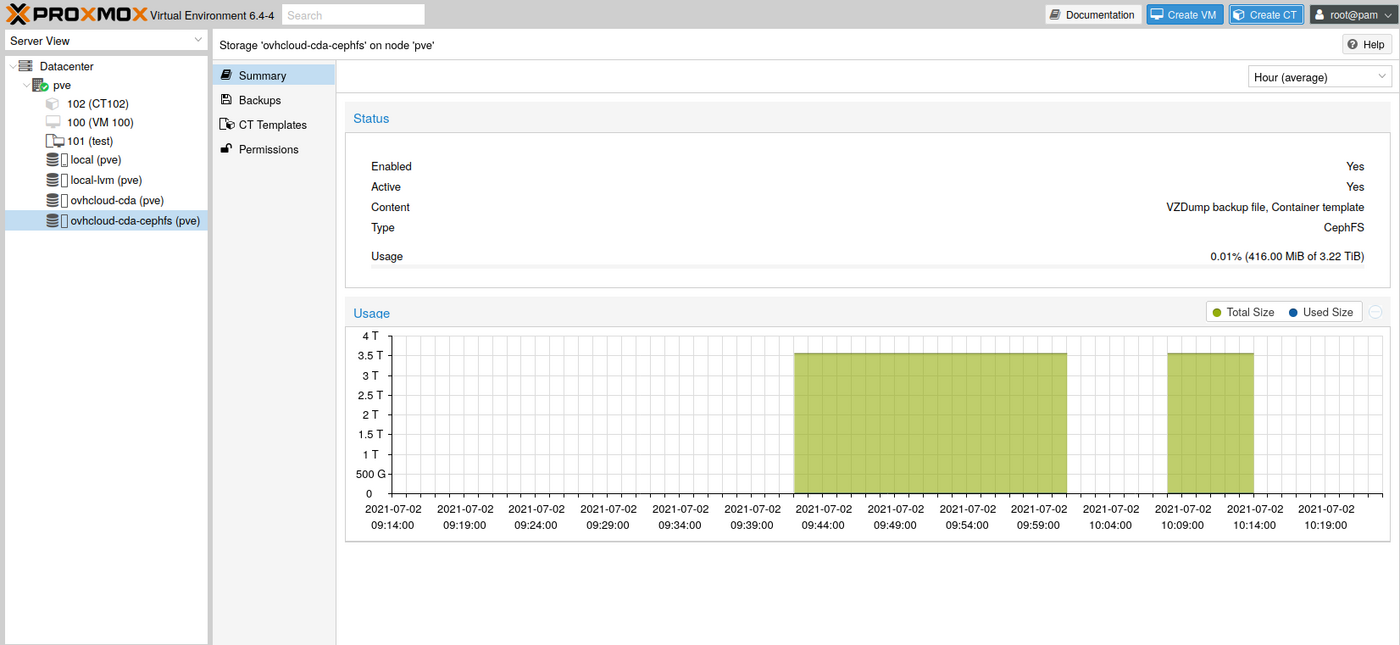
You can now download container templates and store them on CephFS:
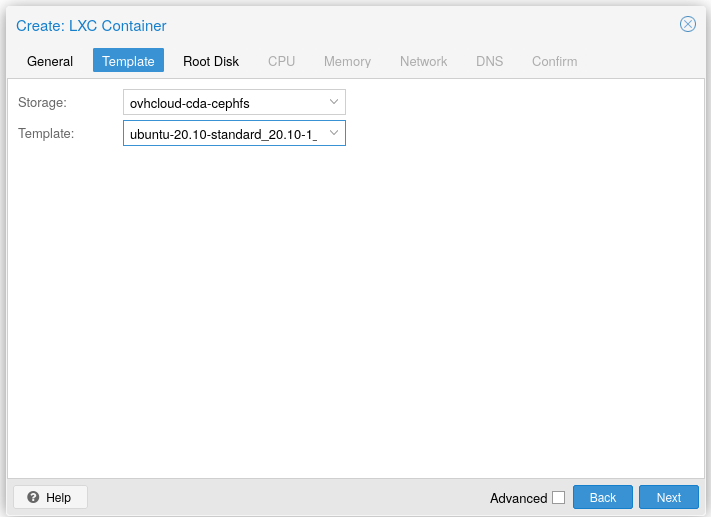
Once a template has been downloaded, you can start using it to create containers.
Go further
Visit our dedicated Discord channel: https://discord.gg/ovhcloud. Ask questions, provide feedback and interact directly with the team that builds our Storage and Backup services.
For training or technical assistance implementing our solutions, contact your sales representative or visit our Professional Services page to request a quote and have your project analysed by our experts.
Join our community of users.