How to manage a Savings Plan
Learn how to manage a Savings Plan using different tools
Objective
This guide aims to provide a clear and detailed method for creating and updating Savings Plans for your resources. You will discover how to manage your Savings Plans using the OVHcloud Control Panel, the OVHcloud API and Terraform. By following this guide, you will be able to:
- Create a Savings Plan for your resources.
- Modify a Savings Plan.
- Automate the management of Savings Plans via the API or Terraform for greater efficiency and flexibility.
Requirements
- A Public Cloud project in your OVHcloud account.
- Access to the OVHcloud API (create your credentials using this guide)
- Being familiar with Terraform if you intend to use it.
- Being familiar with the principles of Savings Plans
Instructions
OVHcloud Control Panel Access
- Direct link:
- Navigation path:
Public Cloud> Select your project
Click on Savings Plans in the left-hand navigation bar under Settings.
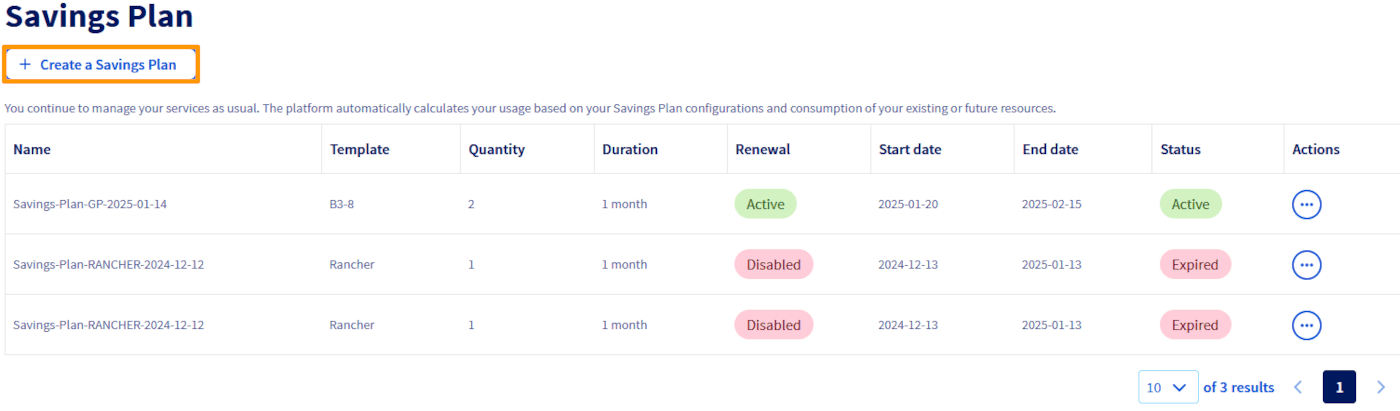
Create a Savings Plan
You can create your Savings Plan for the type of resource you want by following these steps:
Click the Create a Savings Plan button.
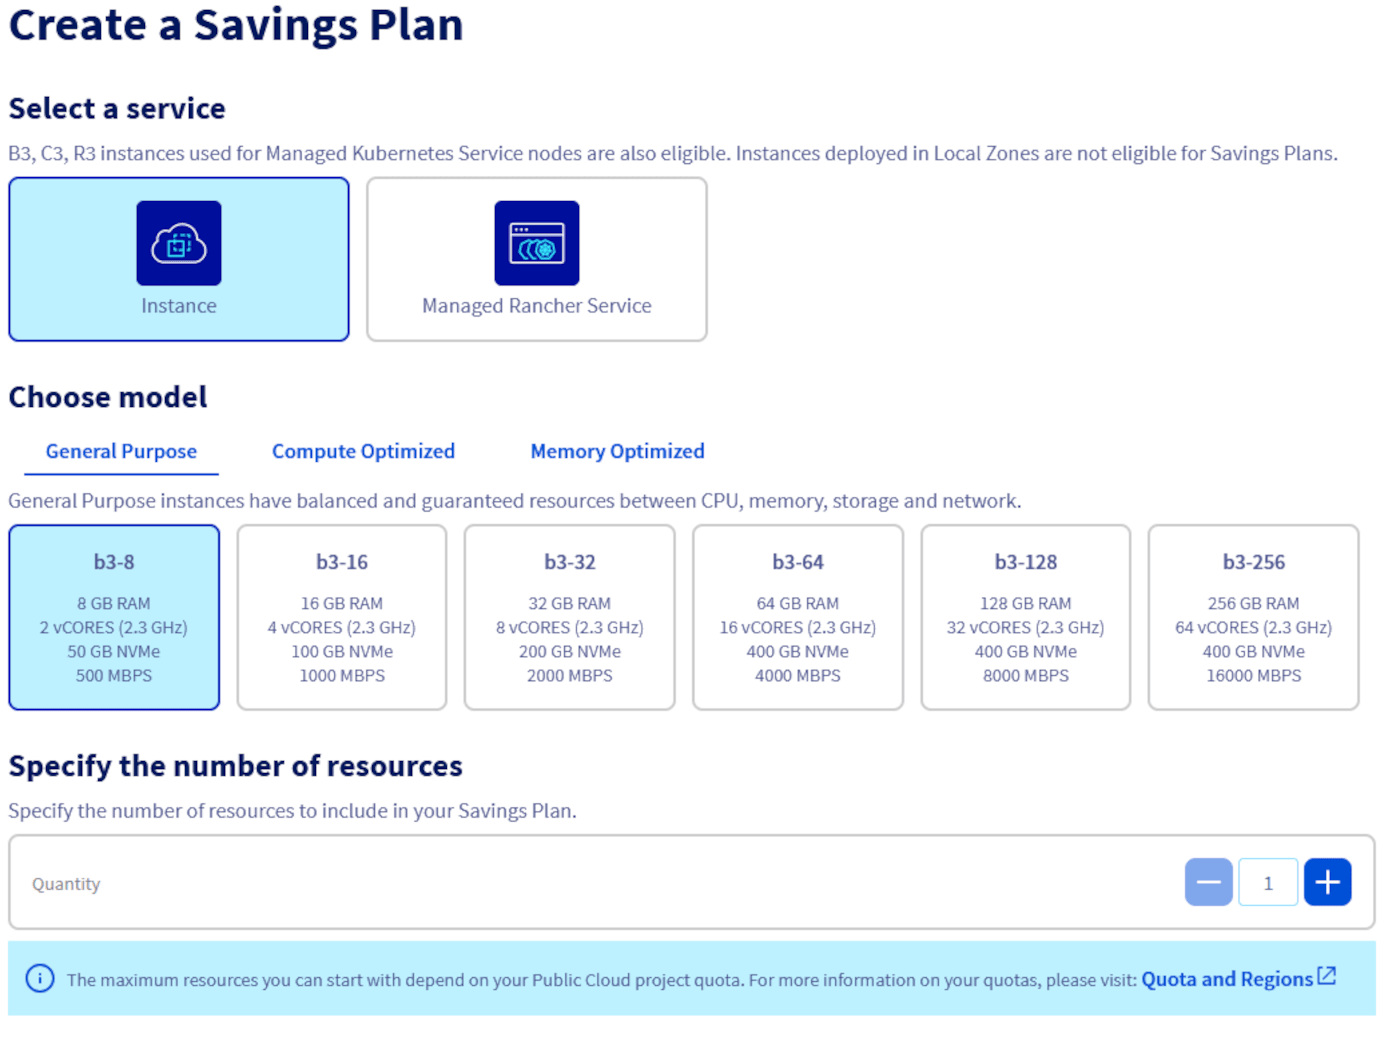
Select the type of resource for which the Savings Plan will apply, define the specific resource model and specify the number of resources affected by this plan.
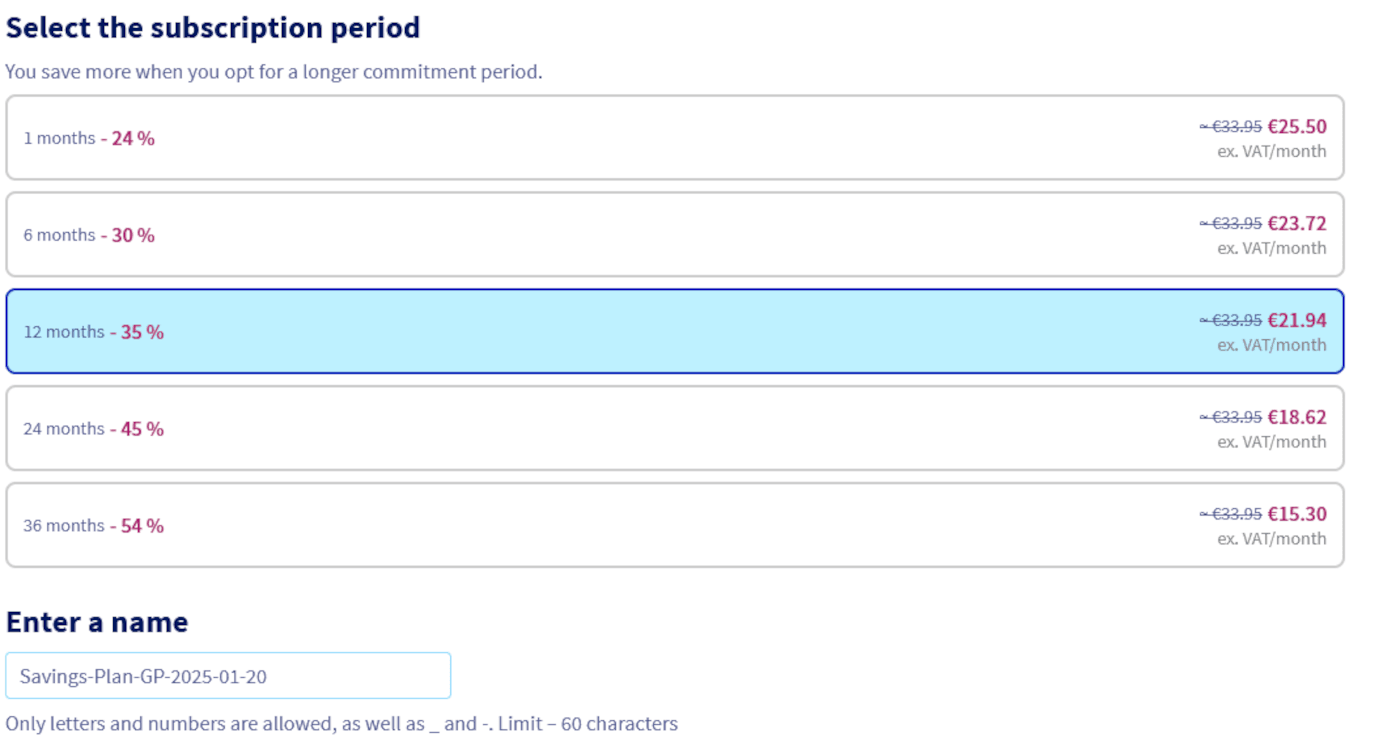
Choose the duration of your Savings Plan from the available durations and give it a name.
Read the Terms and Conditions carefully, then tick the box to confirm you accept them. Once all the parameters have been configured, click the Create a Savings Plan button to finalise the creation.

Modifying a Savings plan
Using the OVHcloud Control Panel, you can only edit the name of the Savings Plan and activate/deactivate its automatic renewal.
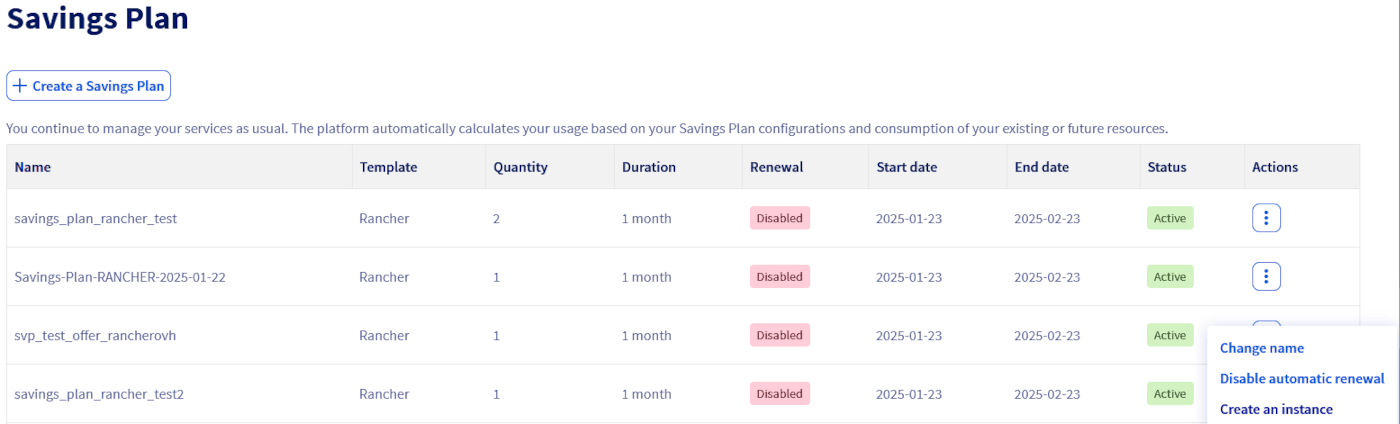
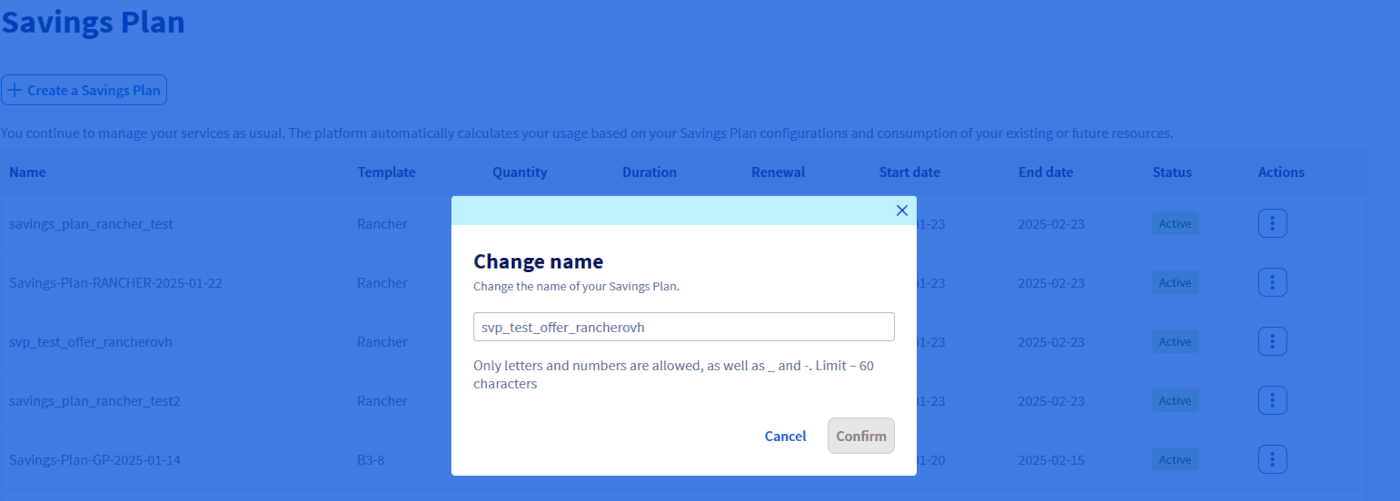
If you wish to change the name, click the Change name button, change the name and then click Confirm.
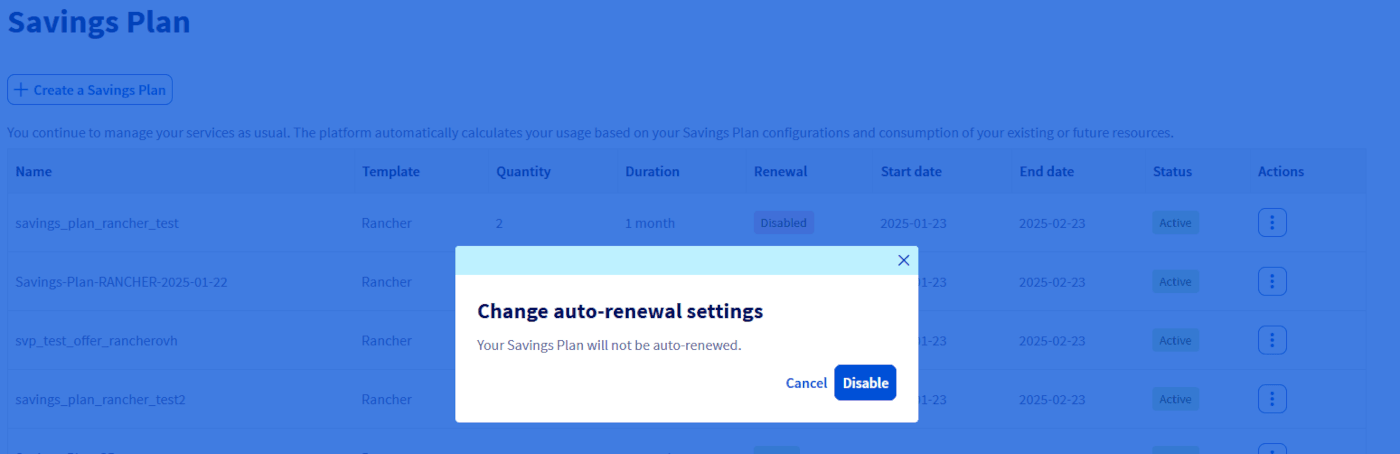
If you wish to activate/deactivate the automatic renewal of your Savings Plan, click on the Activate/Disable automatic renewal button and then on the Activate / Disable button as appropriate.
Go further
Join our community of users.