Attaching a Floating IP to a Public Cloud instance (EN)
Objective
Floating IPs are public IP addresses for Public Cloud, used to expose a private instance or a private network service to the public network. You can read more about it on our dedicated concepts page.
This guide explains how to attach Floating IP addresses to your instances.
Requirements
- A Public Cloud project in your OVHcloud account
- Access to the OVHcloud API, the OVHcloud Control Panel or the OpenStack command line environment (Tutorial)
- The OpenStack Command Line Interface tool installed on your working environment (optional)
Understanding the Floating IP service
Floating IP is one of the services delivered by the OpenStack DVR (Distributed Virtual Router) services of the OVHcloud Public Cloud.
Floating IP allows you to create a public IP address and use it for your private network based VMs for incoming and outgoing traffic. Floating IP addresses can be attached and detached from your VMs at any time.
You can hold Floating IP addresses without attaching them to any service. They remain available for your resources until they are manually deleted.
Target configuration architecture
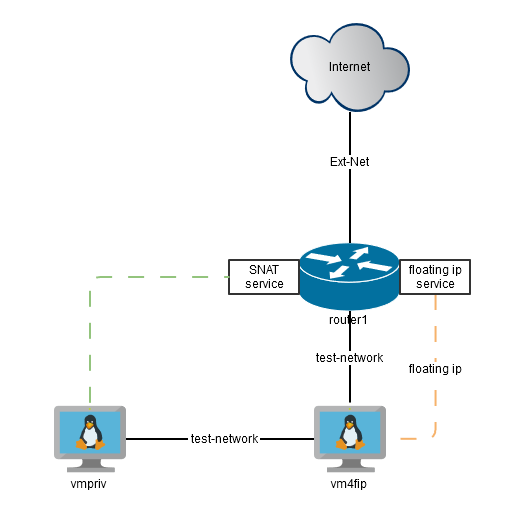
The goal of this exercise is to create a VM (vm4fip) with a private local network (test-network) only, and use a router (router1) to set up a Floating IP.
Next, we will use this Floating IP to connect to the instance (VM) from the outside and check its access to the Internet.
Instructions
Attaching a Floating IP to an instance
Via the OVHcloud Control Panel
Click one of the two tabs below depending on whether you want to attach a Floating IP to a new instance (Option 1) or an existing instance (Option 2).
In case of a new instance
If you wish to attach a Floating IP to an existing instance, please skip to Option 2 (second tab above).
Log in to the OVHcloud Control Panel, go to the Public Cloud section and select the Public Cloud project concerned.
Before creating your instance, make sure you have created a private network with Gateway.
To create a new instance, follow this guide if necessary.
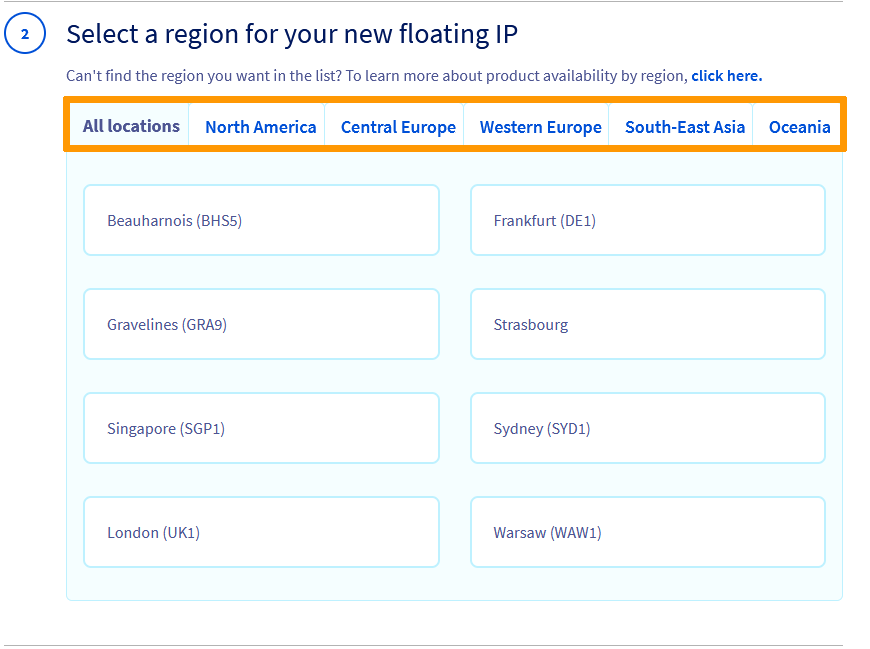
As of today, all regions do not support this feature. Make sure to create an instance in a valid region. For more information, please refer to our regions availability page.
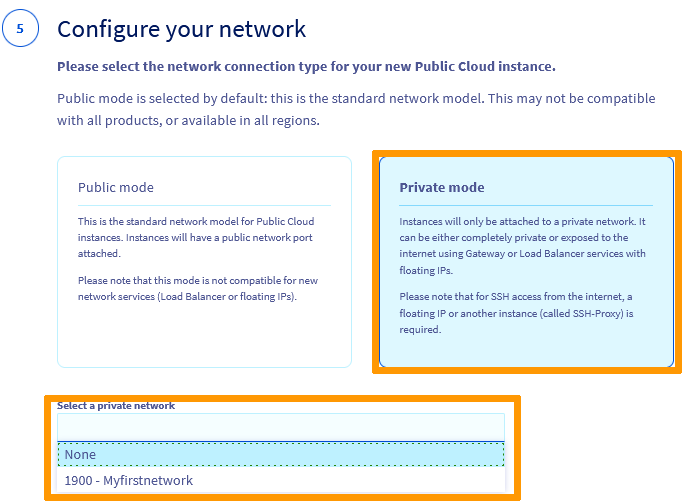
In Step 5, you have the option to choose a mode for your instance: Public mode or Private mode to be used for your instance networking.
By default, the public mode is selected, but since we are creating an instance to which we will attach a Floating IP, we need to create an instance with a private network ONLY.
Select the Private mode and click on the drop down list to select a private network of your choice (the network must have been previously created with a Gateway or linked to a Gateway).
If you select a private network that is not linked to a Gateway, the system will automatically create a Gateway of size "S" by default and attach it to your network.
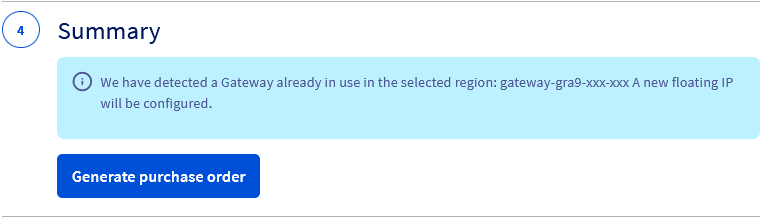
In the next step, check the box next to Attach a Floating IP to this Instance, and select Create a new Floating IP.
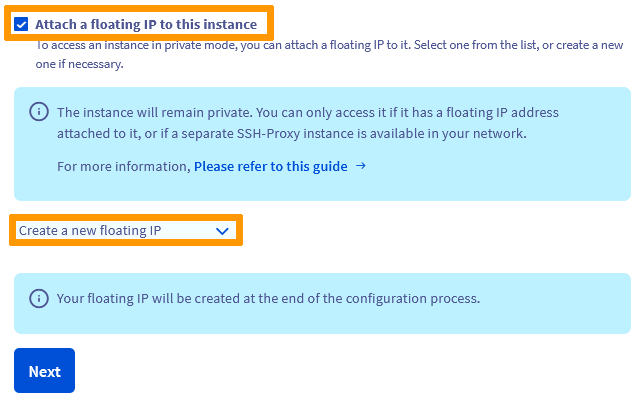
When you have applied your choices, click Next to proceed to the final step and decide on a billing method.
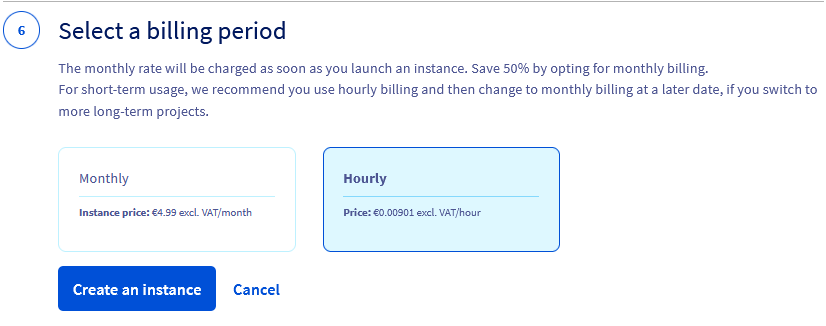
We recommend to choose hourly billing if there is any doubt regarding the usage period, because it is not possible to choose it after the service delivery. You will have the option to switch to a monthly subscription as soon as the instance is available on the "Instances" page.
If you choose to be billed hourly, you will continue to be billed as long as the instance is not deleted. It does not matter if the instance is not actually used during this time.
Once you have made sure that your configuration choices are correct, click on the Create an instance button to finish creating your new instance. It may take a few minutes until your service is delivered.
This feature is currently only available via the OpenStack API.
Deleting a Floating IP
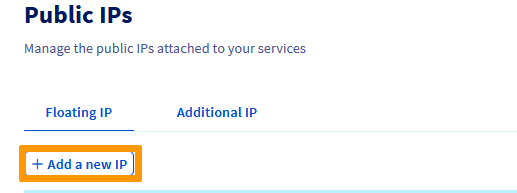
In the public cloud section, click on Public IPs in the left-hand menu under Network.
In the Floating IP tab, click on the ... next to the corresponding IP and select Delete.

In the pop-up window, proceed with the deletion of the IP by clicking on Confirm.
Via the OpenStack API
Unfold this section
Click on the tabs below to view each of the 9 steps in turn.
Create a router
Adding a DNS to a Floating IP
This procedure must be carried out after you have followed the 9 steps above.
To add a DNS to a Floating IP, run the following command from the command line.
Detaching a Floating IP
You can detach a Floating IP from your VM at anytime.
Once a Floating IP is detached, it goes back to your pool of Floating IPs. The Floating IP can be reattached to the same VM or any other VMs in your VMs pool. Detaching a Floating IP does not delete it.
Deleting a Floating IP
To delete a Floating IP, you must do it explicitly:
Via the Horizon interface
Unfold this section
The following steps describe how to attach a Floating IP to an existing instance.
Before you proceed, make sure your instance is linked to a private network only and that the private network is linked to a Gateway.
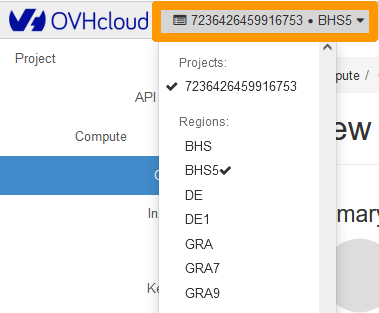
Log into the Horizon interface, and ensure that you are in the correct region. You can verify this on the top left corner.
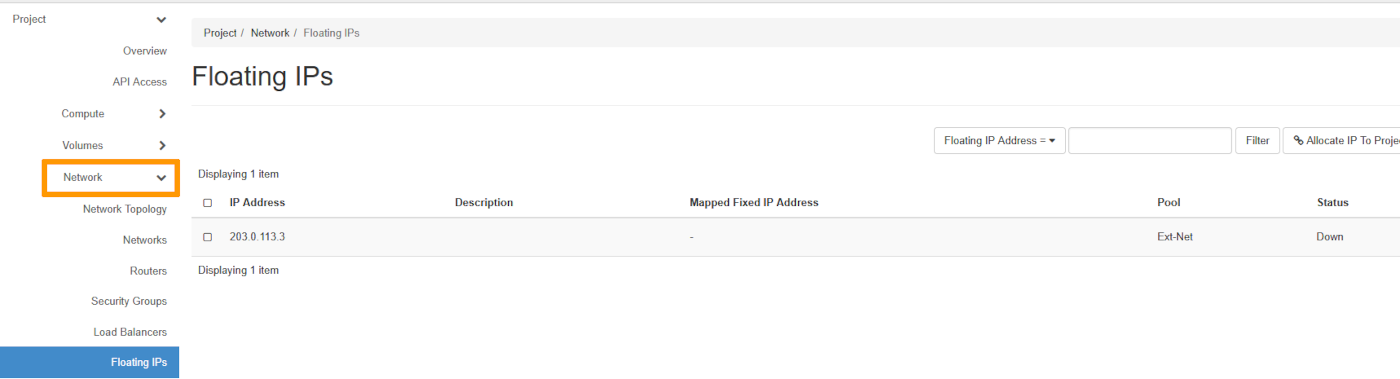
In the left-hand menu, click on
Networkthen onFloating IPs.
Click on
Associatenext to the corresponding instance.
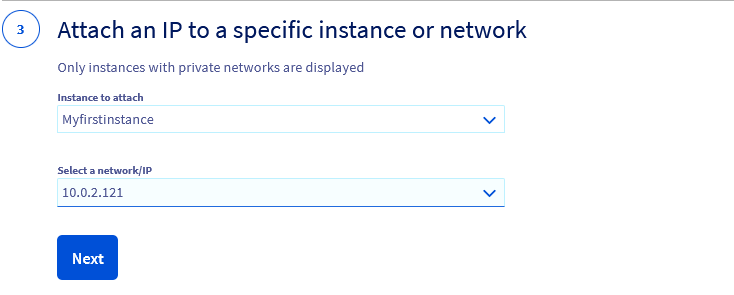
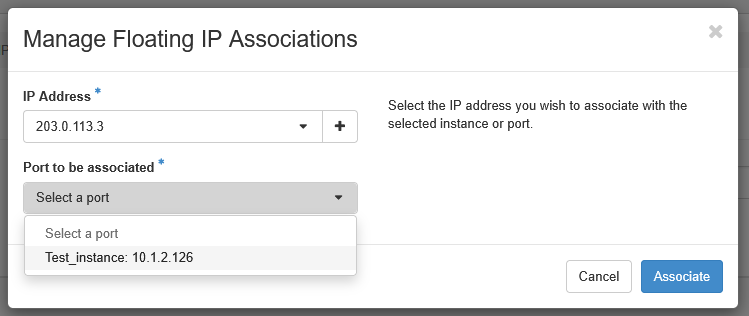
A pop-up window will appear. Click on the drop-down arrow underneath
Port to be assiociatedand select the "port" or "instance" to attach the Floating IP to.
Next, click on
Associate.Once done, the Floating IP will be associated to the instance.

Detaching a Floating IP
You can detach a Floating IP from your instance at anytime.
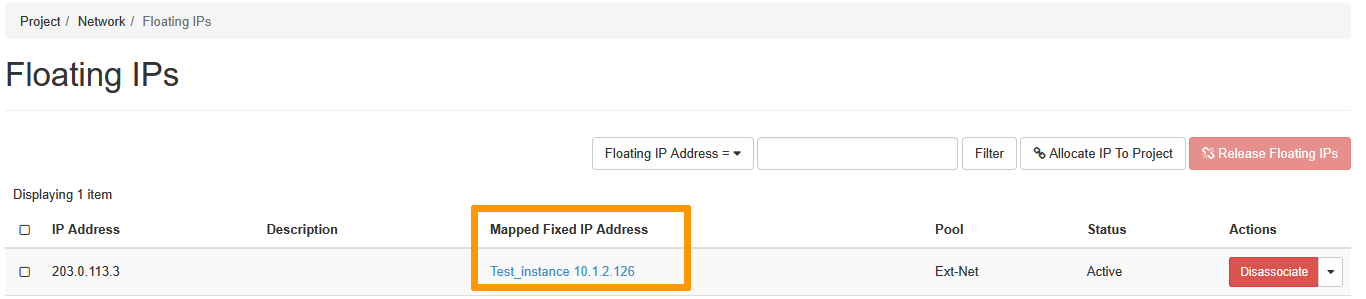
Once you are connected to the Horizon interface, click on Network, then on Floating IPs.
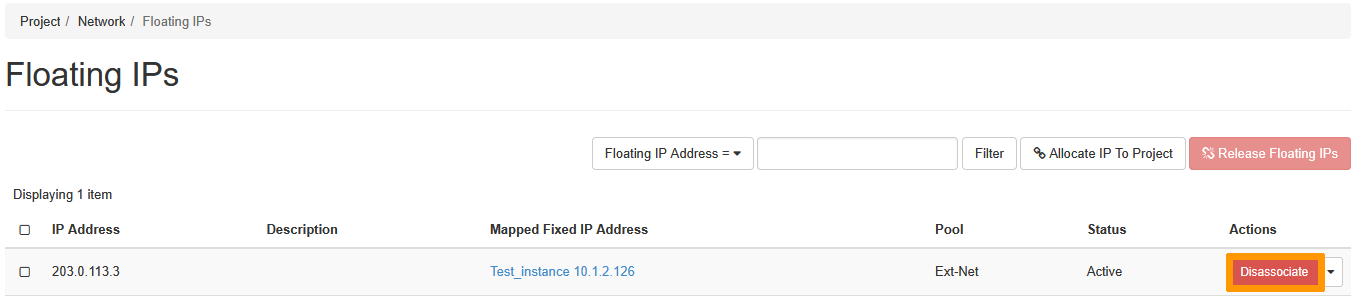
Click on Disassociate next to the corresponding IP.
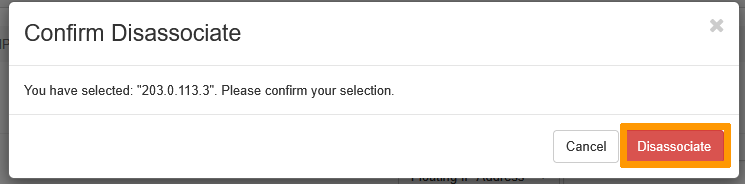
A pop-up window will appear prompting you to confirm the selection. Click on Disassociate.
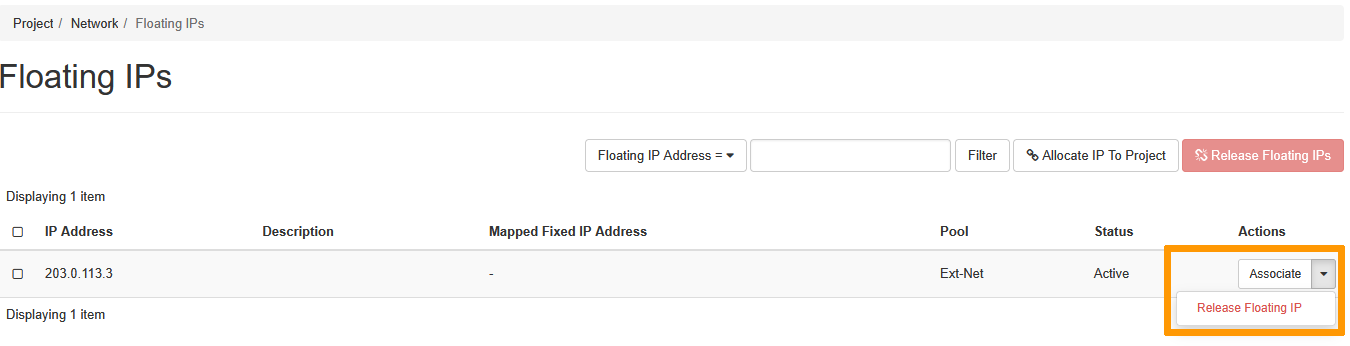
Once done, the Floating IP will be detached from the instance and returned to the pool of Floating IPs.
Deleting a Floating IP
To delete a Floating IP, click on the drop-down arrow next to the corresponding instance, then click on Release Floating IP.
Via the OVHcloud API
Unfold this section
With the OVHcloud API, you can only attach a Floating IP to an existing instance.
To begin, retrieve all the information you will need.
For the project ID, the calls below allow you to retrieve it.
This call retrieves the list of projects.
This call identifies the project via the "description" field.
Once you have gathered all the information, you can now create a Floating IP and attach it to an instance using the following call.
Fill in the fields according the following table.
INFOThe "gateway" property field should be left empty because you are attaching a Floating IP to an instance intially created with a private network only and already linked to a Gateway. Please note that for now, the Floating IP will not be created if the instance is linked to a private network that is not attached to a Gateway.
The creation will take a few moments.
Detaching a Floating IP
This feature is available via the OpenStack API and the Horizon interface.
Deleting a Floating IP
To delete a Floating IP, use the following API calls.
First, retrieve the necessary information.
For the project ID, the calls below allow you to retrieve it.
This call retrieves the list of projects.
This call identifies the project via the "description" field.
For the Floating IP ID, the call below allows you to retrieve it.
Fill in the fields with the information previously obtained:
- serviceName: The project ID
- regionName: The name of the region
Once the information has been retrieved, use the following call to delete the Floating IP.
Fill in the fields with the information previously obtained:
- serviceName: The project ID
- regionName: The name of the region in which the floating is located
- floatingIpId: The ID of the Floating IP
Go further
If you need training or technical assistance to implement our solutions, contact your sales representative or click on this link to get a quote and ask our Professional Services experts for assisting you on your specific use case of your project.
Join our community of users.