---
title: "Enable the VCDA migration option on Public VCF as-a-Service"
description: "Find out how to enable the VMware Cloud Director Availability (VCDA) migration option and manage allowed IP addresses for your organisation"
url: https://docs.ovhcloud.com/pt/guides/hosted-private-cloud/powered-by-vmware/vcda-enable-offer
lang: pt
lastUpdated: 2026-06-09
---
# Enable the VCDA migration option on Public VCF as-a-Service
## Objective
OVHcloud provides a migration option based on **VMware Cloud Director Availability (VCDA)** to move your virtual machines to a Public VCF as-a-Service organisation.
**This guide explains how to enable this option from your OVHcloud Control Panel, then where to manage allowed IP addresses after activation.**
## Requirements
- An active [Public VCF as-a-Service](https://www.ovhcloud.com/pt/lp/vmware-vcd-evolution/) organisation.
- Access to the OVHcloud Control Panel with administrator rights on the organisation.
- The public IP address (CIDR `/32`) of the server hosting your on-premises VCDA appliance.
:::info
The IP entered during activation is used to allow your source environment to communicate with the OVHcloud VCDA service.
:::
***
### OVHcloud Control Panel Access
- **Direct link:** VMware Cloud Foundation
- **To access your services:** Hosted Private Cloud > Public VCF as-a-Service > Select your VCF service
***
## Instructions
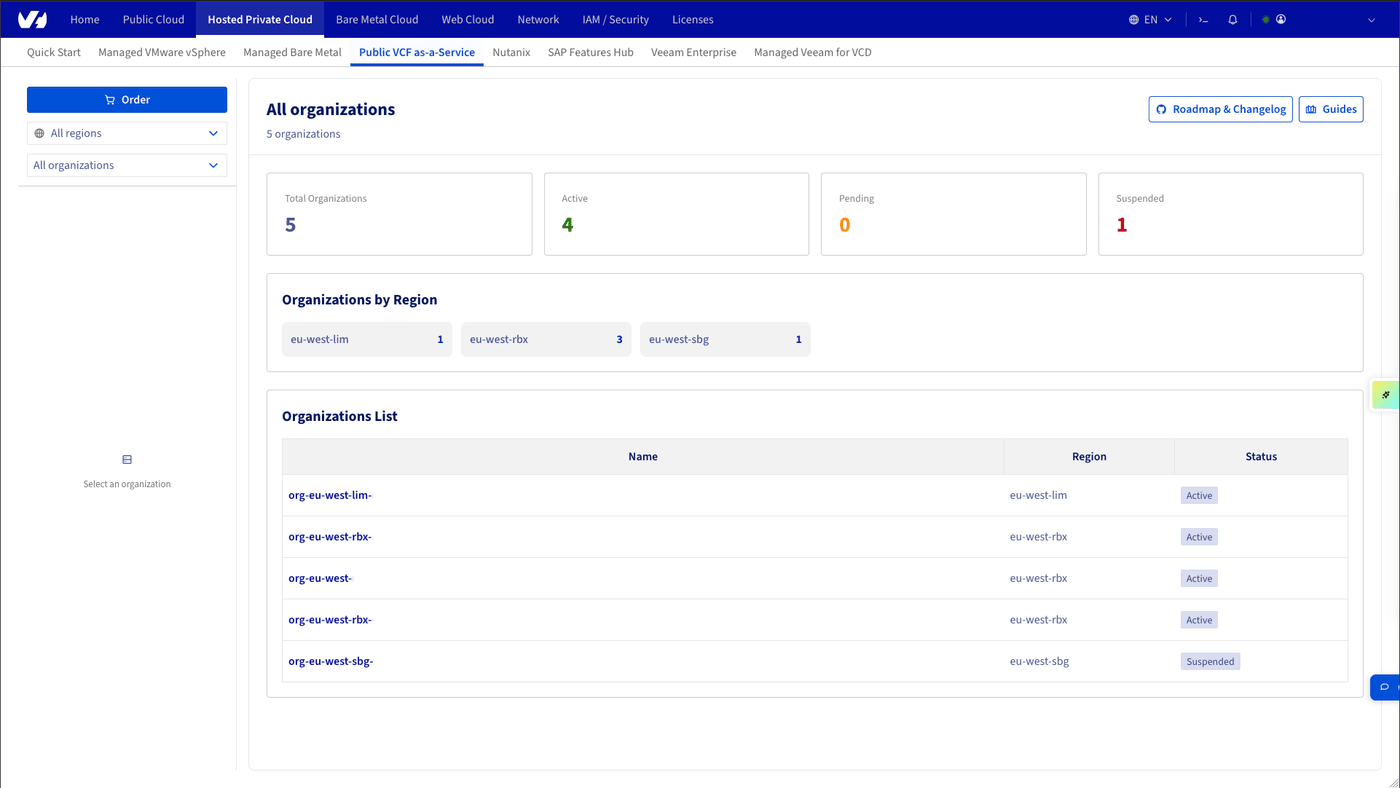
### Step 1: Open the Public VCF as-a-Service service
The landing page shows your organisations list. Select the organisation where you want to enable migration.
### Step 2: Start activation
Once inside the organisation, open the dashboard and click `Order
` in the **Migration**
block.

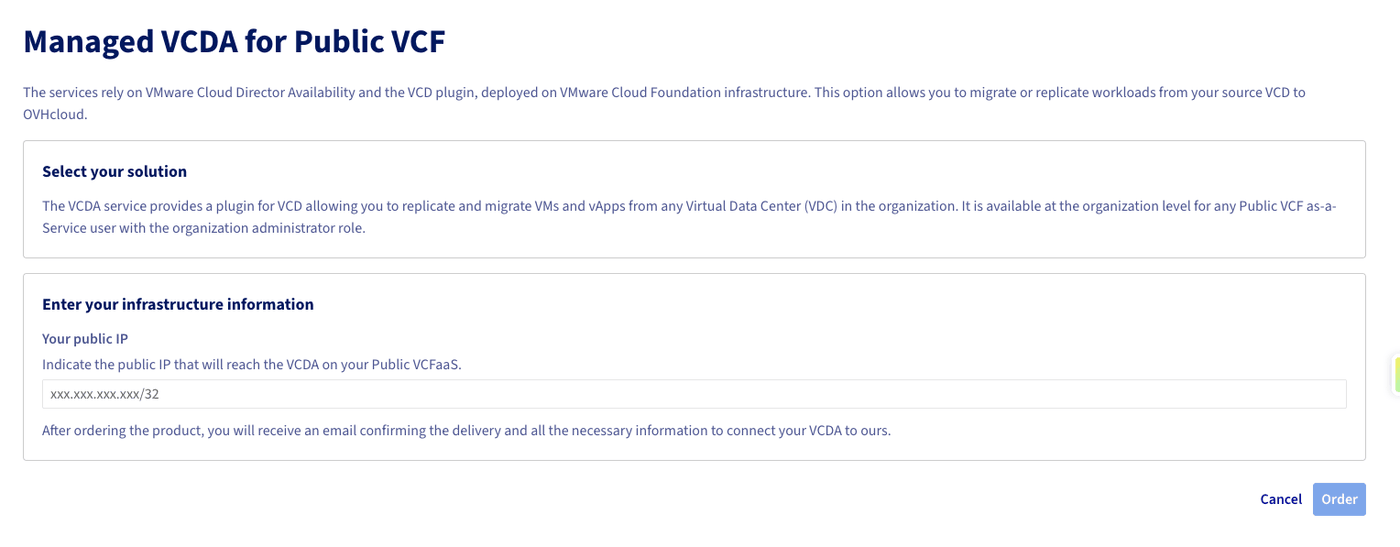
### Step 3: Fill in the first activation form
In the activation form, enter the public IP address of your source server in CIDR `/32`
format, then click `Order
`.
This operation enables the VCDA migration option on the organisation and adds this IP to the allow list.
:::warning
Make sure you enter the actual public egress IP used by your on-premises VCDA appliance. An incorrect IP will prevent pairing with the cloud service.
:::
After validation, a confirmation email is sent to you.
### Step 4: Use the Migration tab after activation
Once the option is enabled, a `Migration
` tab appears in the organisation interface.
In this tab, you can:
- add additional service IPs to allow access to OVHcloud infrastructure;
- view the VCDA service IP deployed on your organisation (useful if you need to allow flows on your source side).

## Go further
- [Public VCF as-a-Service Migration with VCDA - Getting Started](/pt/guides/hosted-private-cloud/powered-by-vmware/vcda-getting-started.md)
- [Trigger your first VCDA migration to Public VCF as-a-Service](/pt/guides/hosted-private-cloud/powered-by-vmware/vcda-trigger-migration.md)
- [How to use the Public VCF as-a-Service user interface](/pt/guides/hosted-private-cloud/powered-by-vmware/vcd-getting-started-dashboard-overview.md)
For training or technical assistance implementing our solutions, contact your sales representative or visit our [Professional Services](https://www.ovhcloud.com/pt/professional-services/) page to request a quote and have your project analysed by our experts.
Join our [community of users](https://community.ovhcloud.com/).