---
title: "Creating a private registry"
url: https://docs.ovhcloud.com/es/guides/public-cloud/containers-orchestration/managed-private-registry/creation
lang: es
lastUpdated: 2022-04-14
---
# Creating a private registry
A Docker Registry is a system that lets you store and distribute your Docker images. The best known Registry is the official [Docker Hub](https://hub.docker.com/), where you can find official public images such as [Alpine](https://hub.docker.com/_/alpine), [Golang](https://hub.docker.com/_/golang) or [Debian](https://hub.docker.com/_/debian).
Today, OVHcloud allows you to spawn your own authenticated Docker Registry where you can privately store your Docker images. This is the best way to use your private images with our OVHcloud Managed Kubernetes Service offer without exposing them to everyone.
## Objective
OVHcloud Managed Private Registry service provides you a managed, authenticated Docker registry where you can privately store your Docker images. This guide will explain how to create your Private Registry.
***
### OVHcloud Control Panel Access
- **Direct link:** Public Cloud Projects
- **Navigation path:** Public Cloud > Select your project
***
## Instructions
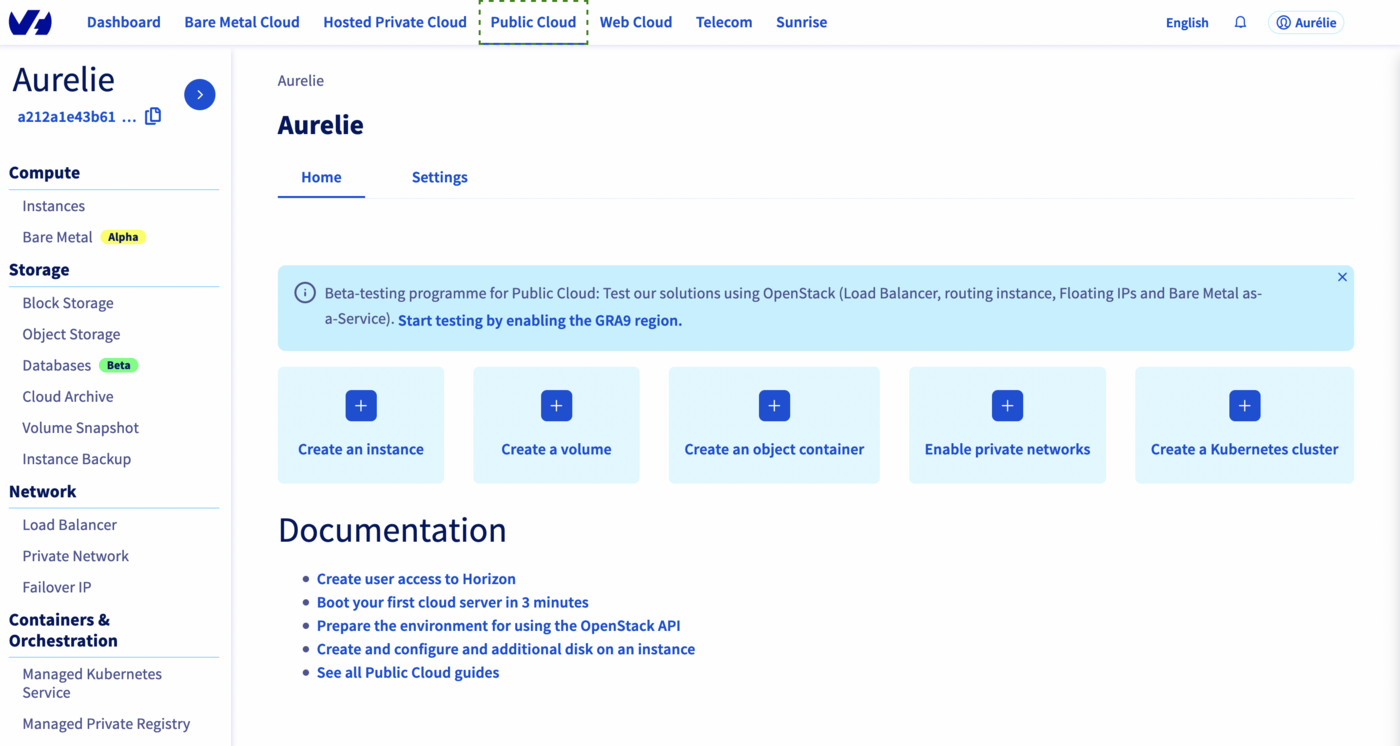
1. In the left menu, in the Containers & Orchestration section, select Managed Private Registry.
 2. Then click on
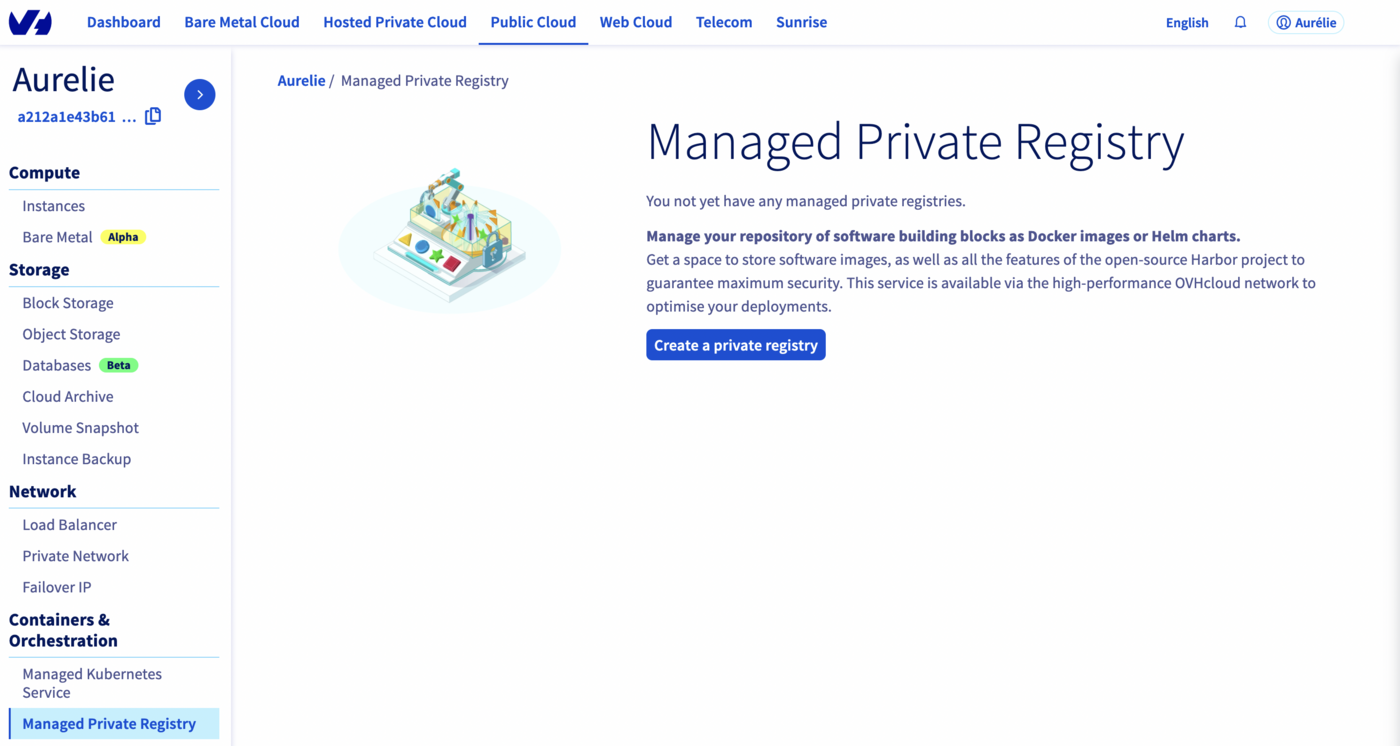
 Create a private registry.
 3. In the following menu, choose a region to deploy your private registry in, and click on
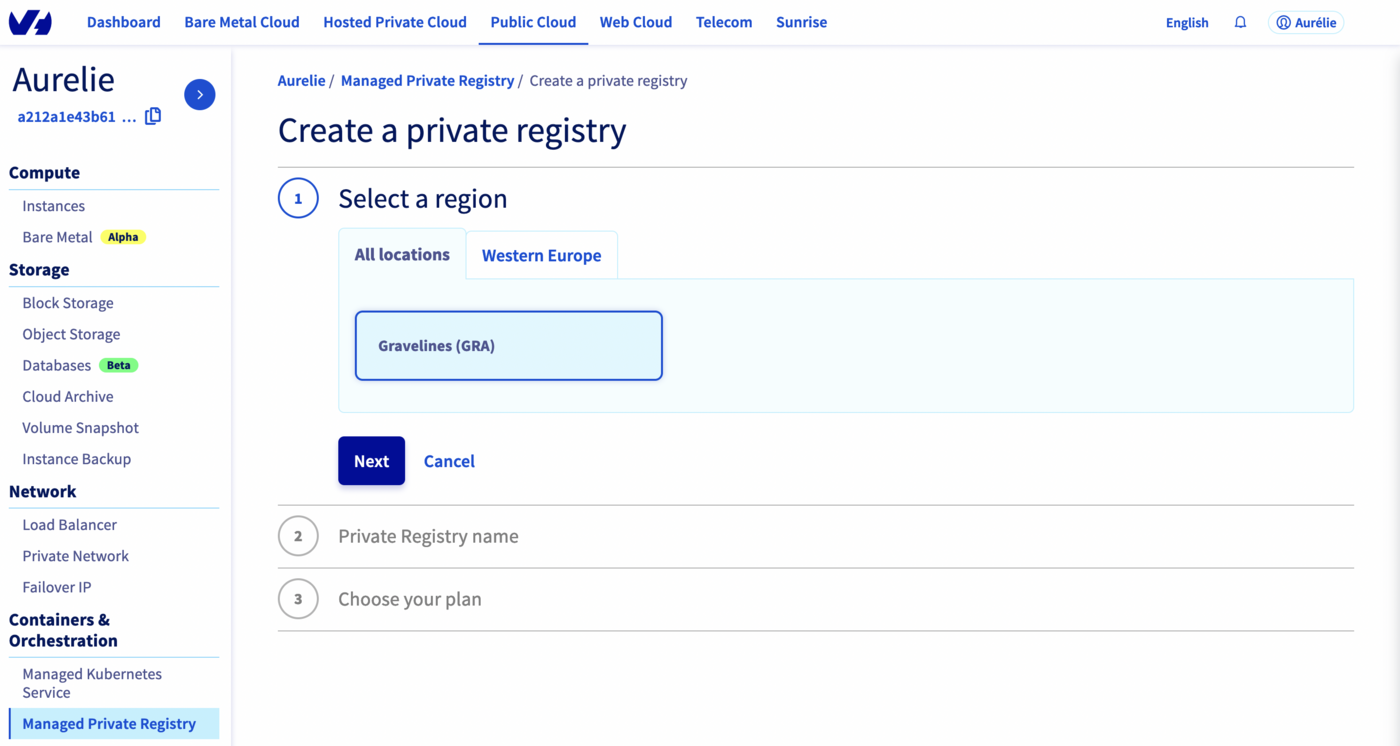
 Next.
 4. Choose the registry name (`my-registry` in my example), and click on
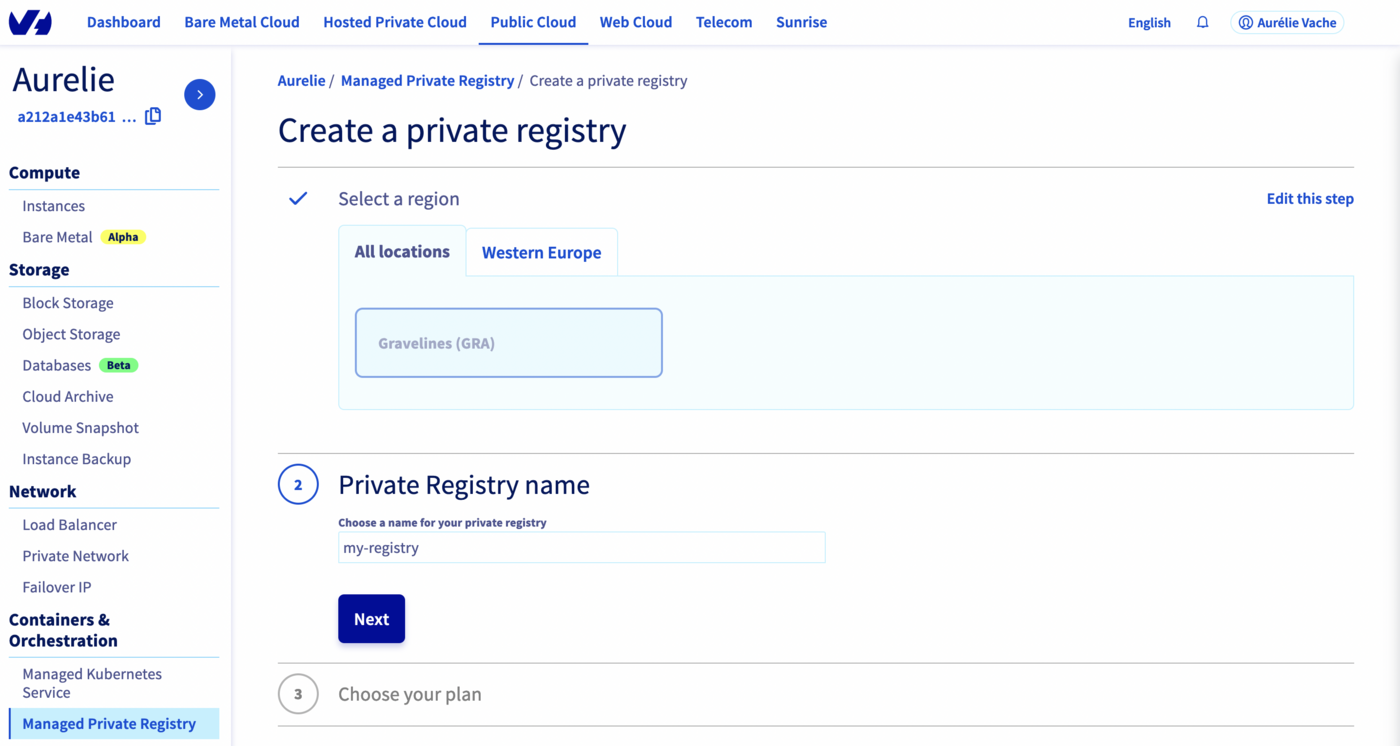
 Next.
 5. Choose your plan between the three available plans, and click on
 Next.
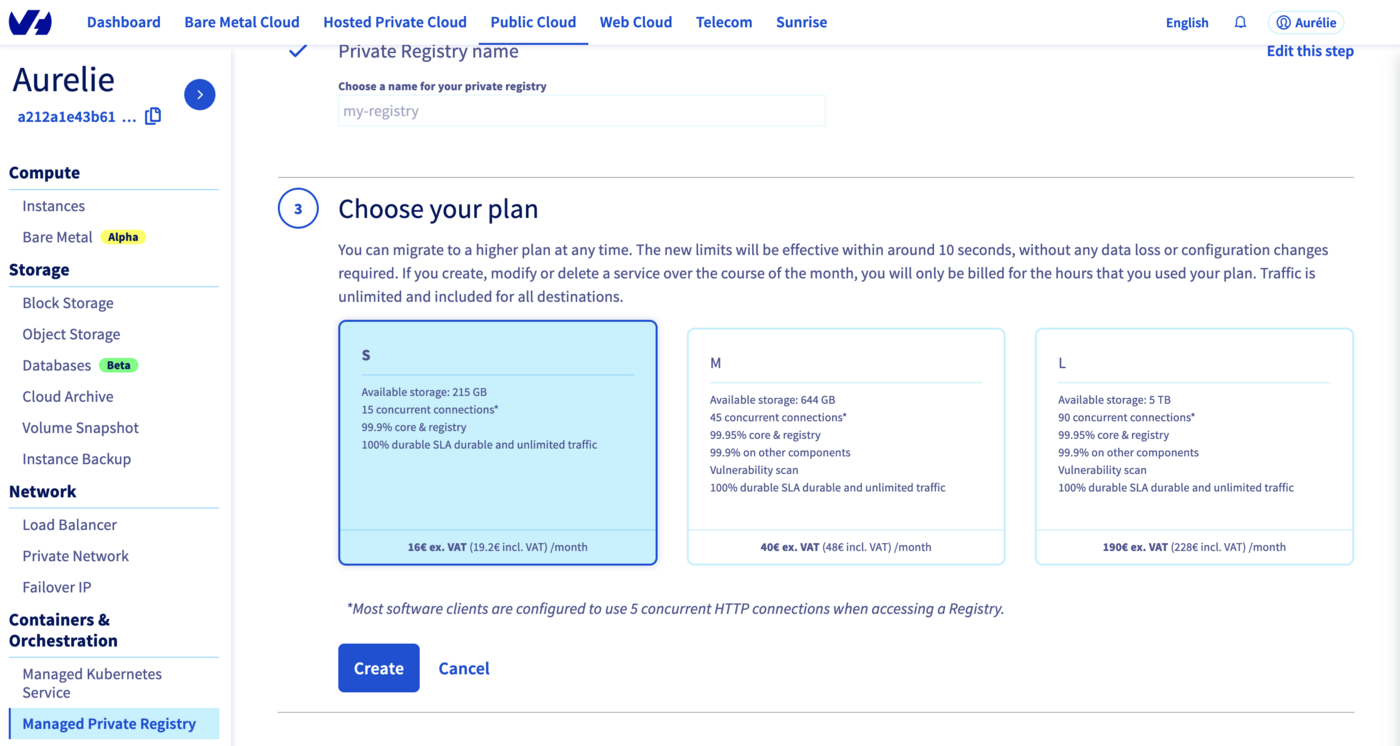 :::info
With the `M` and `L` plan, OVHcloud installs and maintains a vulnerability scanner for you: [Trivy](https://aquasecurity.github.io/trivy/).
:::
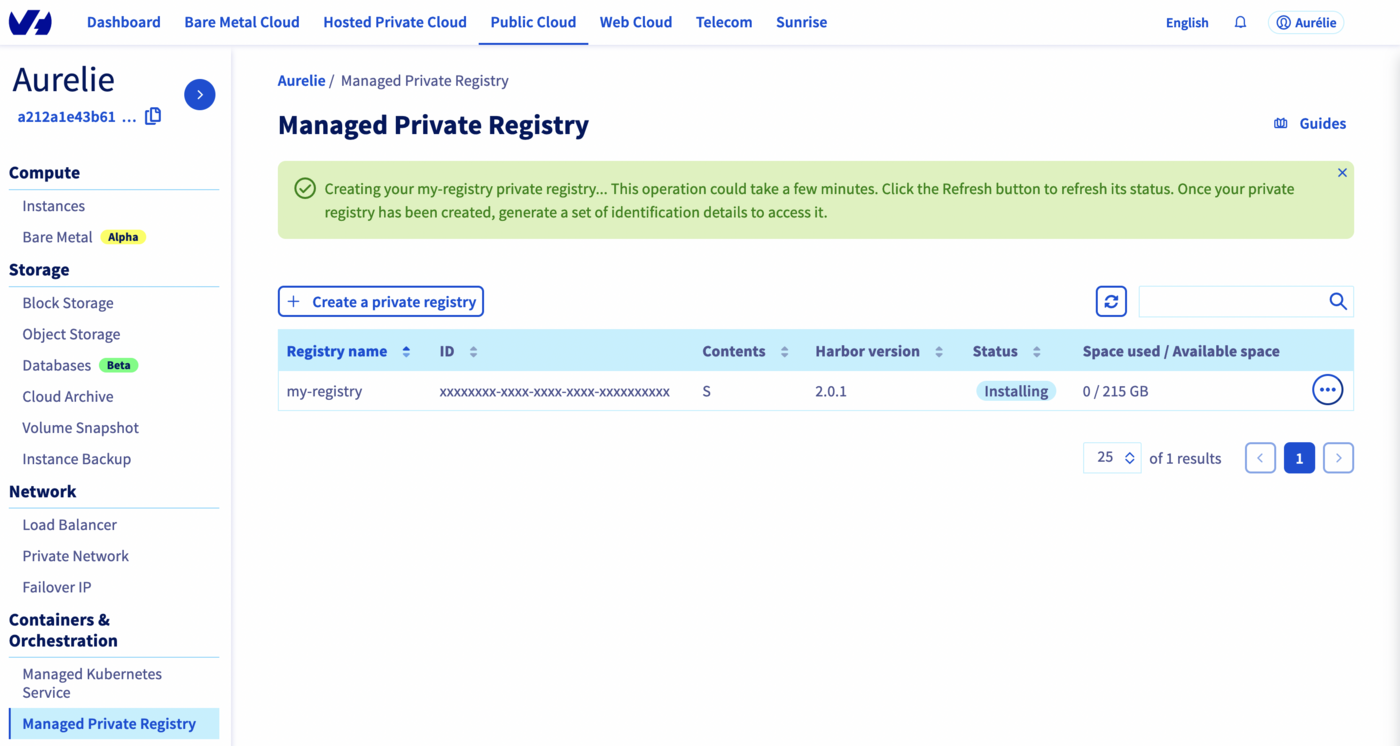
6. Your private registry is being created...
:::info
With the `M` and `L` plan, OVHcloud installs and maintains a vulnerability scanner for you: [Trivy](https://aquasecurity.github.io/trivy/).
:::
6. Your private registry is being created...
 7. When status switches to `OK`, click on the right
 ... button and select Generate identification details.
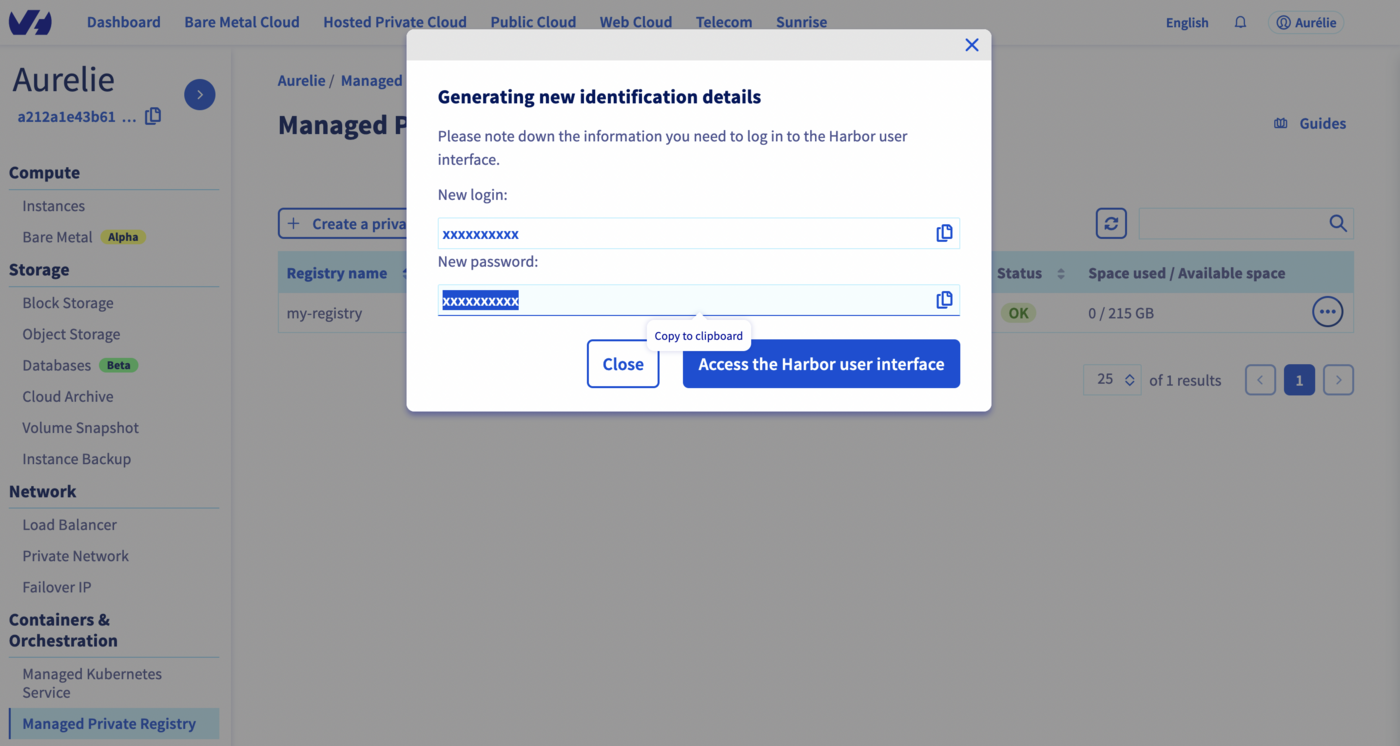
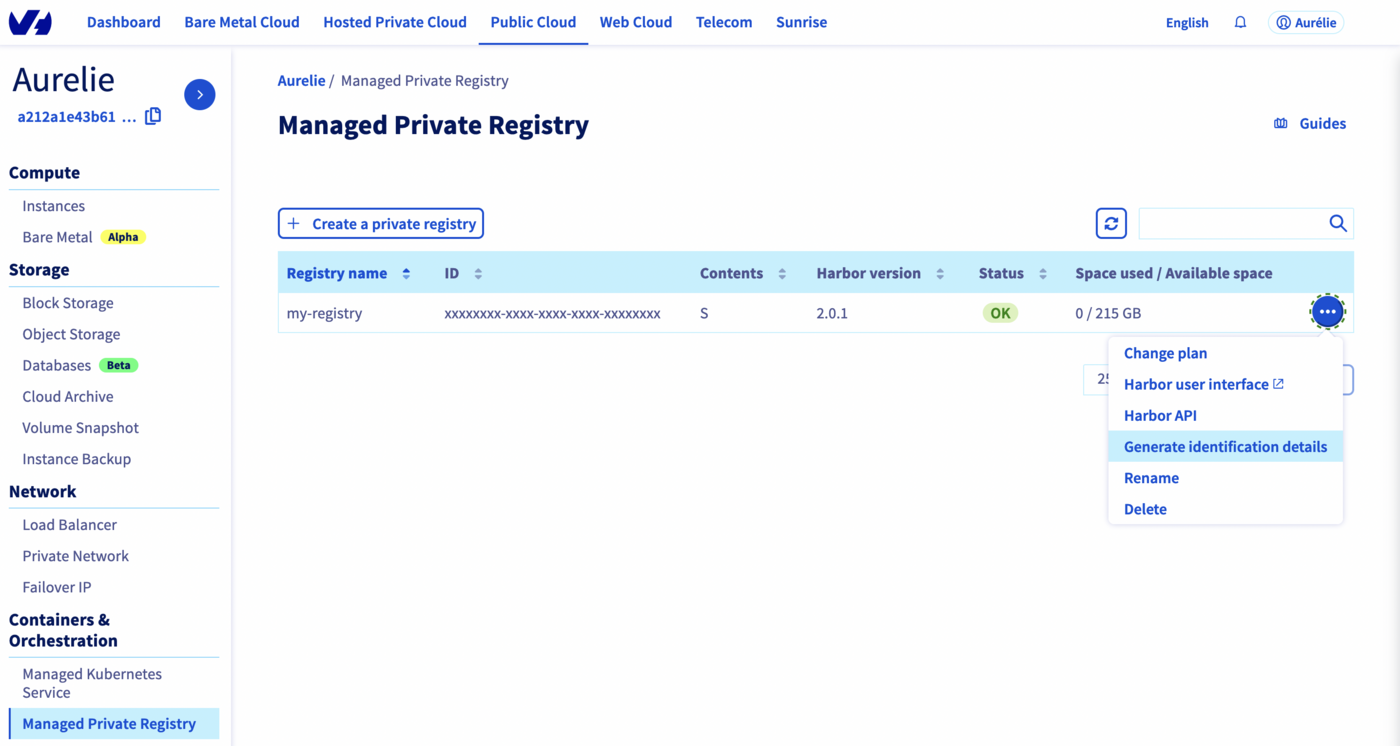 8. Then click on
 Confirm to generate new credentials.
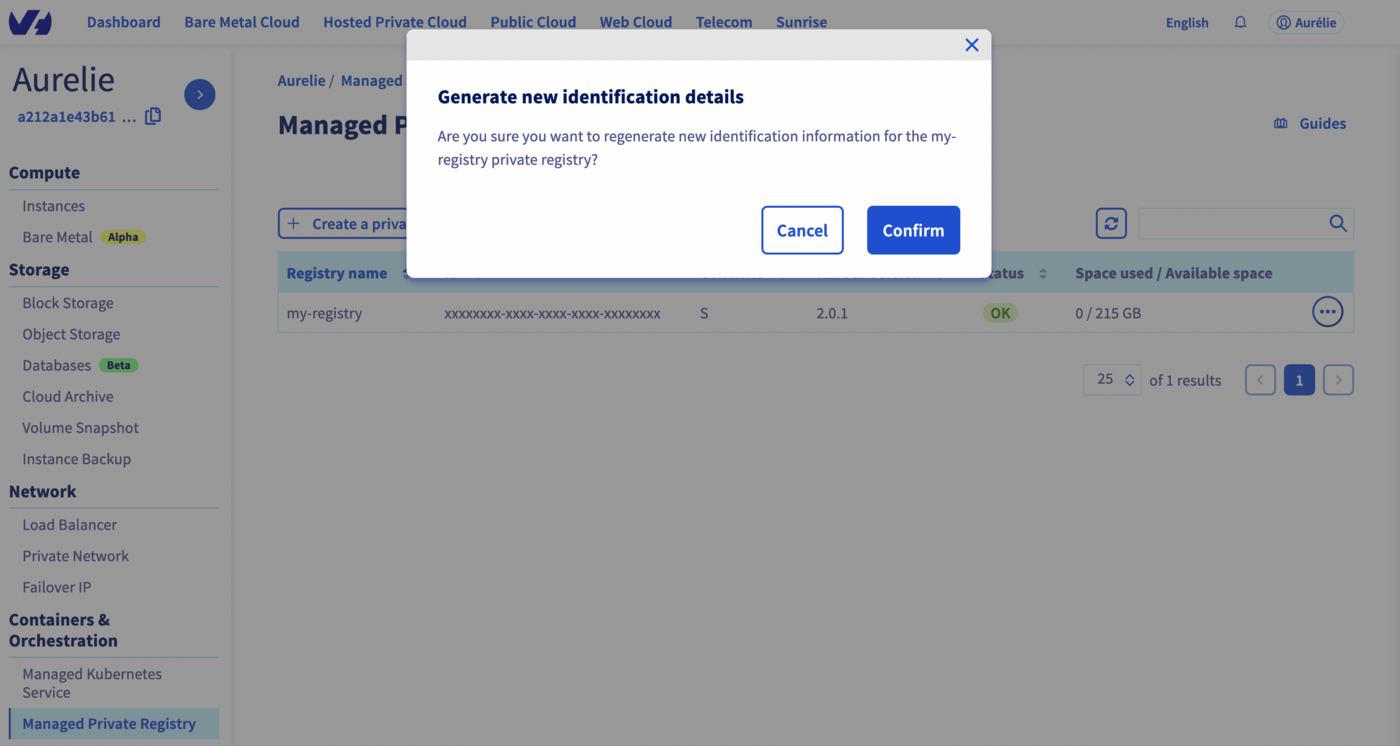 9. Credentials will be shown on the page. Please write then down, you will need them in order to use your private registry.
 Congratulations, you have now a working OVHcloud Managed Private Registry.
## Go further
To go further you can look at our guide on [connecting to the UI](/es/guides/public-cloud/containers-orchestration/managed-private-registry/connect-to-ui.md).
Congratulations, you have now a working OVHcloud Managed Private Registry.
## Go further
To go further you can look at our guide on [connecting to the UI](/es/guides/public-cloud/containers-orchestration/managed-private-registry/connect-to-ui.md).