---
title: "AI Notebooks - Tutorial - Use tensorboard inside notebooks"
description: "How to use tensorboard inside AI Notebooks"
url: https://docs.ovhcloud.com/es/guides/public-cloud/ai-machine-learning/ai-notebooks-tensorboard-embedded
lang: es
lastUpdated: 2022-09-01
---
# AI Notebooks - Tutorial - Use tensorboard inside notebooks
## Objective
The purpose of this tutorial is to show how it is possible to launch a [TensorBoard](https://www.tensorflow.org/tensorboard) inside an `AI Notebooks`.
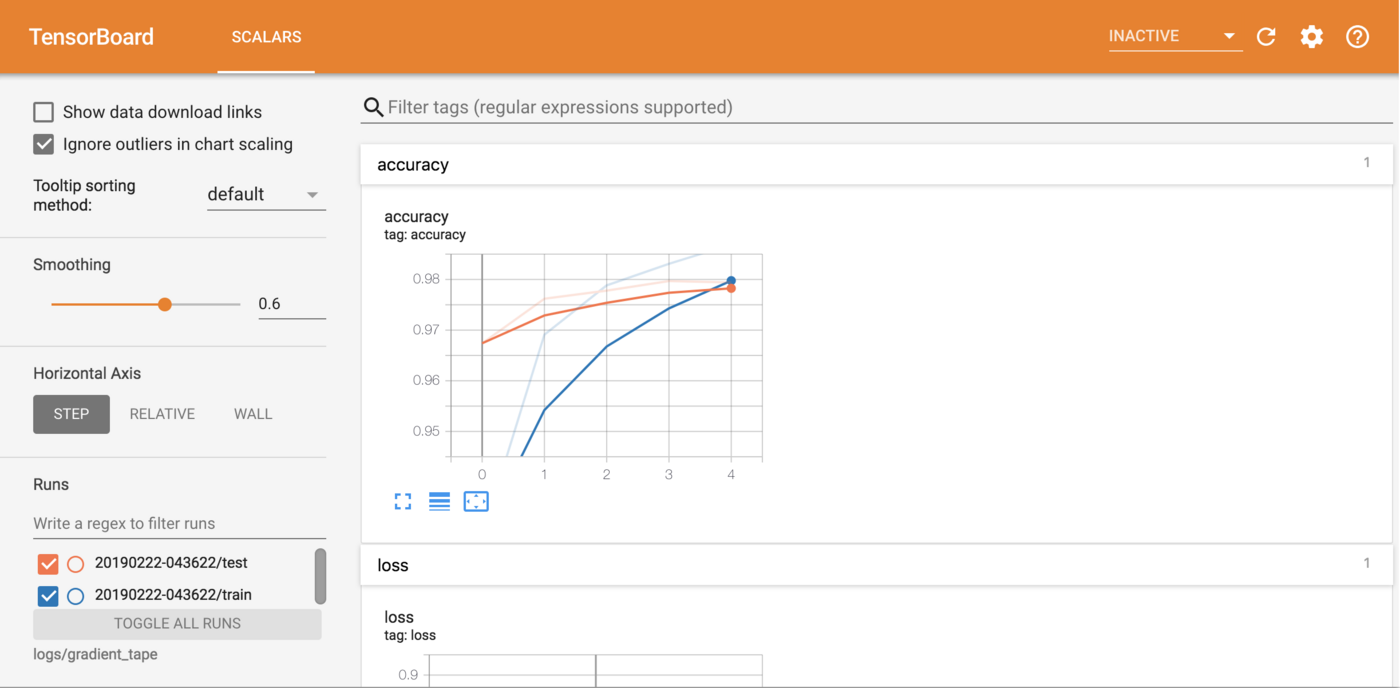
TensorBoard is a tool made by TensorFlow, for providing the measurements and visualizations needed during the machine learning workflow. It enables tracking experiment metrics like loss and accuracy, visualizing the model graph, projecting embeddings to a lower dimensional space, and much more.
TensorBoard provides a visual interface :
The tutorial presents a simple example of launching **TensorBoard** in a notebook.
## Requirements
- an AI Notebooks project created inside a Public Cloud project
- a user for AI Notebooks
***
### OVHcloud Control Panel Access
- **Direct link:** Public Cloud Projects
- **Navigation path:** Public Cloud > Select your project
***
## Instructions
### Launch and access Jupyter notebook
If you want to launch it from the OVHcloud Control Panel
, just create a new notebook and select **TensorFlow**
docker image.
If you want to launch it with the [CLI](/es/guides/public-cloud/ai-machine-learning/ai-cli-run-notebook.md), just choose the name of your notebook (``) and the number of GPUs (``) your want and use the following command:
```bash
ovhai notebook run tensorflow jupyterlab \
--name \
--gpu
```
You can then reach your notebook's URL once the notebook is running.
### Experiment with example notebook
All source code for this tutorial can be found [here](https://github.com/ovh/ai-training-examples).
The example notebook is based on the Fashion MNIST dataset.

Then access the example notebook via the following path:
`ai-training-examples` > `notebooks` > `computer-vision` > `image-classification` > `tensorflow` > `tensorboard` > `notebook_tutorial_tensorboard.ipynb`
The aim of this tutorial is to show how it is possible, thanks to TensorBoard, to see the dynamic display of different metrics.
A preview of this notebook can be found on [GitHub](https://github.com/ovh/ai-training-examples/blob/main/notebooks/computer-vision/image-classification/tensorflow/tensorboard/notebook_tutorial_tensorboard.ipynb).
## Go further
- Another way to track your training with an AI notebook is to use **Weights & Biases**. Follow this [tutorial](/es/guides/public-cloud/ai-machine-learning/ai-notebooks-weights-biases.md).
- If you want to launch **TensorBoard** in a job, please refer to this [documentation](/es/guides/public-cloud/ai-machine-learning/ai-training-tensorboard-inside-job.md).
If you need training or technical assistance to implement our solutions, contact your sales representative or click on [this link](https://www.ovhcloud.com/en-gb/professional-services/) to get a quote and ask our Professional Services experts for a custom analysis of your project.
## Feedback
Please send us your questions, feedback and suggestions to improve the service:
- On the OVHcloud [Discord server](https://discord.gg/ovhcloud)