---
title: "AI Deploy - Tutorial - Deploy LLaMA 2 in a Streamlit application"
description: "How to build and deploy a LLaMA 2 chatbot application using Streamlit"
url: https://docs.ovhcloud.com/es/guides/public-cloud/ai-machine-learning/ai-deploy-streamlit-llama2-chatbot-app
lang: es
lastUpdated: 2025-06-27
---
# AI Deploy - Tutorial - Deploy LLaMA 2 in a Streamlit application
On July 18, 2023, [Meta](https://about.meta.com/) released [LLaMA 2](https://ai.meta.com/llama/), the latest version of their open-source Large Language Model (LLM).
Trained between January 2023 and July 2023 on 2 trillion tokens, LLaMA 2 outperforms other LLMs on many benchmarks, including reasoning, coding, proficiency, and knowledge tests. This release comes in different flavors, with parameter sizes of 7B, 13B, and a mind-blowing 70B. Models are intended for free for both commercial and research use in English.
## Objective
The purpose of this tutorial is to show you how to **deploy LLaMA 2 in an application**, which allows to interact with the model from an interface, such as ChatGPT. Deploying your app will allow you to benefit from **very powerful resources** which will make your chatbot application extremely fast. It can also be easily shared, unlike a local application.
In order to do this, we will use [Streamlit](https://streamlit.io/), a Python framework that turns scripts into a shareable web application. You will also learn how to build and use a custom Docker image for a Streamlit application.
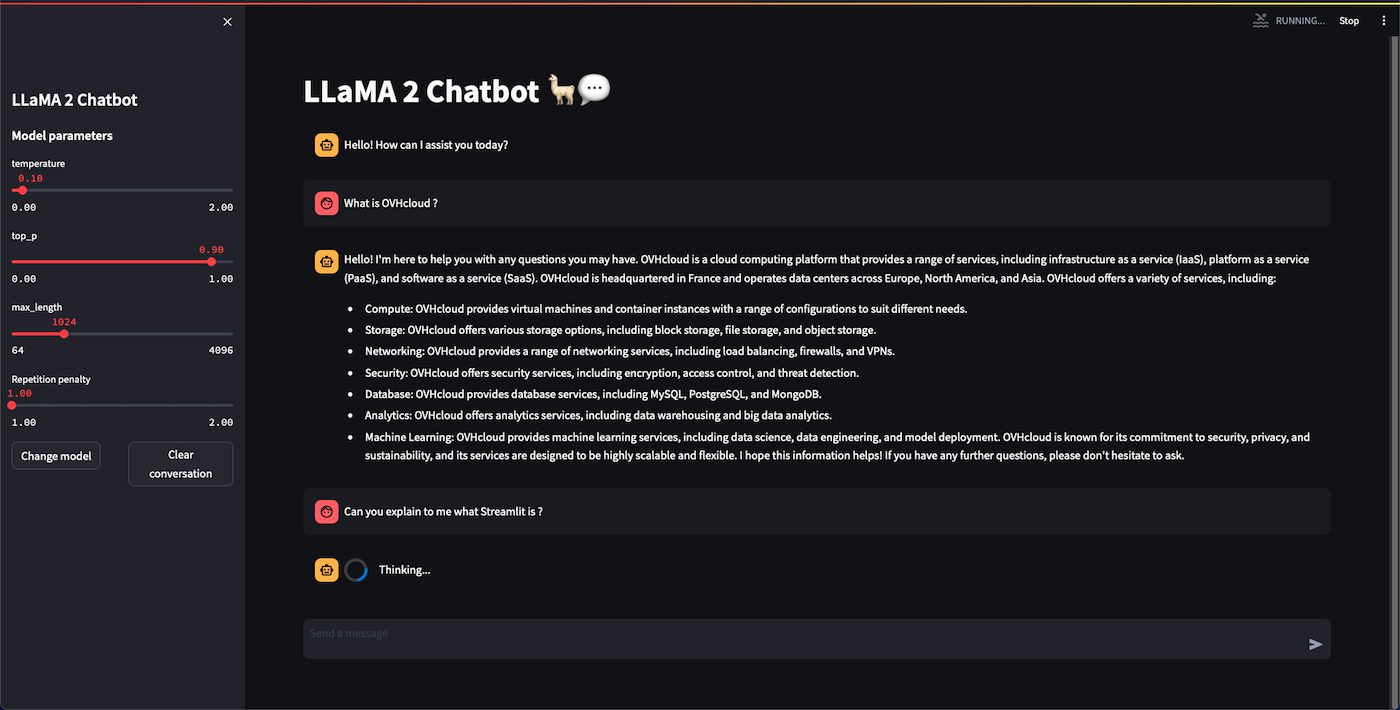
Here is an overview of our image segmentation app:
## Requirements
To deploy your app, you need:
- An AI Deploy Project created inside a [Public Cloud project](https://www.ovhcloud.com/es-es/public-cloud/) in your OVHcloud account
- A [user for AI Deploy](/es/guides/public-cloud/ai-machine-learning/ai-users.md)
- [The OVHcloud AI CLI](/es/guides/public-cloud/ai-machine-learning/ai-cli-install-client.md) installed on your local computer
- [Docker](https://www.docker.com/get-started) installed on your local computer, **or** access to a Debian Docker Instance, which is available on the Public Cloud.
- Some knowledge about building image and [Dockerfile](https://docs.docker.com/engine/reference/builder/)
- The full code of the application, which can be found on this [GitHub repository](https://github.com/ovh/ai-training-examples/tree/main/apps/streamlit/llama-2-chatbot), which we advise you to clone.
- An **access to Llama 2 Models**. To obtain Llama 2, you will need to:
- Fill Meta's form to [request access to the next version of Llama](https://ai.meta.com/resources/models-and-libraries/llama-downloads/). Indeed, the use of Llama 2 is governed by the Meta license, that you must accept in order to download the model weights and tokenizer.
- Have a [Hugging Face](https://huggingface.co/) account (with the same email address you entered in Meta's form).
- Have a [Hugging Face token](https://huggingface.co/settings/tokens).
- Visit the page of one of the LLaMA 2 available models (version [7B](https://huggingface.co/meta-llama/Llama-2-7b-chat-hf), [13B](https://huggingface.co/meta-llama/Llama-2-13b-chat-hf) or [70B](https://huggingface.co/meta-llama/Llama-2-70b-chat-hf)), and accept Hugging Face's license terms and acceptable use policy. Once you have accepted this, you will get the following message: _Your request to access this repo has been successfully submitted, and is pending a review from the repo's authors_, which a few hours later should change to: _You have been granted access to this model_.
## Instructions
We are going to follow different steps to deploy our **LLaMA 2 chatbot application**:
- **Write the requirements.txt** that contains the required libraries that need to be installed so that our application can work.
- **Write the `Dockerfile`** that contains all the commands to launch our LLaMA 2 Streamlit application.
- **Build the Docker image** from the Dockerfile.
- **Push the image into a registry.**
- **Deploy the app**.
_If you have cloned the [app's repository](https://github.com/ovh/ai-training-examples/tree/main/apps/streamlit/llama-2-chatbot), you will not need to rewrite the files (`requirements.txt` and `Dockerfile`) since you already have them. In this case, you can go directly to the "Build the Docker image" step, even if it is better to understand the global process._
### Write the requirements.txt file for the application
The `requirements.txt` file will allow us to write all the modules needed by our application. This file will be useful for the `Dockerfile`.
Put this file (and the next ones) in the same directory as your python scripts.
```console
streamlit==1.26.0
torch==2.0.0
transformers==4.33.1
tokenizers==0.13.3
```
### Write the Dockerfile for the application
A `Dockerfile` is a text document that contains all the commands a user could call on the command line to build an image.
This file should start with the `FROM` instruction, indicating the parent image to use. In our case, we choose to start from the official `python:3.10-slim` image:
```console
FROM python:3.10-slim
```
Then, define the home directory and add all your files (python scripts, requirements.txt and the Dockerfile) to it thanks to the following commands:
```console
WORKDIR /workspace
ADD . /workspace
```
With AI Deploy, `workspace` will be your home directory.
Now, let's indicate that we must install the `requirements.txt` file which contains our needed Python modules, by using a `pip install` command:
```console
RUN pip install -r requirements.txt
```
Give correct access rights to the **OVHcloud user** (`42420:42420`).
```console
RUN chown -R 42420:42420 /workspace
ENV HOME=/workspace
```
Finally, define the command to run the Streamlit application when the container is launched:
```console
CMD [ "streamlit" , "run" , "/workspace/main.py", "--server.address=0.0.0.0" ]
```
### Build the Docker image from the Dockerfile
From the directory containing your **Dockerfile**, run one of the following commands to build your application image:
```console
# Build the image using your machine's default architecture
docker build . -t llama_app:latest
# Build image targeting the linux/amd64 architecture
docker buildx build --platform linux/amd64 -t llama_app:latest .
```
- The **first command** builds the image using your system’s default architecture. This may work if your machine already uses the `linux/amd64` architecture, which is required to run containers with our AI products. However, on systems with a different architecture (e.g. `ARM64` on `Apple Silicon`), the resulting image will not be compatible and cannot be deployed.
- The **second command** explicitly targets the `linux/AMD64` architecture to ensure compatibility with our AI services. This requires `buildx`, which is not installed by default. If you haven’t used `buildx` before, you can install it by running: `docker buildx install`
:::info
The dot `.` argument indicates that your build context (place of the **Dockerfile** and other needed files) is the current directory.
The `-t` argument allows you to choose the identifier to give to your image. Usually image identifiers are composed of a **name** and a **version tag** `:`. For this example we chose **llama\_app:latest**.
:::
### Test it locally (optional)
Launch the following **Docker command** to launch the application locally on your computer:
```console
docker run --rm -it -p 8501:8051 --user=42420:42420 llama_app:latest
```
:::info
**Notes**
- The `-p 8501:8501` argument indicates that you want to execute a port redirection from the port **8501** of your local machine into the port **8501** of the Docker container. The port **8501** is the default port used by **Streamlit** applications.
- Don't forget the `--user=42420:42420` argument if you want to simulate the exact same behaviour that will occur on **AI Deploy apps**. It executes the Docker container as the specific OVHcloud user (user **42420:42420**).
:::
Once started, your application should be available on `http://localhost:8501`.
### Push the image into the shared registry
:::warning
**Warning**
The shared registry should only be used for testing purposes. Please consider creating and attaching your own registry. More information about this can be found [here](/es/guides/public-cloud/ai-machine-learning/ai-manage-registries.md). The images pushed to this registry are for AI Tools workloads only, and will not be accessible for external uses.
:::
Find the address of your shared registry by launching this command:
```console
ovhai registry list
```
Log in on your shared registry with your usual AI Platform user credentials:
```console
docker login -u -p
```
Tag the compiled image and push it into your shared registry:
```console
docker tag llama_app:latest /llama_app:latest
docker push /llama_app:latest
```
### Launch the AI Deploy app
The following command starts a new app running your LLaMA 2 Streamlit application:
```console
ovhai app run /llama_app:latest \
--gpu 1 \
--default-http-port 8501 \
--name llama_app
```
:::info
**Notes**
- `--default-http-port 8501` indicates that the port to reach on the app URL is `8501`.
- `--gpu 1` indicates that we request 1 GPU for that app. We recommend that you use at least 1 GPU for proper performance when using LLMs. Keep in mind that **the more parameters your model has, the more memory it will require**. Depending on the model you want to use, **using more than one GPU may be essential**.
- Consider adding the `--unsecure-http` attribute if you want your application to be reachable without any authentication.
:::
## Go further
- Discover how to [fine-tune LLaMA 2 on your own dataset](/es/guides/public-cloud/ai-machine-learning/ai-notebooks-tuto-fine-tune-llama-v2.md)
- Create a voice chatbot with [Speech to Text](/es/guides/public-cloud/ai-machine-learning/ai-notebooks-speech-to-text-recognition.md)
If you need training or technical assistance to implement our solutions, contact your sales representative or click on [this link](https://www.ovhcloud.com/es-es/professional-services/) to get a quote and ask our Professional Services experts for a custom analysis of your project.
## Feedback
Please send us your questions, feedback and suggestions to improve the service:
- On the OVHcloud [Discord server](https://discord.gg/ovhcloud)