---
title: "Encrypting backup jobs with Veeam and OKMS"
description: "Learn how to configure encrypted backup jobs using Veeam and the OVHcloud Key Management Service (OKMS) to enhance data protection"
url: https://docs.ovhcloud.com/es/guides/hosted-private-cloud/powered-by-vmware/veeam-encrypt-backup-job-with-okms
lang: es
lastUpdated: 2025-04-22
---
# Encrypting backup jobs with Veeam and OKMS
## Objective
This guide explains how to configure encrypted backup jobs using the Veeam backup solution and the OVHcloud Key Management Service (OKMS).
## Requirements
- Access to the OVHcloud Control Panel.
- A [VMware on OVHcloud](https://www.ovhcloud.com/es-es/hosted-private-cloud/vmware/) offer.
- Read the following guides:
- [Integrating a KMS with VMware on OVHcloud](/es/guides/hosted-private-cloud/powered-by-vmware/vmware-overall-vm-encrypt.md).
- [Getting started with OKMS](/es/guides/manage-and-operate/kms/quick-start.md).
## Instructions
### Step 1: Create a certificate in OKMS
You can create your access certificate in OKMS using either the [OVHcloud API](https://eu.api.ovh.com/)
or the OVHcloud Control Panel
.
#### Option 1: Using the API
1. Generate the private key using the API (no CSR):
2. Retrieve the certificate using a GET request:
:::info
This method is equivalent to selecting I don't have a private key in the OVHcloud Control Panel interface.
You may also submit a CSR if you already have your own private key.
:::
2. Download the private key.
3. Download the certificate.
:::info
The downloaded private key is used to generate the `.pfx` file in the next step.
You don't need to import it manually into Veeam, but it is required to convert the certificate into a compatible format.
Make sure to store it securely.
:::
#### Option 2: Using the OVHcloud Control Panel
1. In the OVHcloud Control Panel, click Hosted Private Cloud then Identity, Security & Operations and finally Key Management Service. Select your KMS.
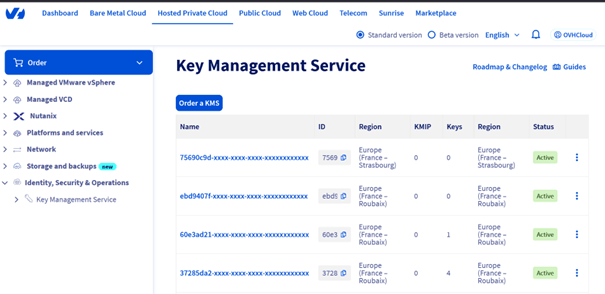
 2. Select your KMS.
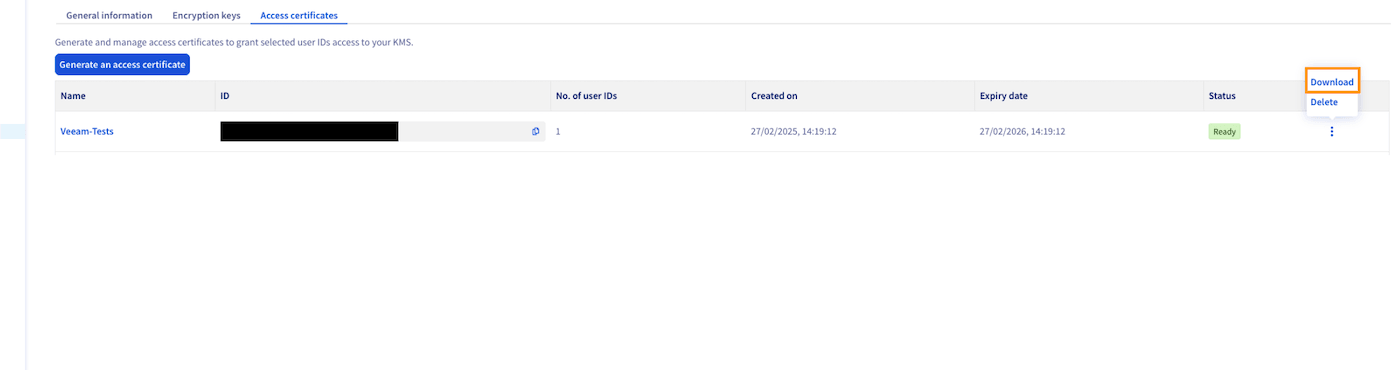
 3. Open the
 Access certificates tab.
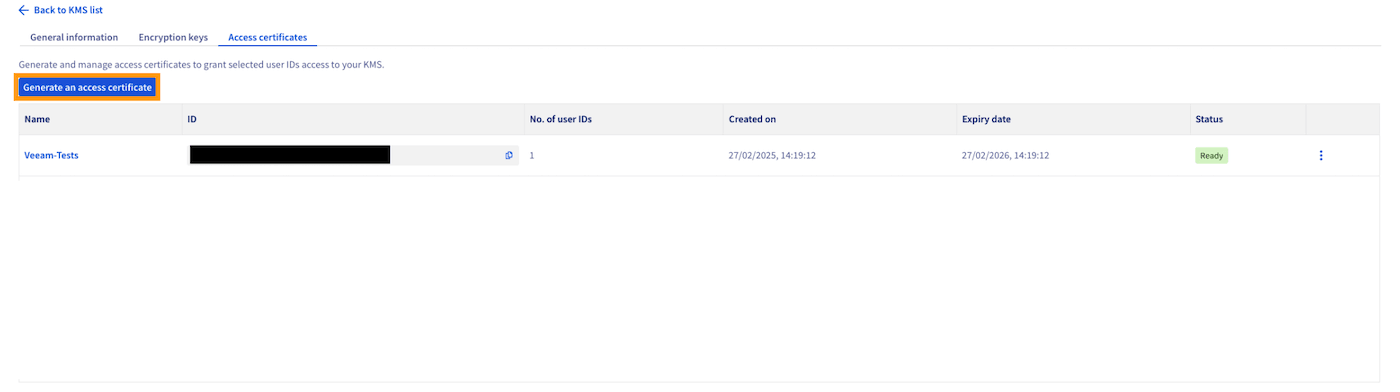 4. Click
 Generate an access certificate.
5. Fill in the required fields, then select I don’t have a private key.
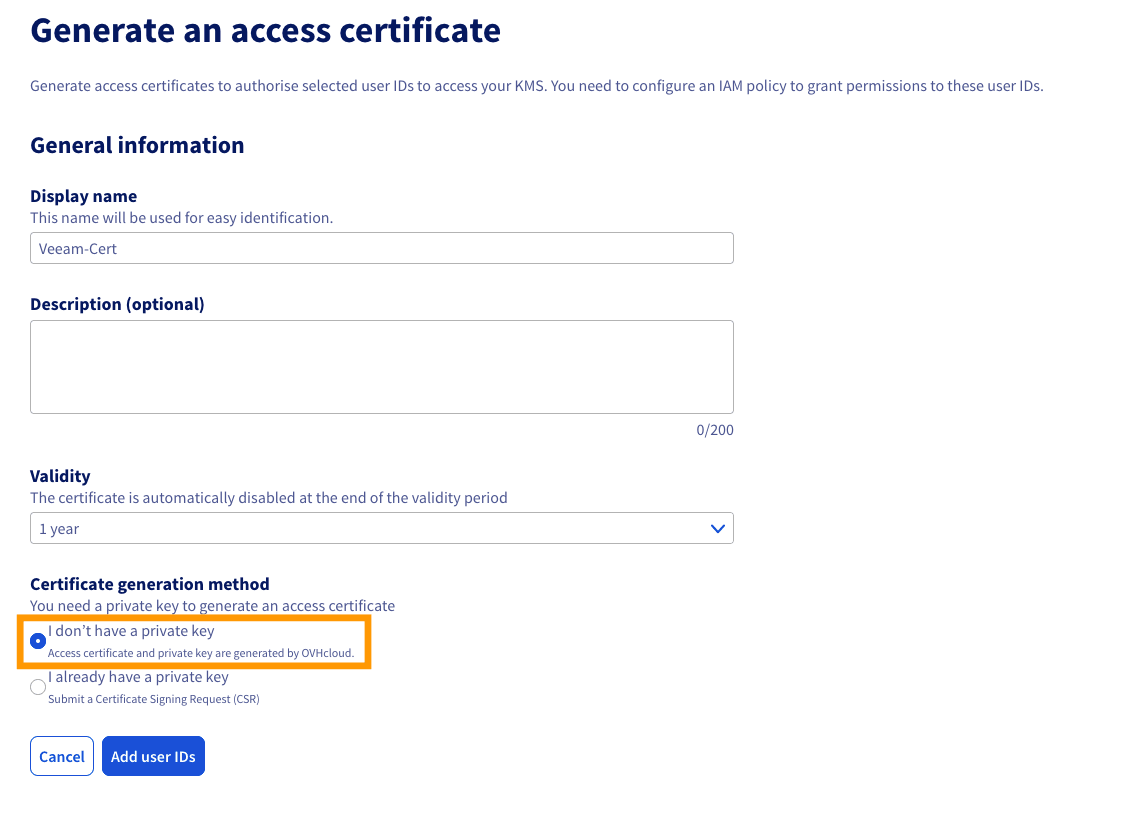 :::info
This is the same as generating a certificate without a CSR, like with the API.
You can also choose `I already have a private key` to generate a certificate using your own CSR.
:::
6. Add user IDs to the certificate:
- Click
:::info
This is the same as generating a certificate without a CSR, like with the API.
You can also choose `I already have a private key` to generate a certificate using your own CSR.
:::
6. Add user IDs to the certificate:
- Click Add user IDs
- Select the authorized users
- Confirm to associate the certificate
:::info
This step is required for the certificate to work with Veeam.
:::
7. Download the private key and the certificate.
 ### Step 2: Convert the PEM certificate to PFX format
To import the certificate into Veeam, convert it to `.pfx` format using the command below:
```bash
openssl pkcs12 -export -out cert.pfx -inkey privatekey.pem -in certificate.pem
```
### Step 3: Import the certificate into the Veeam Windows Certificate Store
- Open the Windows Certificate Store on your Veeam server.
- Import the `.pfx` file generated in the previous step.
- Check the option to make the certificate exportable.

### Step 4: Register the KMS in Veeam
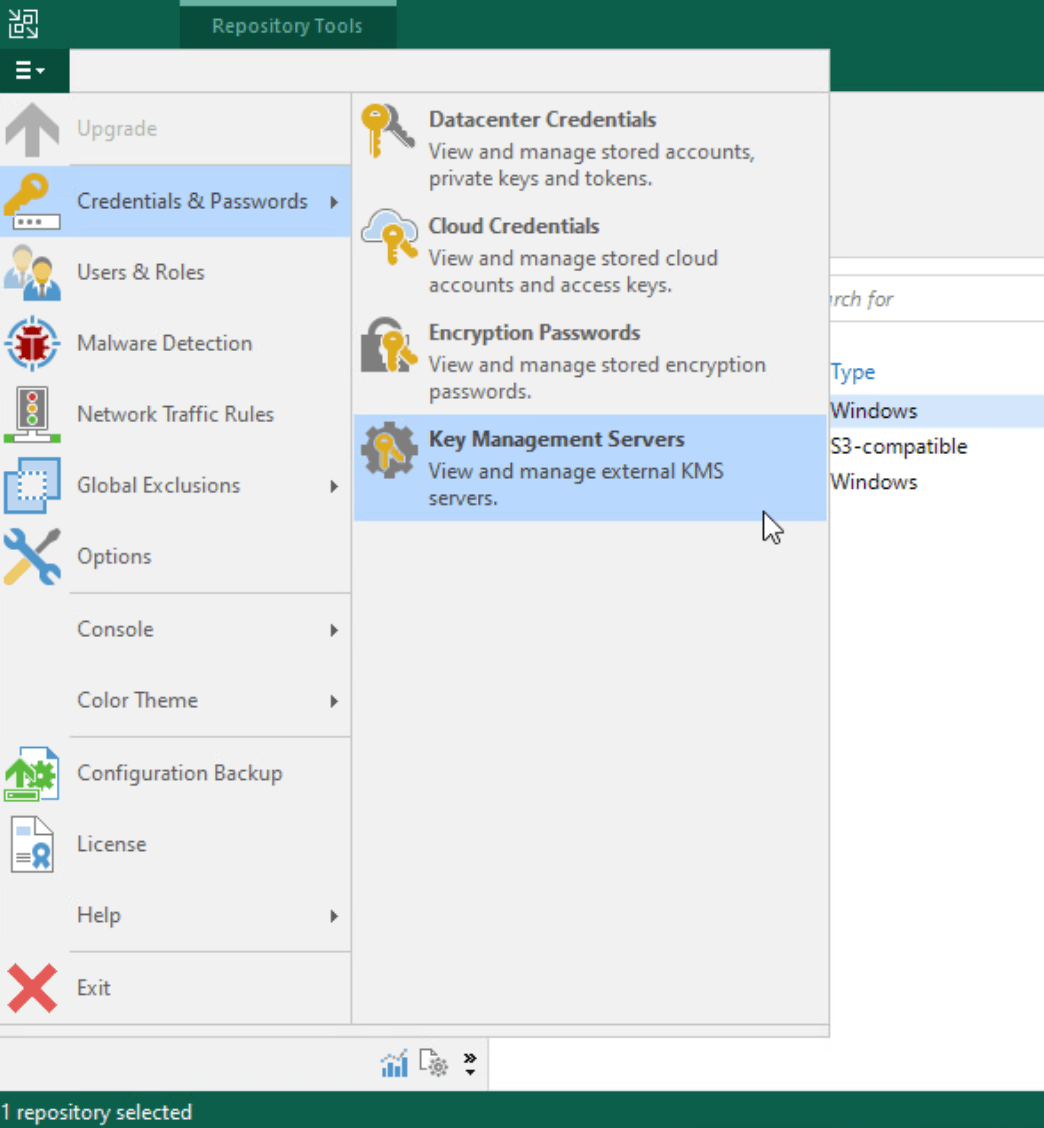
- Open Veeam Backup & Replication and go to
### Step 2: Convert the PEM certificate to PFX format
To import the certificate into Veeam, convert it to `.pfx` format using the command below:
```bash
openssl pkcs12 -export -out cert.pfx -inkey privatekey.pem -in certificate.pem
```
### Step 3: Import the certificate into the Veeam Windows Certificate Store
- Open the Windows Certificate Store on your Veeam server.
- Import the `.pfx` file generated in the previous step.
- Check the option to make the certificate exportable.

### Step 4: Register the KMS in Veeam
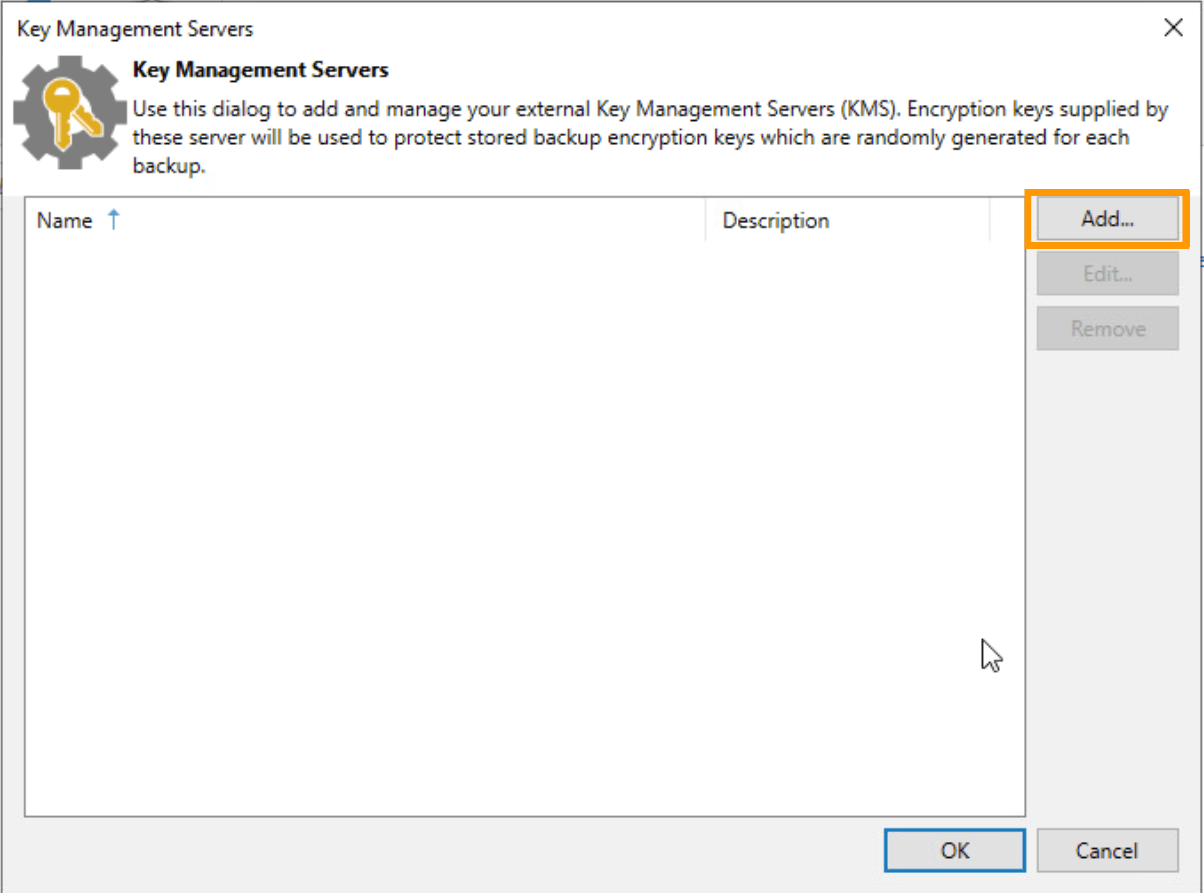
- Open Veeam Backup & Replication and go to Credentials & Passwords, then click Key Management Servers.
- Click Add to add a new KMS server.
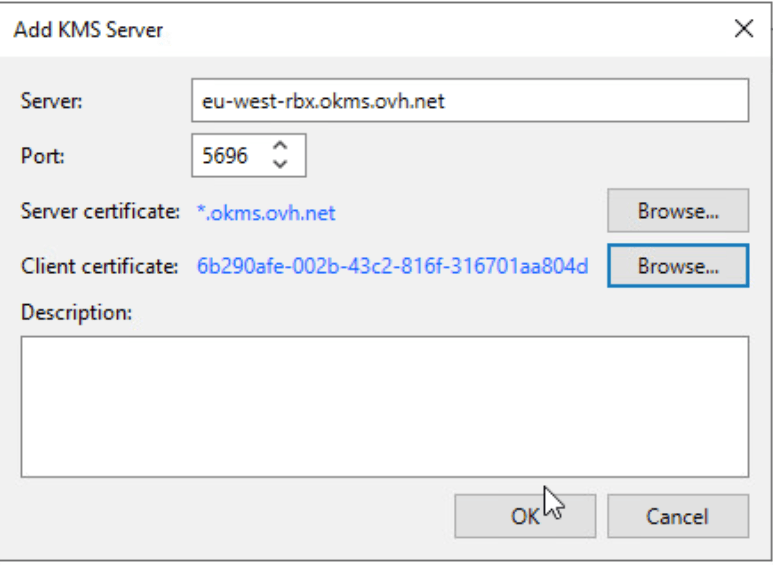
- Enter the following details:
- Server address: `eu-west-rbx.okms.ovh.net`
- Port: `5696`
- Server certificate: `*.okms.ovh.net`
- Client certificate: the `.pfx` file you just imported
### Step 5: Retrieve the server certificate
To retrieve the server certificate from OKMS, run the following command:
```bash
openssl s_client -connect eu-west-rbx.okms.ovh.net:443 2>/dev/null