---
title: "Backup Agent - How to configure your first backup"
description: "Learn how to configure your first backup on a Bare Metal server using the Backup Agent product from the OVHcloud Control Panel"
url: https://docs.ovhcloud.com/en/guides/storage-and-backup/backup-agent/first-configuration
lang: en
lastUpdated: 2026-03-05
---
# Backup Agent - How to configure your first backup
## Objective
You have just ordered your Backup Agent offer for your Bare Metal server. Discover how to set up your first backups.
**This guide explains how to configure your first backup using Backup Agent on a Bare Metal server.**
:::info
Find more information about the Backup Agent product on [this page](/en/guides/storage-and-backup/backup-agent/product-presentation.md).
:::
## Requirements
- A Backup Agent ordered simultaneously with your Bare Metal server, or afterwards via the Backup Agent menu in the OVHcloud Control Panel.
- You need to have booted and configured an Operating System on your Bare Metal server.
***
### OVHcloud Control Panel Access
- **Direct link:** Backup Agent
- **Navigation path:** Bare Metal Cloud > Backup Agent
***
:::warning
You must ensure that your server can be reached by our Veeam infrastructure.\
You will receive the exact information in your delivery email.
Here is the information to allow access on your Bare Metal server:
- IP/DNS of the server: `vspc-cgw1.prod01.eu-west-rbx.backup.ovh.net` or `vspc-cgw21.prod01.eu-west-rbx.backup.ovh.net`
- Port: 6180
We also strongly recommend that you allow your server to reach other external addresses so that it can send your data to the Vault. There is no need to allow incoming traffic in this context.
:::
## Instructions
The steps to create a backup for your server are as follows:
- Adding your server to your Backup Agent.
- Downloading the agent.
- Installing the agent on your server.
Once the agent is installed, it will receive the backup policy and will be able to perform backups.
Once these steps are complete, your first backup will run automatically.
### Add your server to your Backup Agent
Click this link
to access the `Backup Agent
` section, then click on your vspc-tenant in the `Services
` section.

Go to the `Agents
` section.

:::info
You should see the Bare Metal server you selected in your order in the table, with the status `not_installed`. This is normal at this stage; you now need to install the agent on your server.
:::
Click the `Download
` button at the top of the table listing your agents.

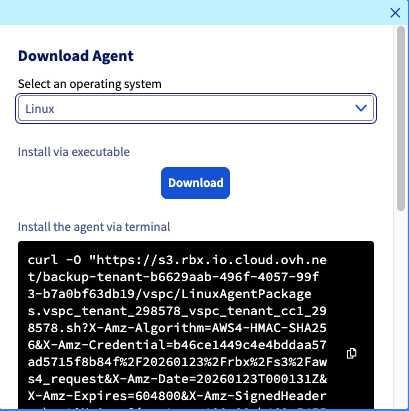
Select your Operating System and choose either to download the installation file or use one of the commands provided to retrieve it.
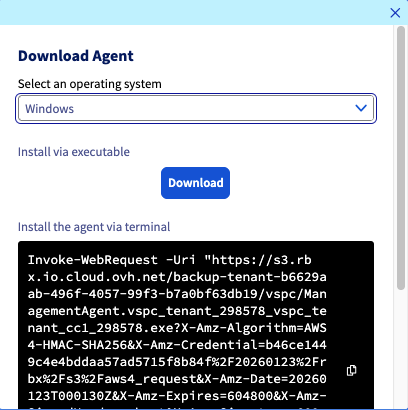
To install your agent on your Bare Metal server, click on the tab corresponding to your Operating System:
**Windows**
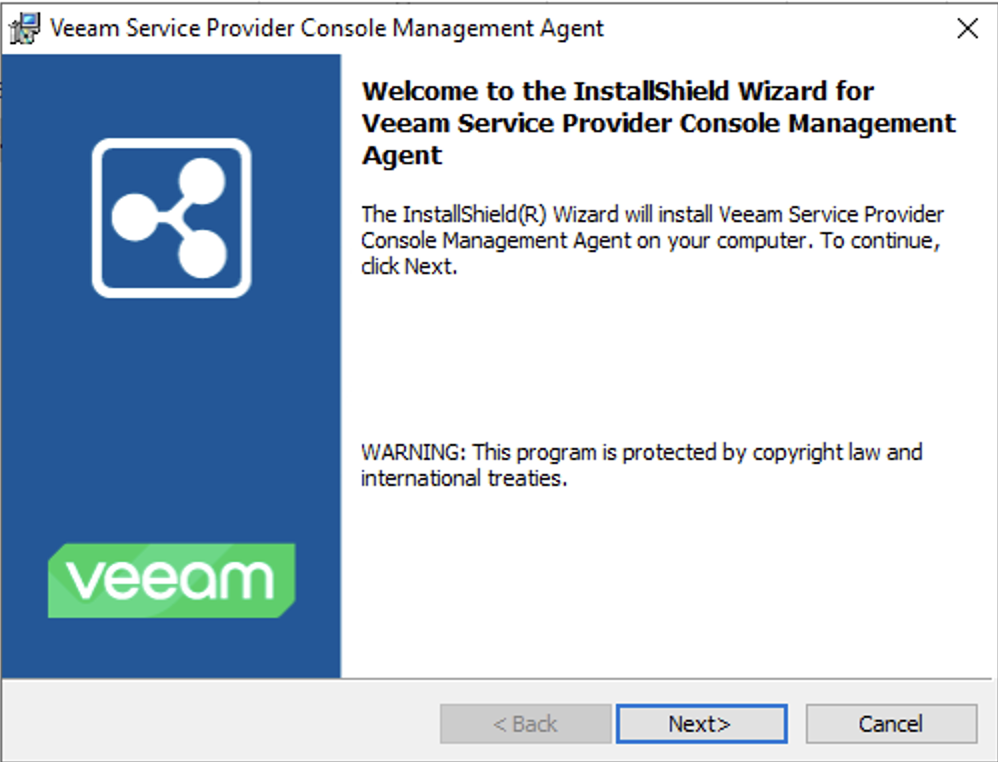
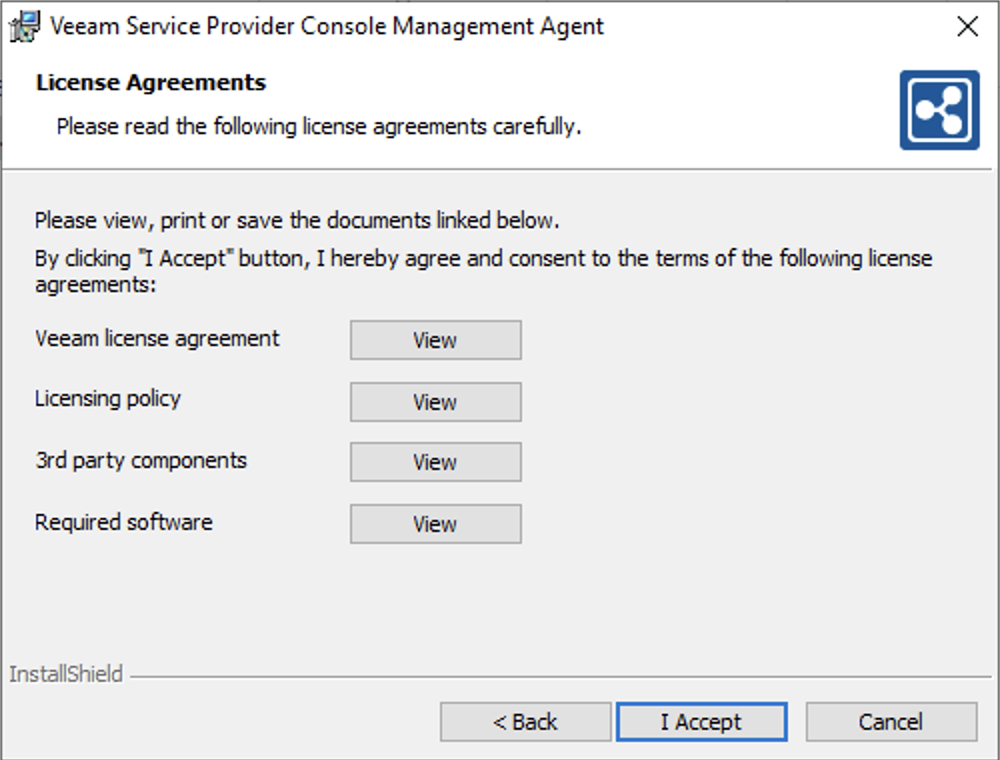
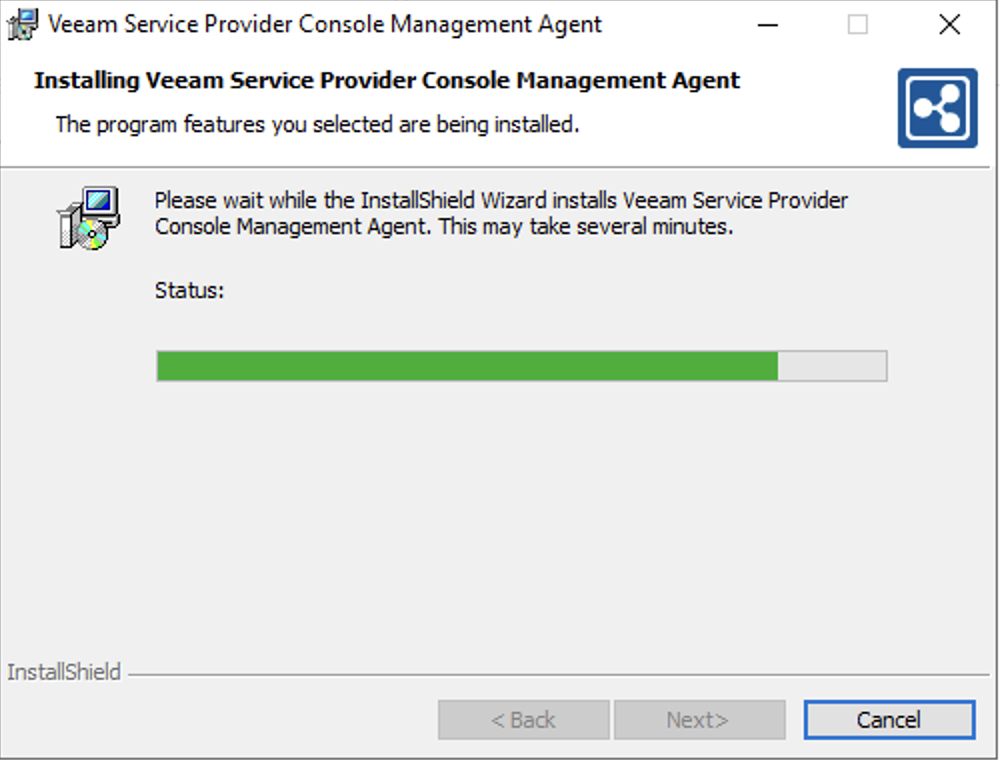
Once the installation file is on your Bare Metal server, you can run it and follow the software procedure:
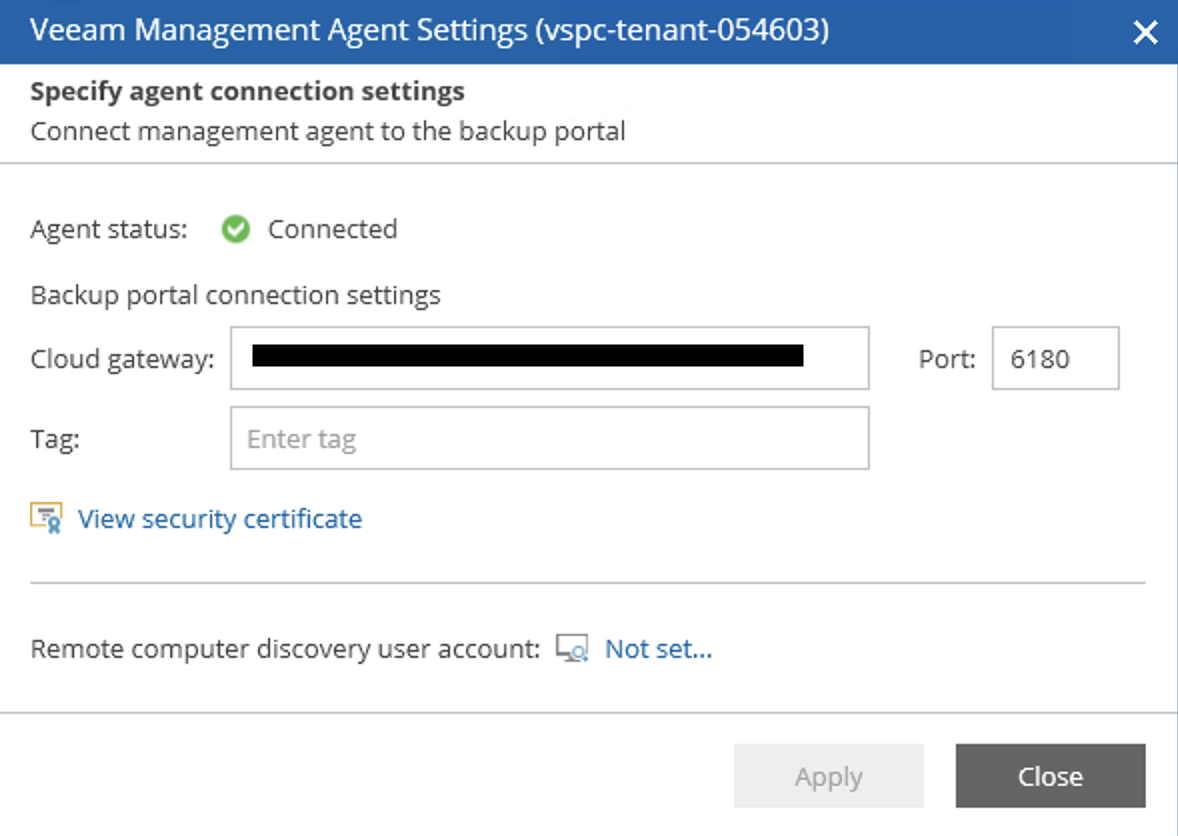
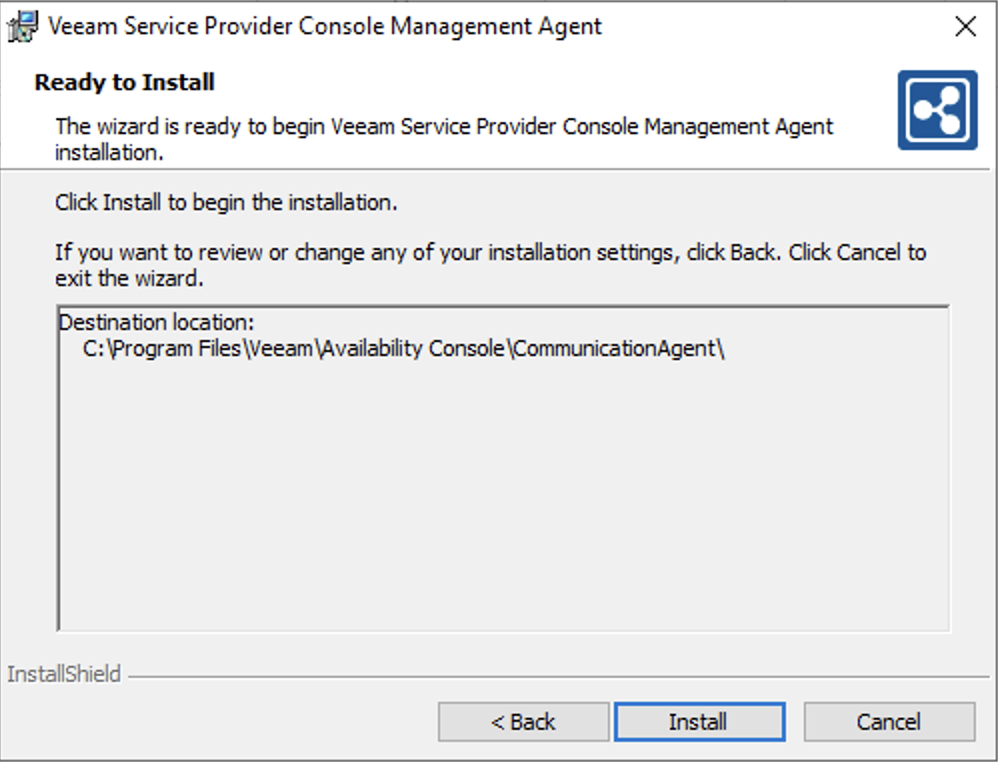Once installed, the agent connects to our infrastructure to retrieve your backup policy:
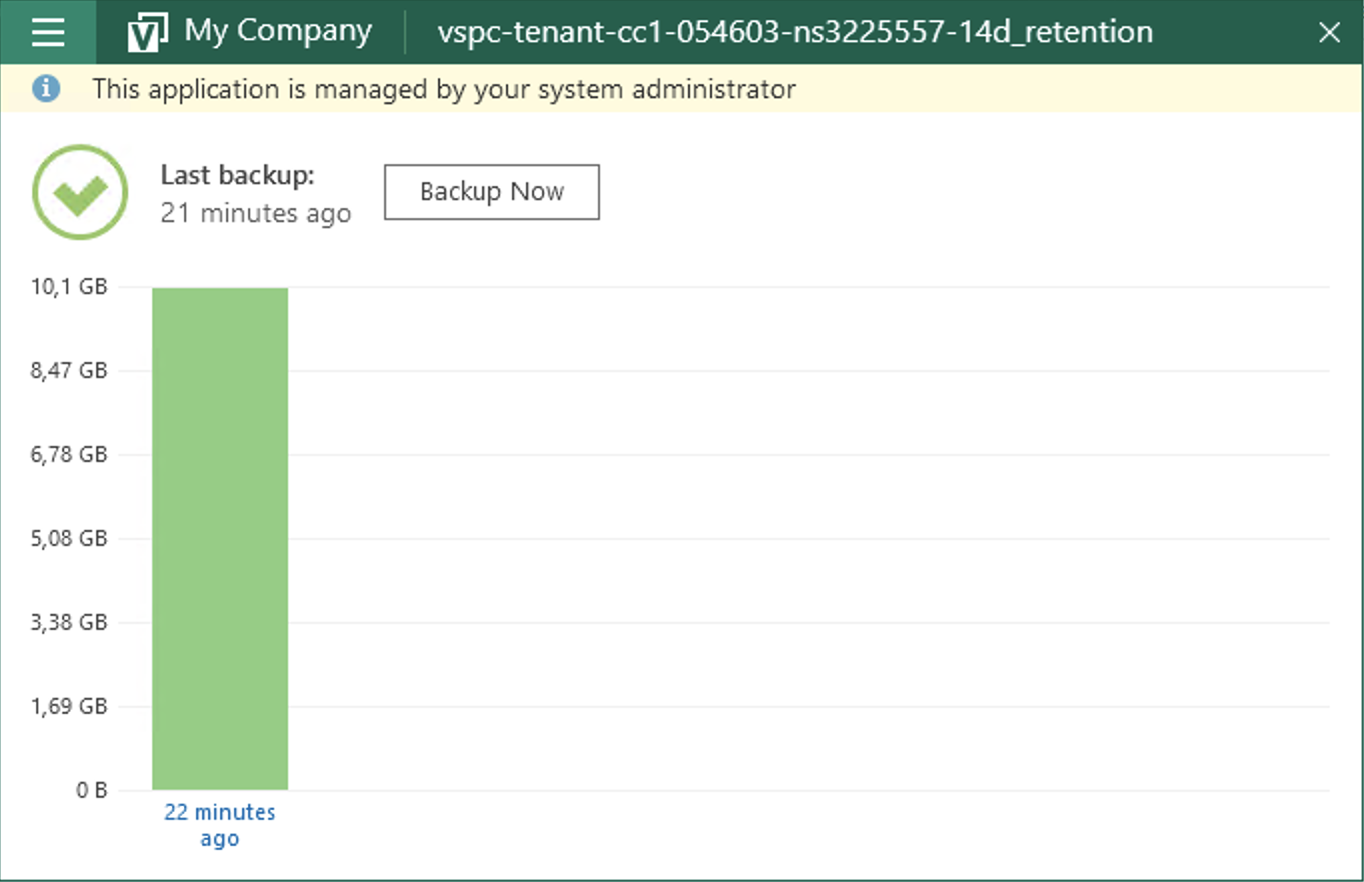
Finally, once the backup policy is applied, you will see your backup agent configured and present on your Bare Metal server:
**Linux**
Select your operating system and choose either to download the installation file or use one of the provided commands to retrieve it.
Once the installation file is on your server, go to the folder containing it and run the file as follows:
```bash
sudo ./LinuxAgentPackages..sh
```
Once the installation is complete, you can verify it with this command:
```bash
sudo veeamconsoleconfig -s
Management agent
Connection state : Connected
Cloud gateway : :6180
Connection account :
```
You can then see that one element is not yet installed:
```bash
Backup agent
Status : Not installed
```
This is normal at this stage, we will apply a configuration that allows the Backup Agent to be deployed with a backup policy.
## Go further
Join our [community of users](https://community.ovhcloud.com/).