---
title: "Managing users and projects"
description: "Find out how to manage users and projects in your OVHcloud Managed Private Registry (MPR)."
url: https://docs.ovhcloud.com/en/guides/public-cloud/containers-orchestration/managed-private-registry/managing-users-projects
lang: en
lastUpdated: 2022-04-13
---
# Managing users and projects
## Objective
OVHcloud Managed Private Registry service provides you a managed Harbor, an authenticated Docker registry where you can privately store your Docker images. This guide will explain how to manage users and projects on your OVHcloud Managed Private Registry service.
## Requirements
- An OVHcloud Managed Private Registry (see the [creating a private registry](/en/guides/public-cloud/containers-orchestration/managed-private-registry/creation.md) guide for more information)
- An access to the Harbor UI to operate the private registry (see the [connecting to the UI](/en/guides/public-cloud/containers-orchestration/managed-private-registry/connect-to-ui.md) guide for more information)
## Instructions
You can manage projects, users and rights on your private registry by using the Harbor UI.
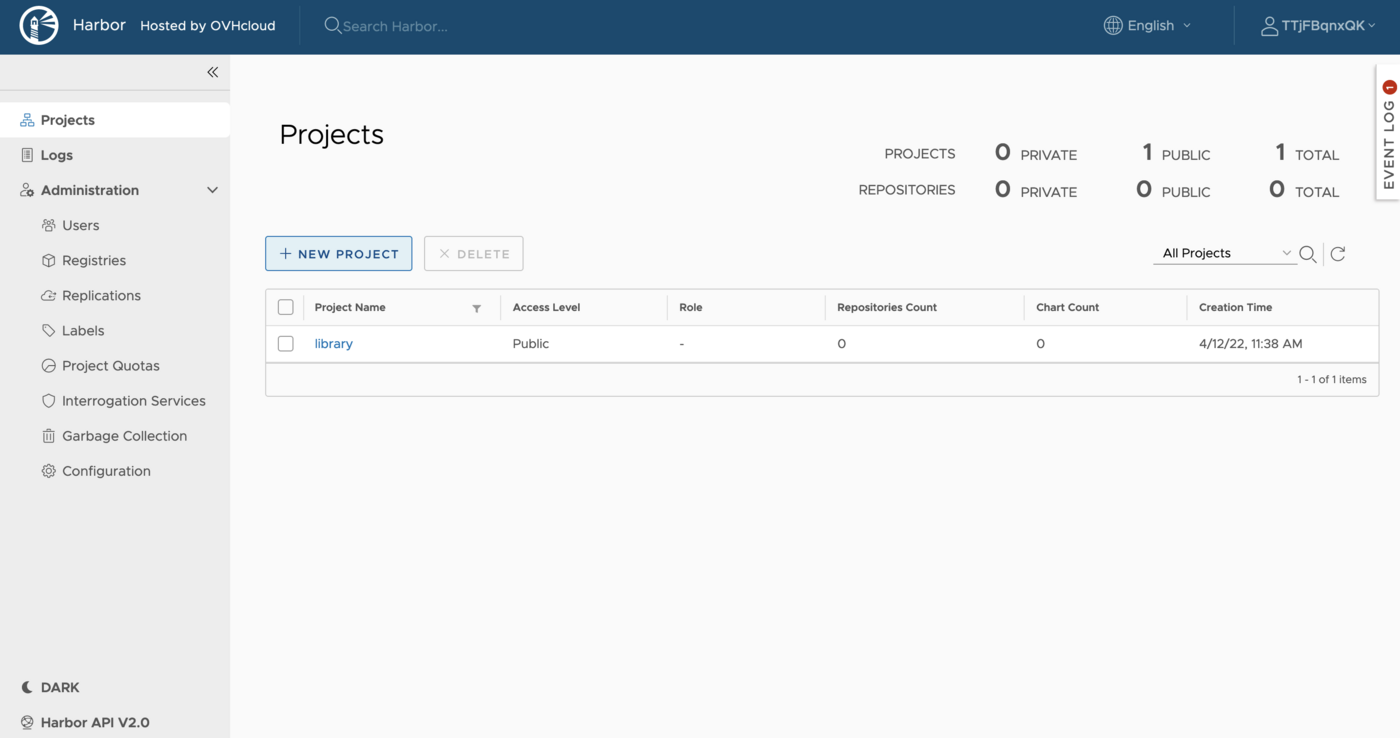
### Creating a new project
A project in Harbor contains all repositories of an application. No images can be pushed to Harbor before the project is created.
There are two types of project in Harbor:
- Public: All users can read from a public Harbor project
- Private: Only users with proper privileges can read from this projects.
Let's create a private project:
1. Create a new project on Harbor UI
 2. Call it _private_ and leave the public checkbox unchecked
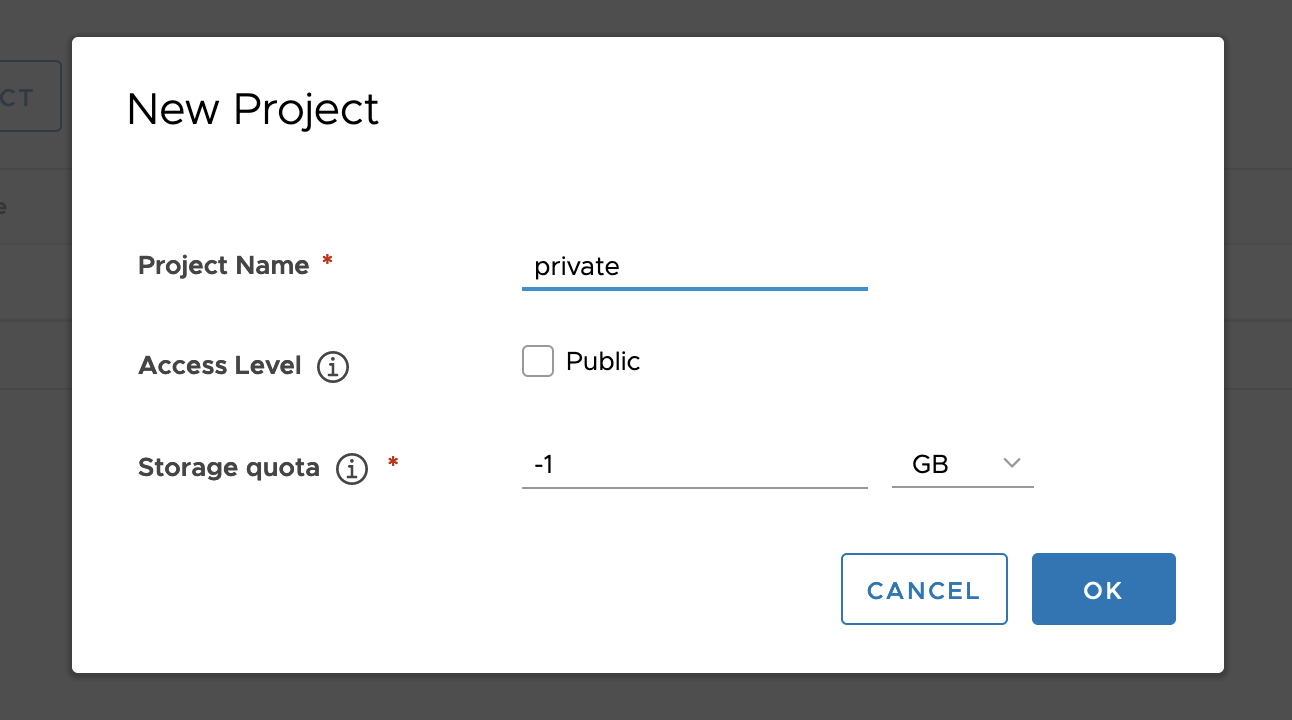 :::info
Keep `-1` for the storage quota if you don't want limitations.
:::
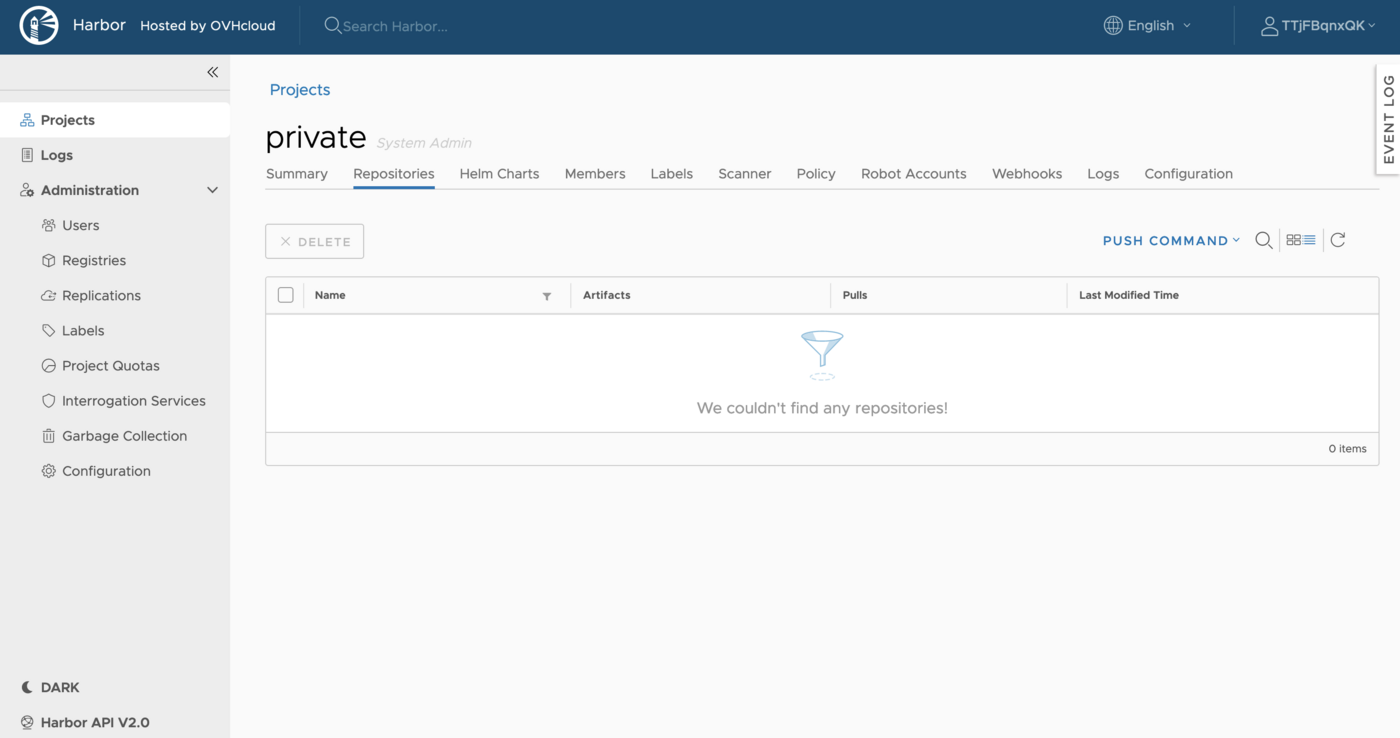
After the project is created, you can browse repositories, helm charts, members, labels, scanner, policy, robot accounts, webhooks, logs and configuration using the navigation tab.
### Creating a new user and giving it rights on the _private_ project
Now you're going to create a new user and give him developer rights over the _private_ project.
1. Go to the
:::info
Keep `-1` for the storage quota if you don't want limitations.
:::
After the project is created, you can browse repositories, helm charts, members, labels, scanner, policy, robot accounts, webhooks, logs and configuration using the navigation tab.

### Creating a new user and giving it rights on the _private_ project
Now you're going to create a new user and give him developer rights over the _private_ project.
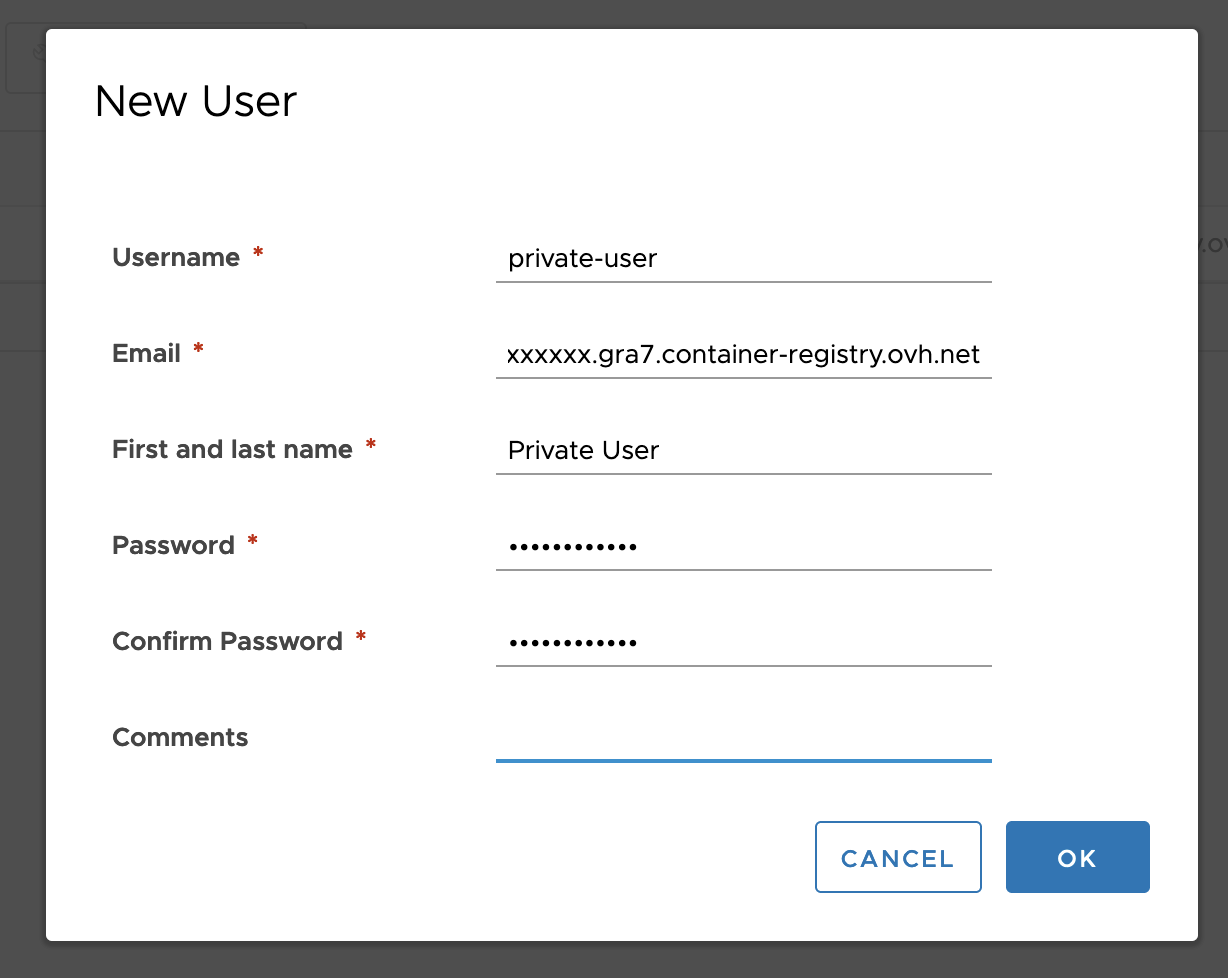
1. Go to the Users section of Harbor UI and click on New user
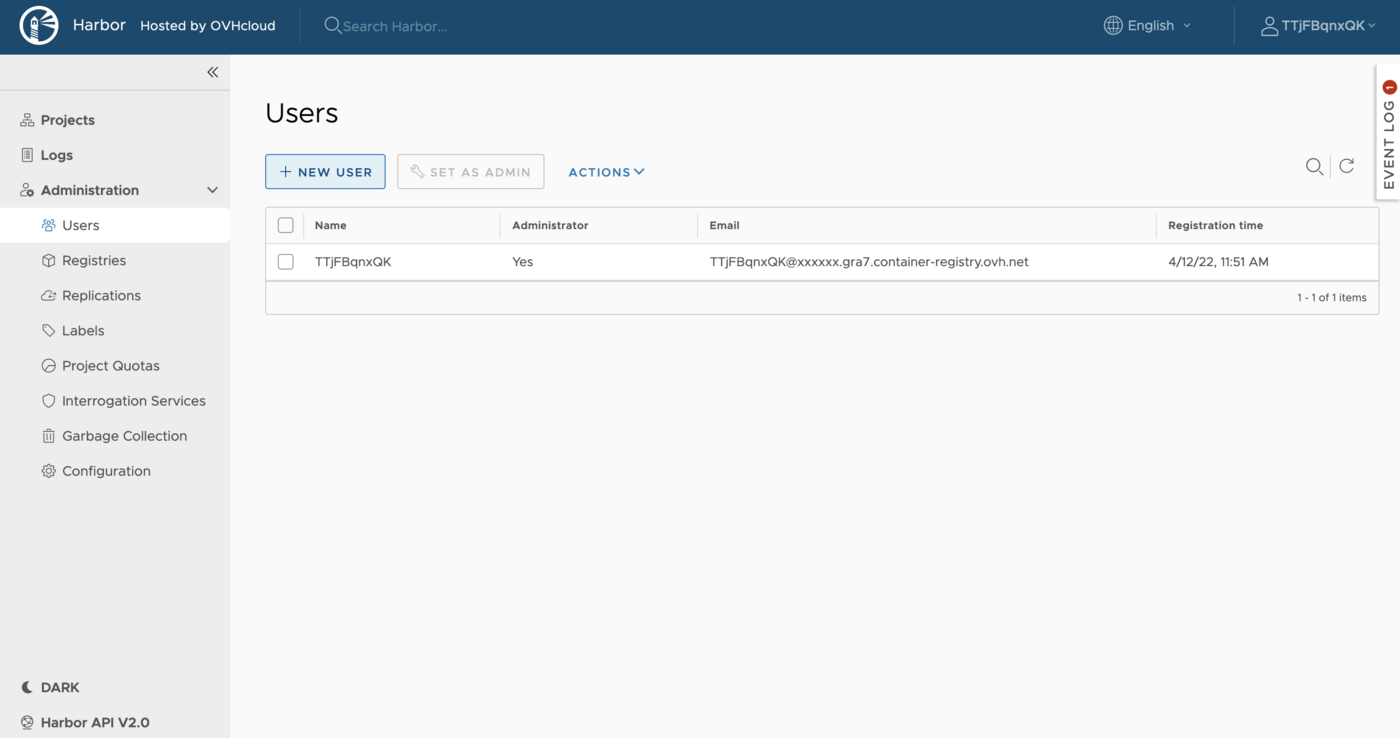 2. Add a new _private-user_ user. For the e-mail domain, use the domain found in the URL of your Harbor UI
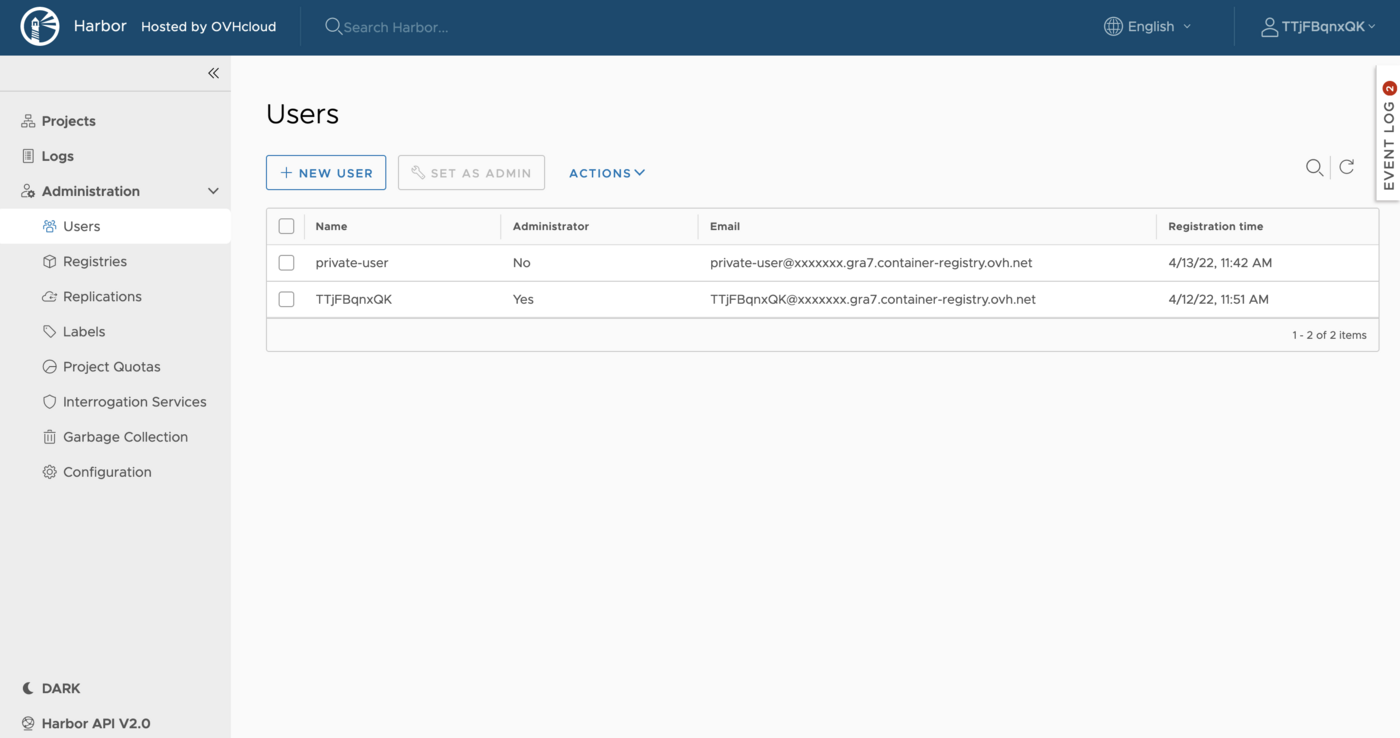
 3. The new user is now visible in your Harbor UI
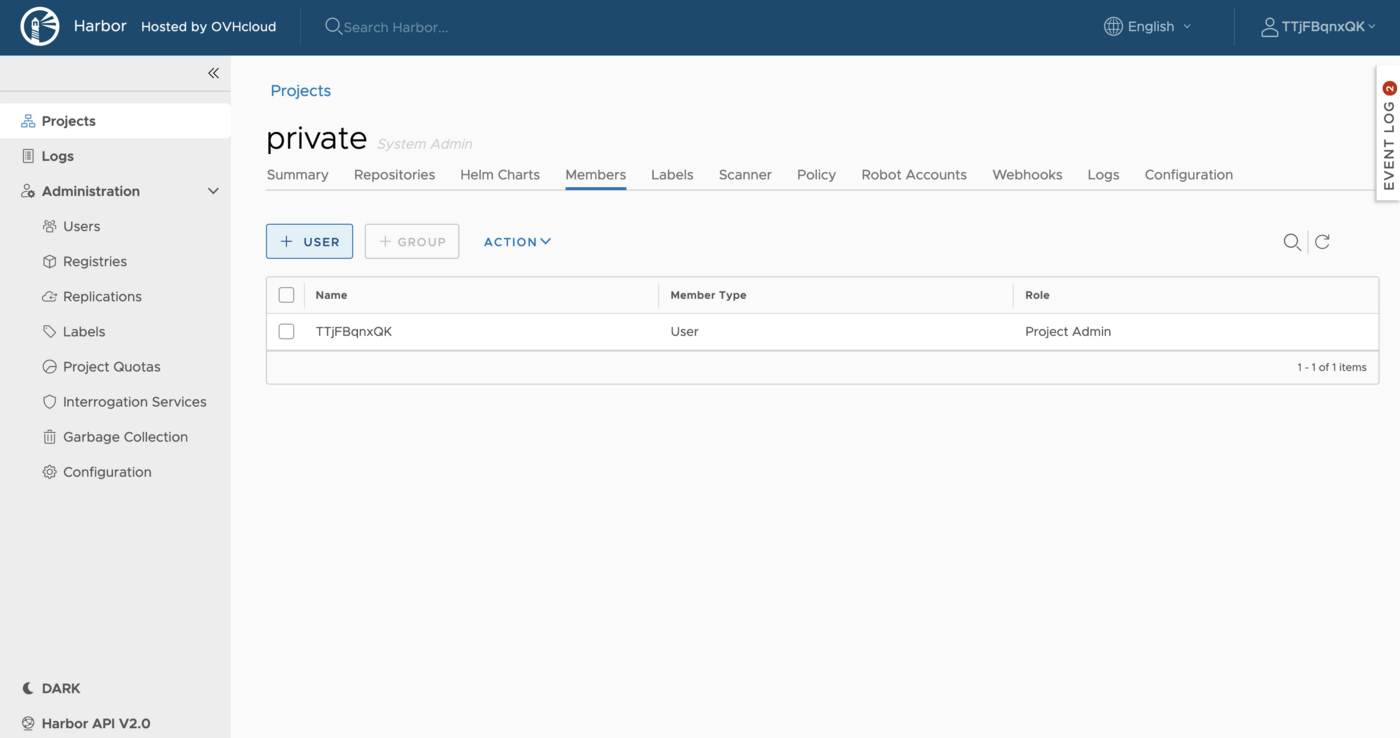
 4. Go back to the
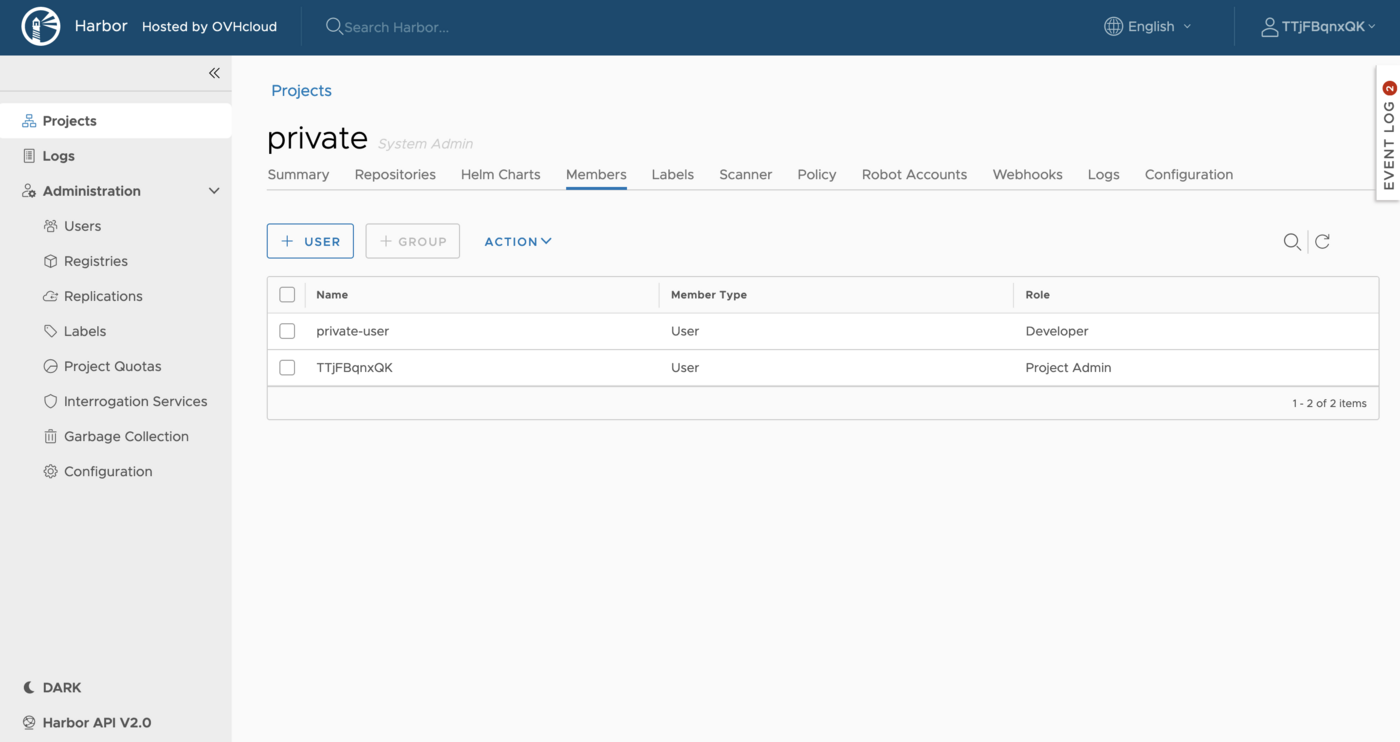
 Projects section, choose the private project and in the Members tab, click on +User
 5. Add the _private-user_ as member to the project, and give him a _Developer_ role
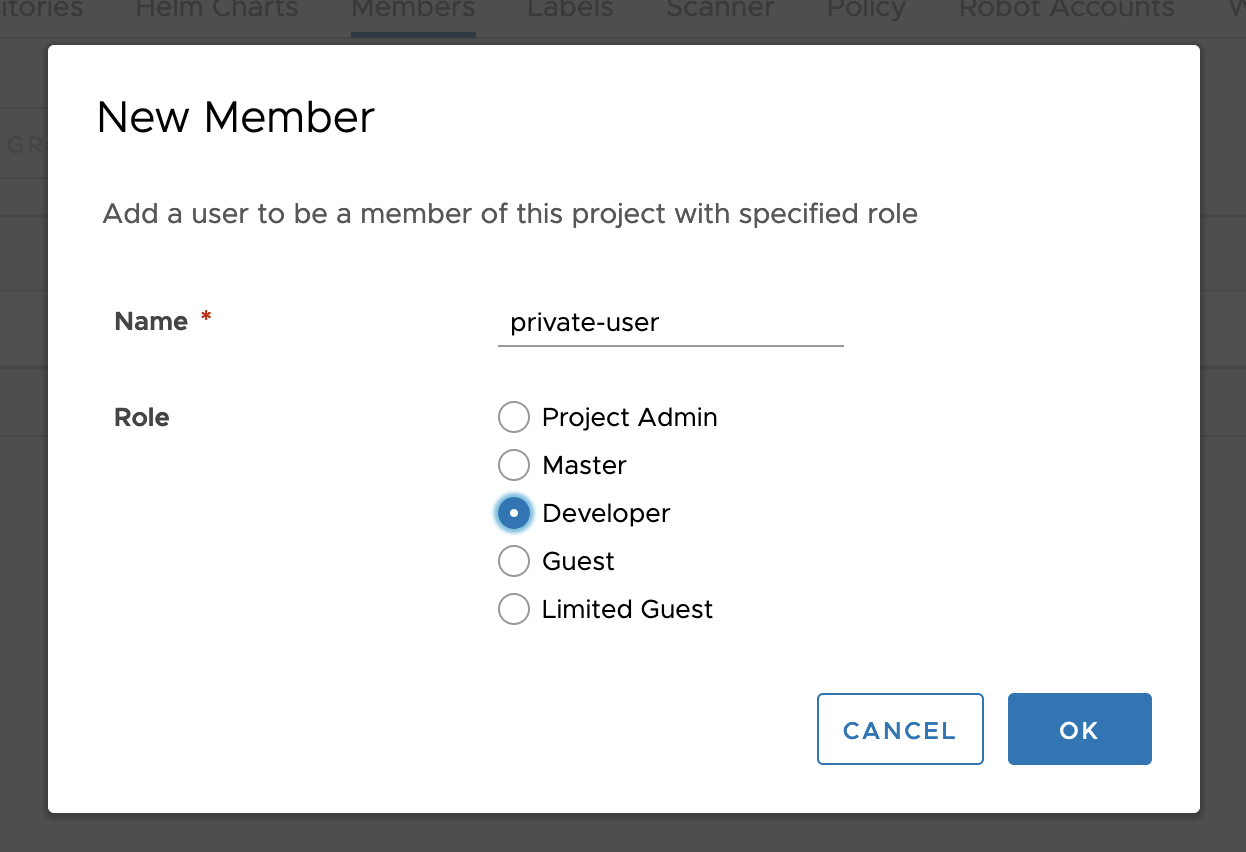 The _private-user_ is now a member of the _private_ project.
### Go further
To go further you can look at our guide on [Creating and using a private image](/en/guides/public-cloud/containers-orchestration/managed-private-registry/create-private-image.md).
The _private-user_ is now a member of the _private_ project.

### Go further
To go further you can look at our guide on [Creating and using a private image](/en/guides/public-cloud/containers-orchestration/managed-private-registry/create-private-image.md).