---
title: "Creating a volume from a backup"
description: "Find out how to create additional disks from a snapshot of an additional disk"
url: https://docs.ovhcloud.com/en/guides/public-cloud/compute/storage-create-volume-from-backup
lang: en
lastUpdated: 2025-04-28
---
# Creating a volume from a backup
## Objective
You can attach additional disks to your Public Cloud instances based on previously created volume snapshots.
This may be useful in the following cases:
- If you want to restore additional disk data.
- If you want to have a highly available, high-performance storage space with your data.
- If you want to move your data to another instance.
**This guide explains how to create and configure an additional disk on one of your instances from an additional disk backup.**
## Requirements
- A [Public Cloud instance](https://www.ovhcloud.com/en-gb/public-cloud/) in your OVHcloud account
- A volume snapshot in the same OpenStack region
- Administrative access (sudo) to your instance via SSH or RDP
***
### OVHcloud Control Panel Access
- **Direct link:** Public Cloud Projects
- **Navigation path:** Public Cloud > Select your project
***
## Instructions
### Creating the disk from a backup
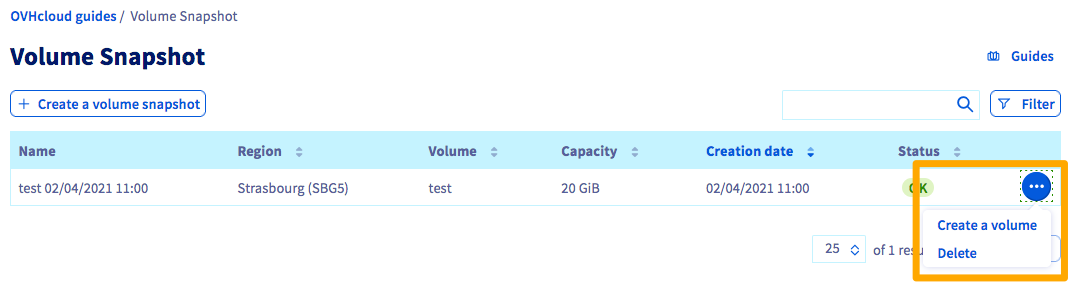
Click `Volume Snapshot
` in the left-hand navigation bar under **Storage & backup**
.
To the right of the backup you want to create a volume from, click the `...
` button, then `Create a volume
`.
Then enter the name and capacity of the new disk, and click `Create the volume
`.
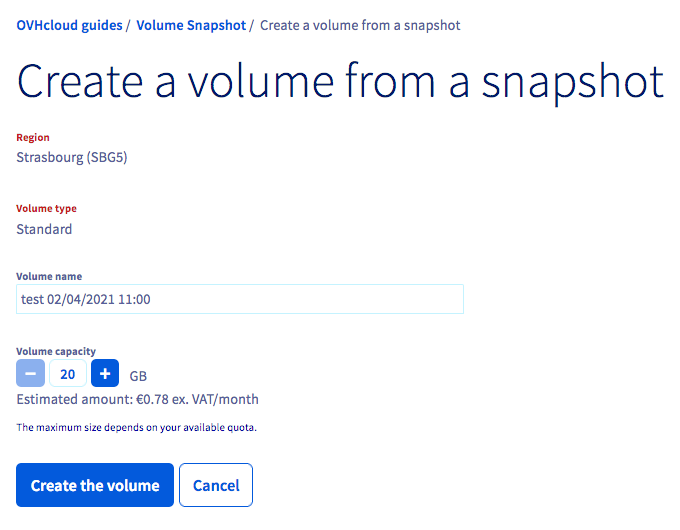
It may take a few minutes to create the disk, depending on its size.
### Attaching the disk to an instance
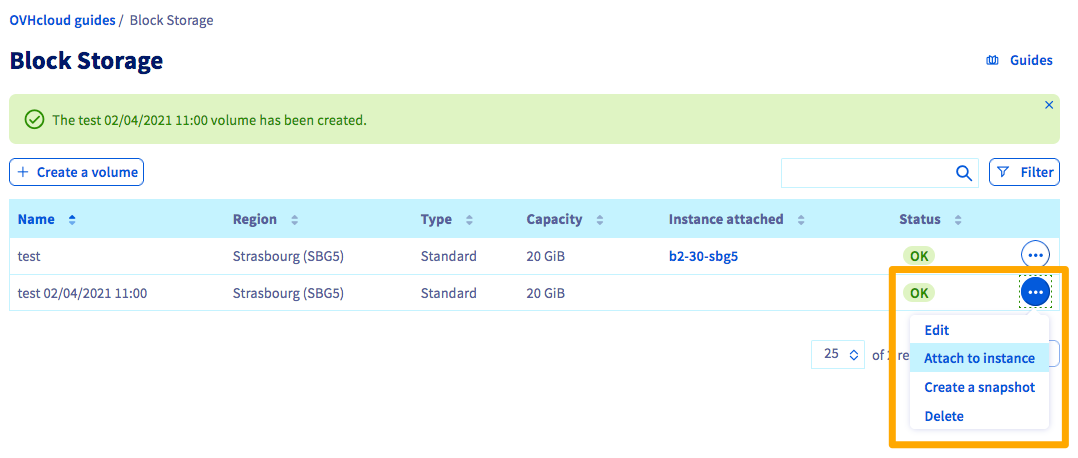
Once the disk has been created, you can choose to attach it to an instance. To do this, click `Block Storage
` in the left-hand navigation bar under **Storage & backup**
.
To the right of the volume of your choice, click on the `...
` button, then `Attach to instance
`.
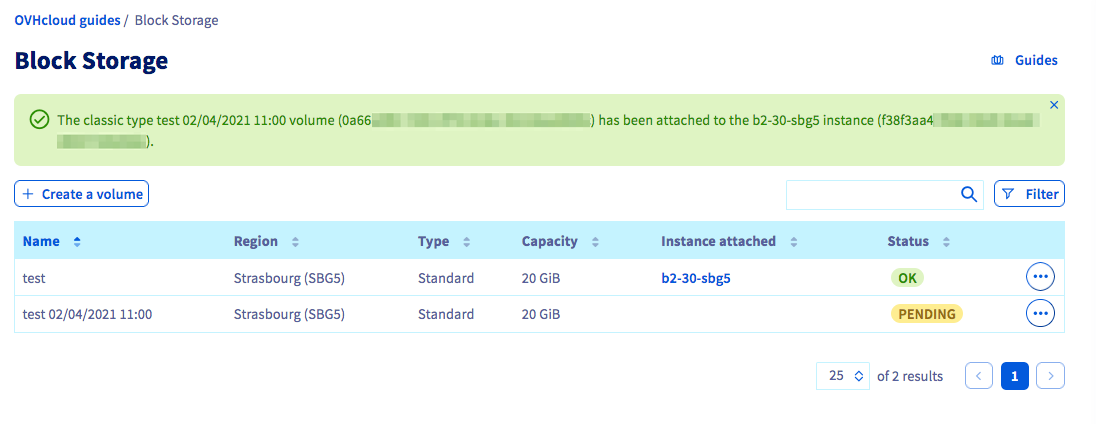
Now select the instance and click `Confirm
` to attach the disk.
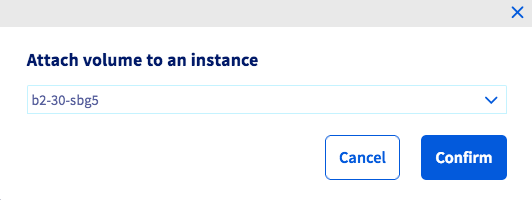
The process of attaching the disk to your instance will then begin, and this may take a few minutes.
:::warning
Make sure to not leave the current page in your OVHcloud Control Panel while the disk is being attached. This may interrupt the process.
:::
Once the attachment is complete, you can follow these steps on how to configure the additional disk [using Linux](/en/guides/public-cloud/compute/create-and-configure-an-additional-disk-on-an-instance.md#using-linux) or [using Windows](/en/guides/public-cloud/compute/create-and-configure-an-additional-disk-on-an-instance.md#using-windows).
## Go further
Join our [community of users](https://community.ovhcloud.com/).