---
title: "AI Training - Start a job with a notebook Docker image"
description: "Learn how to start and use notebooks over AI training"
url: https://docs.ovhcloud.com/en/guides/public-cloud/ai-machine-learning/ai-training-start-use-notebooks
lang: en
lastUpdated: 2021-05-03
---
# AI Training - Start a job with a notebook Docker image
## Objective
This guide covers the process of starting a simple interactive notebook leveraging GPUs over **AI Training** service.
## Requirements
- an **AI Training project** created inside a **public cloud** project
- a [user for AI Training](/en/guides/public-cloud/ai-machine-learning/ai-users.md)
***
### OVHcloud Control Panel Access
- **Direct link:** Public Cloud Projects
- **Navigation path:** Public Cloud > Select your project
***
## Instructions
### Step 1 - Begin as classic job submission
Follow the same steps as a classic job submission described [here](/en/guides/public-cloud/ai-machine-learning/ai-training-submit-job.md) until you reach [Step 5 - Providing a Docker image](/en/guides/public-cloud/ai-machine-learning/ai-training-submit-job.md#step-5-providing-a-docker-image).
### Step 2 - Select the notebook corresponding to your needs
A `job` is basically a Docker container that is run within the OVHcloud infrastructure.
Notebooks are `daemon jobs`, meaning that they will run indefinitely until the user requests an interruption.
AI Training offers several notebook images with different configurations. You can choose the configuration that best suits your needs among them.
Currently, the following configurations are available :
- **PyTorch** : An OVHcloud preset image including JupyterLab notebook, Visual Studio Code IDE and `pytorch` libraries
- **Tensorflow 2** : An OVHcloud preset image containing JupyterLab notebook, Visual Studio Code IDE and `tensorflow 2` libraries
- **Hugging Face Transformers** : An OVHcloud preset image containing JupyterLab notebook, Visual Studio Code IDEand `hugging face` libraries
- **MXNet** : An OVHcloud preset image containing JupyterLab notebook, Visual Studio Code IDE and `mxnet` libraries
- **Fast.ai** : An OVHcloud preset image containing JupyterLab notebook, Visual Studio Code IDE and `fast.ai` libraries
- **autogluon** : An OVHcloud preset image containing JupyterLab notebook, Visual Studio Code IDE and `AutoGluon` + `mxnet` libraries
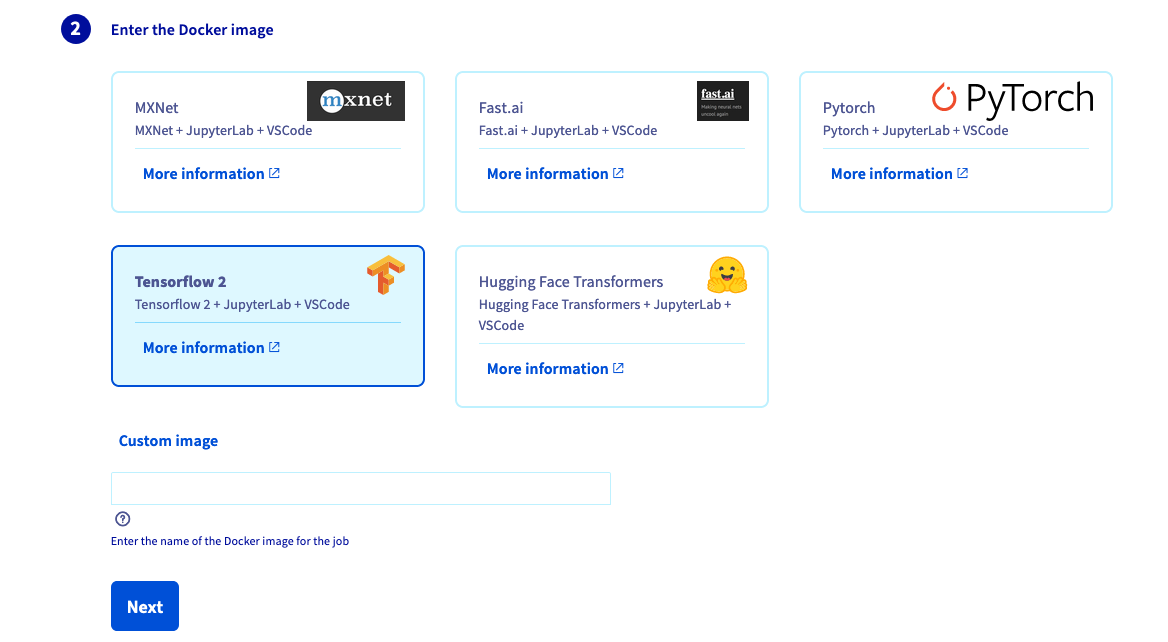 Once your image is chosen, click `Next
`.
### Step 3 - Continue as a classic job submission
Continue to follow the same steps as a classic job submission described [here](/en/guides/public-cloud/ai-machine-learning/ai-training-submit-job.md) until you reach [Step 10 - Consulting your job](/en/guides/public-cloud/ai-machine-learning/ai-training-submit-job.md#step-10-consulting-your-job).
:::warning
If you want to be able to save your notebook files on your object storage, we strongly advise to plug a **read** and **write** volume on your job before submitting. That volume will be synchronized with your object storage at the end of the job.
:::
### Step 4 - Access notebook URL
Once your job is `In progress`, in the job description panel, you should see the `Access` link. Click on it and you will be redirected on your job URL.

### Step 5 - Login as an AI Training user
If you are not authenticated as an AI Training user, you should see a screen asking for your username and password.
:::info
If you have not created a user for AI Training yet, you can follow the instruction [here](/en/guides/public-cloud/ai-machine-learning/ai-users.md).
:::
Fill the fields and click `Login
`.

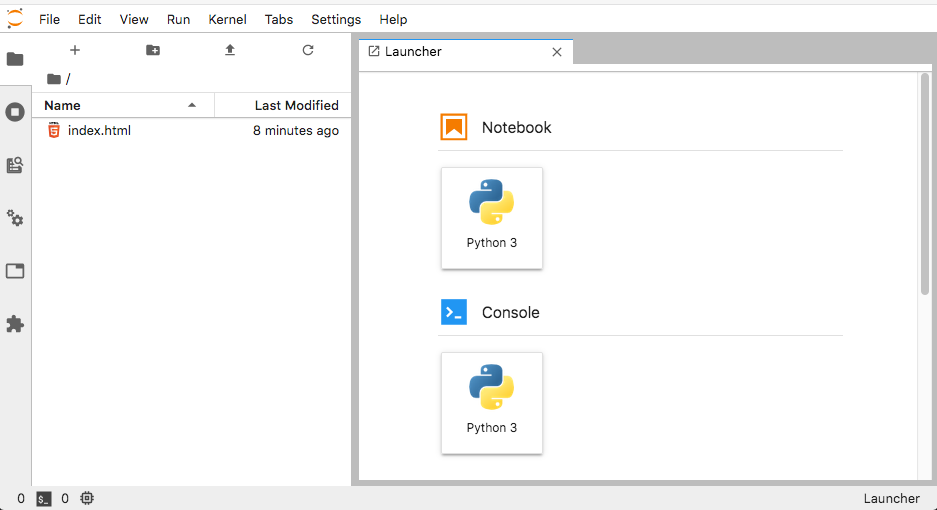
### Step 6 - Use your notebook
In most provided preset image,s you can choose which editor you prefer between JupyterLab and VisualStudio code.

Just select the one that you want to use, and you will be redirected to the corresponding one.
By default, the home directory of your job is located under `/workspace`. It means that you will have **read** and **write** access to that directory as well as your **read** and **write** mounted volumes.
:::warning
If you are missing a library or a configuration, you can add it directly in command line of the notebook's **console** as long as you don't need privileged access (root access). Example : `pip install <...>`
For installing specific libraries that require privileged access, you will have to build your own notebook image and use it as a **custom image** at [step 2](#step-2-select-the-notebook-corresponding-to-your-needs) instead of a **preset image**. More information about creating your own Docker image can be found [here](/en/guides/public-cloud/ai-machine-learning/ai-training-build-use-custom-image.md).
:::
:::info
If you open a **console** tab in your notebook and type `nvidia-smi`, you will see the available GPUs that you can use on your notebook.
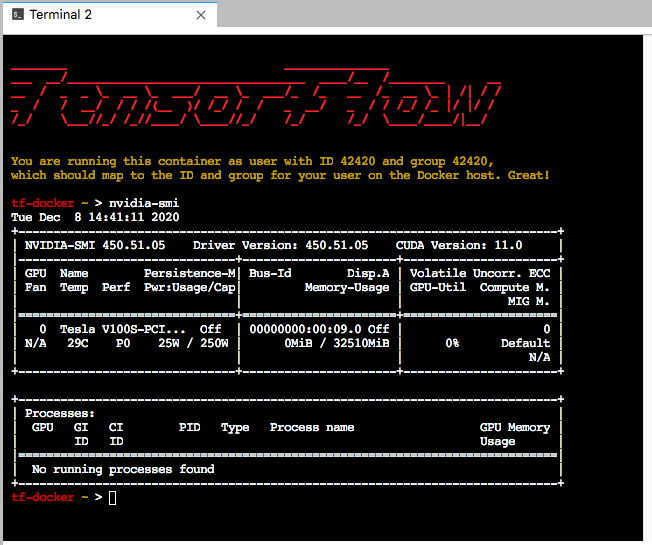
:::
### Step 7 - Stop your notebook
Once you are done working with your notebook don't forget to stop it.
You can do it by selecting `Stop
` in the action menu.
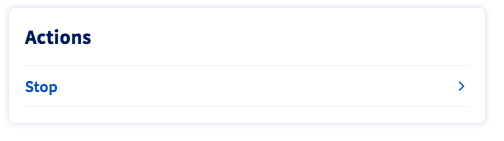
Then `confirm
` your choice.
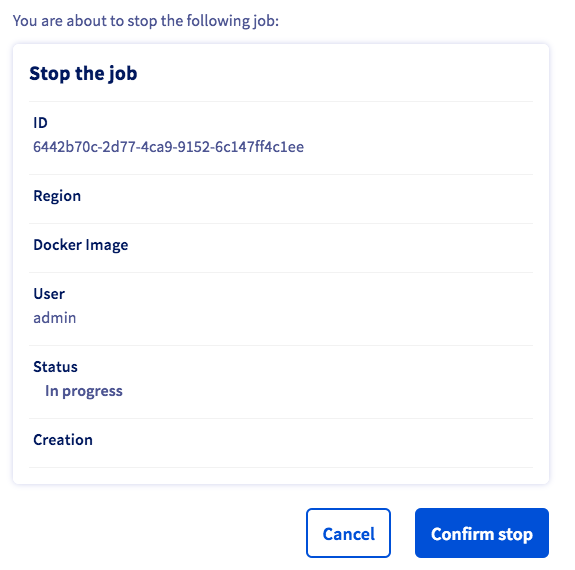
After some time your job should go into an `Interrupted` state meaning that the job has been stopped.

:::info
Before going into the `Interrupted` state, your job may run through the `Finalizing` state. During this phase, all data inside `read & write volumes` are saved inside their linked containers in your object storage.
:::
## Feedback
Please send us your questions, feedback and suggestions to improve the service:
- On the OVHcloud [Discord server](https://discord.gg/ovhcloud)
If you need training or technical assistance to implement our solutions, contact your sales representative or click on [this link](https://www.ovhcloud.com/en-gb/professional-services/) to get a quote and ask our Professional Services experts for a custom analysis of your project.
Once your image is chosen, click `Next
`.
### Step 3 - Continue as a classic job submission
Continue to follow the same steps as a classic job submission described [here](/en/guides/public-cloud/ai-machine-learning/ai-training-submit-job.md) until you reach [Step 10 - Consulting your job](/en/guides/public-cloud/ai-machine-learning/ai-training-submit-job.md#step-10-consulting-your-job).
:::warning
If you want to be able to save your notebook files on your object storage, we strongly advise to plug a **read** and **write** volume on your job before submitting. That volume will be synchronized with your object storage at the end of the job.
:::
### Step 4 - Access notebook URL
Once your job is `In progress`, in the job description panel, you should see the `Access` link. Click on it and you will be redirected on your job URL.

### Step 5 - Login as an AI Training user
If you are not authenticated as an AI Training user, you should see a screen asking for your username and password.
:::info
If you have not created a user for AI Training yet, you can follow the instruction [here](/en/guides/public-cloud/ai-machine-learning/ai-users.md).
:::
Fill the fields and click `Login
`.

### Step 6 - Use your notebook
In most provided preset image,s you can choose which editor you prefer between JupyterLab and VisualStudio code.

Just select the one that you want to use, and you will be redirected to the corresponding one.

By default, the home directory of your job is located under `/workspace`. It means that you will have **read** and **write** access to that directory as well as your **read** and **write** mounted volumes.
:::warning
If you are missing a library or a configuration, you can add it directly in command line of the notebook's **console** as long as you don't need privileged access (root access). Example : `pip install <...>`
For installing specific libraries that require privileged access, you will have to build your own notebook image and use it as a **custom image** at [step 2](#step-2-select-the-notebook-corresponding-to-your-needs) instead of a **preset image**. More information about creating your own Docker image can be found [here](/en/guides/public-cloud/ai-machine-learning/ai-training-build-use-custom-image.md).
:::
:::info
If you open a **console** tab in your notebook and type `nvidia-smi`, you will see the available GPUs that you can use on your notebook.

:::
### Step 7 - Stop your notebook
Once you are done working with your notebook don't forget to stop it.
You can do it by selecting `Stop
` in the action menu.

Then `confirm
` your choice.

After some time your job should go into an `Interrupted` state meaning that the job has been stopped.

:::info
Before going into the `Interrupted` state, your job may run through the `Finalizing` state. During this phase, all data inside `read & write volumes` are saved inside their linked containers in your object storage.
:::
## Feedback
Please send us your questions, feedback and suggestions to improve the service:
- On the OVHcloud [Discord server](https://discord.gg/ovhcloud)
If you need training or technical assistance to implement our solutions, contact your sales representative or click on [this link](https://www.ovhcloud.com/en-gb/professional-services/) to get a quote and ask our Professional Services experts for a custom analysis of your project.