---
title: "Upload a custom world to your Minecraft server"
description: "Upload a custom Minecraft world to your game server with the Game Panel File Manager, then match the world name in Game Config so your server loads it."
url: https://docs.ovhcloud.com/en/guides/bare-metal-cloud/virtual-private-servers/game-panel-upload-minecraft-world
lang: en
lastUpdated: 2026-06-30
---
# Upload a custom world to your Minecraft server
## Objective
The OVHcloud Game Panel lets you upload a custom Minecraft world by transferring files with the File Manager and adjusting the world name configuration.
**This guide explains how to upload a custom world to your Minecraft server on the OVHcloud Game Panel.**
## Requirements
- A [VPS](https://www.ovhcloud.com/en-gb/vps/) or a [dedicated server](https://www.ovhcloud.com/en-gb/bare-metal/) in your OVHcloud account with the Game Panel feature enabled.
- A Minecraft server running one of the following variants: Minecraft Java Edition, Minecraft Bedrock Edition, PaperMC, Fabric, or NeoForge. Refer to [Deploy a Minecraft server on the Game Panel](/en/guides/bare-metal-cloud/virtual-private-servers/game-panel-quick-start-minecraft/index.md).
- A map folder ready to upload.
## Instructions
### Step 1 — Stop the Minecraft server
Before uploading a new world, you must stop your server.
1. Open your server in the Game Panel.
2. Click Stop to shut down the server completely.
:::warning
Never upload or replace a world while the server is running, as this may cause world corruption.
:::
### Step 2 — Upload your custom world
1. Open your server in the Game Panel.
2. Go to Settings.
3. Open the File Manager tab.
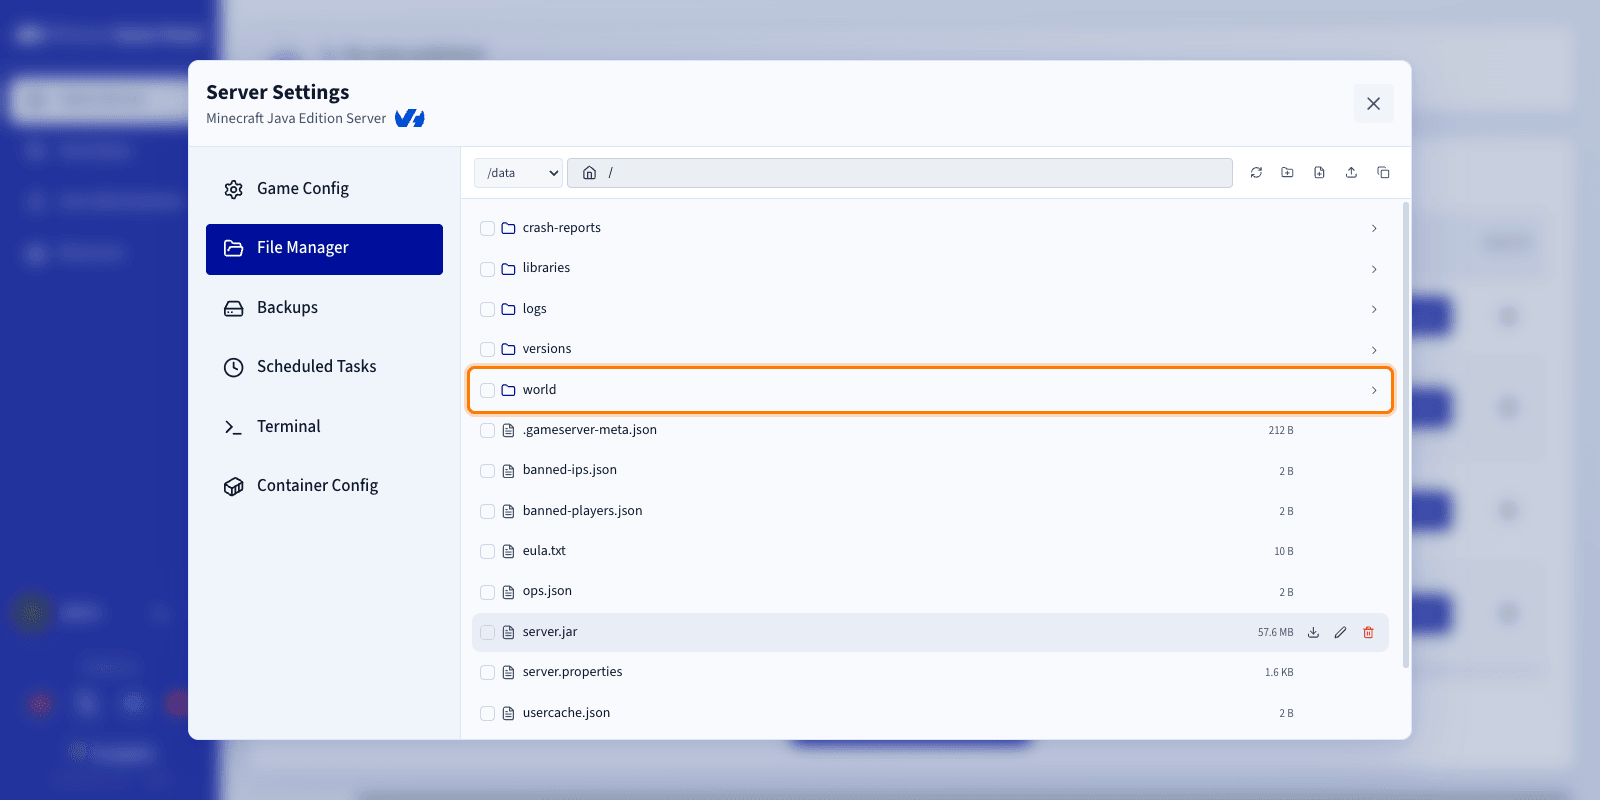
**Remove the existing world**
By default, the main world folder is named `world`. You can either delete the existing `world` folder, or download it first if you want to keep a backup.
**Upload your new world**
Once the old world has been removed:
1. Locate your custom world folder on your computer.
2. Drag and drop the folder directly into the File Manager.
3. Wait for the upload to finish.
Your custom map should be uploaded as a folder containing the world files.
:::warning
We strongly recommend that the world you upload uses the same Minecraft version as your server. A version mismatch can cause the world to fail to load or behave unexpectedly.
:::
### Step 3 — Verify the world name
The world folder name must match the world name configured in your server settings.
**Check the uploaded folder name**
In the File Manager, note the exact name of the world folder you uploaded.
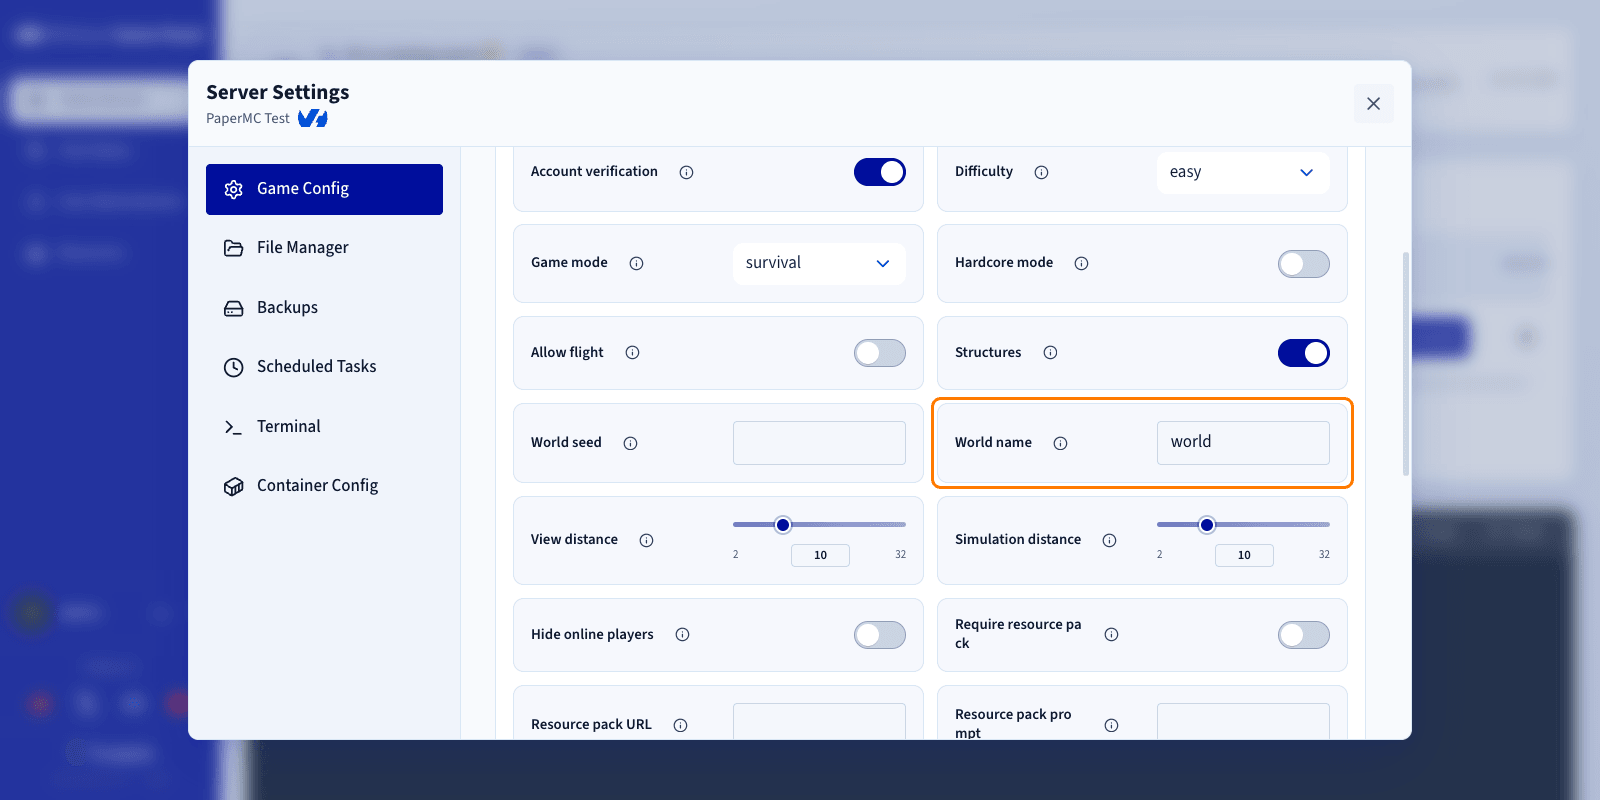
**Update the server configuration**
1. Go to the Game Config tab.
2. Find the **World name** setting.
3. Make sure its value matches the uploaded folder name exactly.
### Final step
Once the upload is complete and the **World name** setting matches your folder name:
1. Save your changes.
2. Start the server again.
Your Minecraft server should now load and use your custom world.
## Go further
- [Deploy a Minecraft server on the Game Panel](/en/guides/bare-metal-cloud/virtual-private-servers/game-panel-quick-start-minecraft/index.md)
- [How to create and restore backups on the Game Panel](/en/guides/bare-metal-cloud/virtual-private-servers/game-panel-backups/index.md)
Join our [community of users](https://community.ovhcloud.com/).