---
title: "Deploy a DayZ server on the Game Panel"
description: "Deploy a DayZ server on the Game Panel, configure your Steam credentials and network ports, and connect to your server in minutes."
url: https://docs.ovhcloud.com/en/guides/bare-metal-cloud/virtual-private-servers/game-panel-quick-start-dayz
lang: en
lastUpdated: 2026-06-30
---
# Deploy a DayZ server on the Game Panel
## Objective
The Game Panel allows you to deploy a DayZ server in a few steps. The panel handles the installation automatically, including Steam authentication and network port configuration.
**This guide explains how to deploy and connect to a DayZ server on the Game Panel.**
## Requirements
- A [VPS](https://www.ovhcloud.com/en-gb/vps/) or a [dedicated server](https://www.ovhcloud.com/en-gb/bare-metal/) in your OVHcloud account with the Game Panel feature enabled.
- Access to the Game Panel. Refer to [Log in to the Game Panel](/en/guides/bare-metal-cloud/virtual-private-servers/game-panel-log-in/index.md).
- A Steam account to authenticate the DayZ server installation.
## Instructions
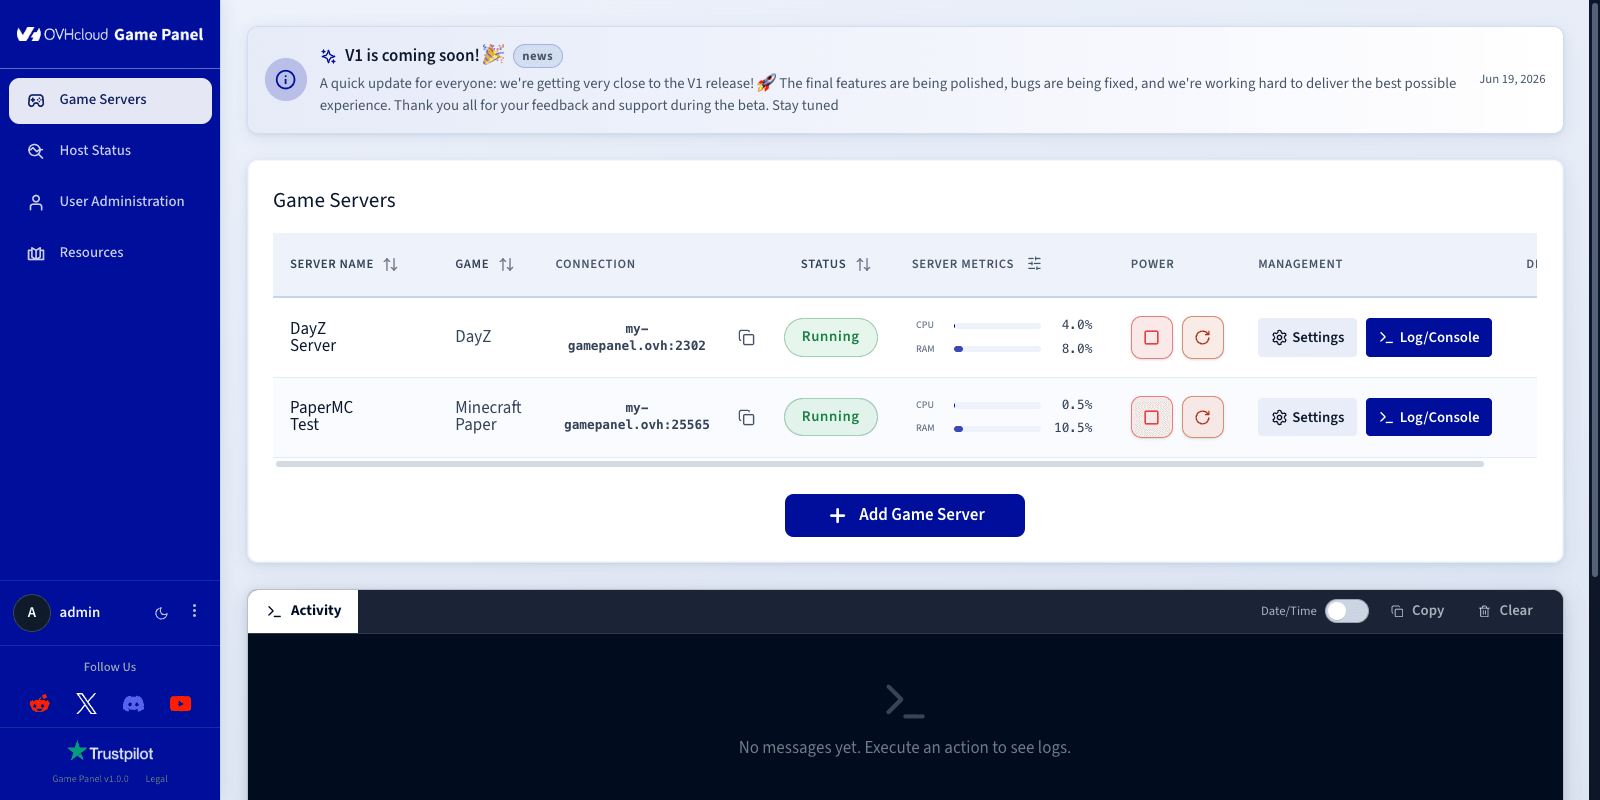
### Step 1 — Access the Game Panel
Log in to your Game Panel.
From the left-hand menu, go to the `Game Servers
` section and click `Add Game Server
`.
### Step 2 — Create a DayZ server
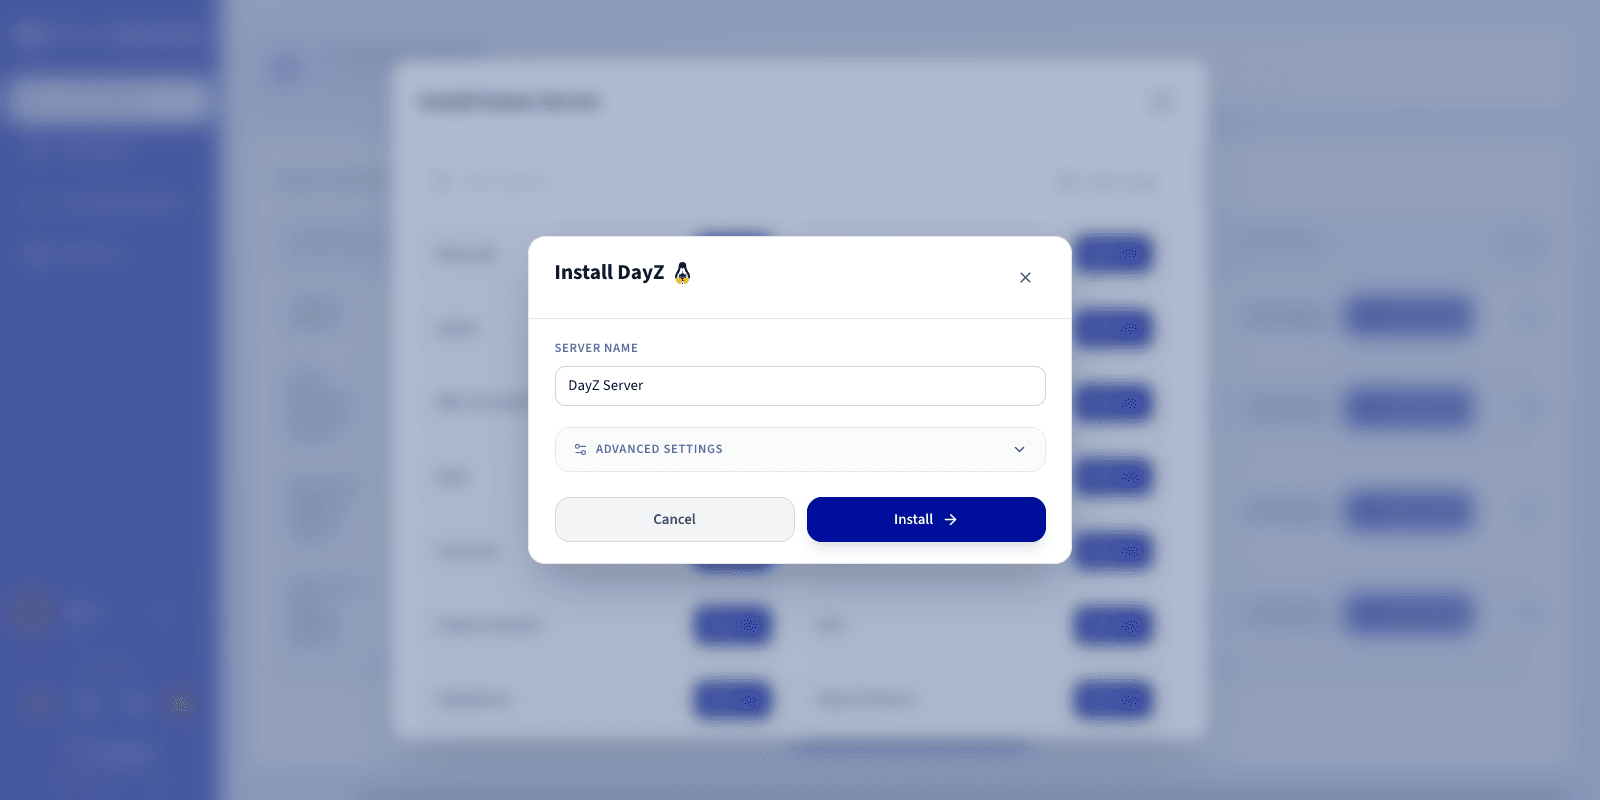
Select **DayZ** from the game list. A configuration window opens.
### Step 3 — Configure the DayZ server
In the configuration window:
- Enter a **Server Name**.
- Enter your **Steam Username** and **Steam Password**.
:::warning
It is strongly recommended to use a dedicated Steam account for this purpose, not your personal one. Use a complex password and disable email-based two-factor authentication (Steam Guard) on that account before proceeding.
:::
:::info
The required network ports are configured automatically during installation. If this is your first DayZ server on the Game Panel and the default ports are available, no manual changes are needed.
:::
You can expand `Advanced settings
` to adjust options such as ports binding and resource limits. The defaults are suitable for most game servers.
### Step 4 — Launch the installation
Click `Install
`. The deployment starts automatically. The panel will:
1. Download the DayZ server image.
2. Install the server files.
### Step 5 — Monitor the installation
Click `Log/Console
` to follow the installation progress in real time. The server status shows **Installing**
while the files are being deployed.
### Step 6 — Verify the server is running
Once started, confirm the server status is **Running**. CPU and RAM activity should be visible in the panel.
The following controls are available:
- Log/Console — monitor server startup and activity in real time, and check logs if there are any issues.
- Settings — access game configuration options.

To adjust in-panel options such as automatic updates, click `Settings
` on your server, then open `Game Config
`. For advanced configuration, use the [File Manager](/en/guides/bare-metal-cloud/virtual-private-servers/game-panel-file-manager/index.md)
to edit the DayZ server configuration file directly.

### Step 7 — Confirm installation is complete
The status changes to **Running** once installation finishes. Your DayZ server is now ready to accept connections.
### Step 8 — Retrieve connection information
In the **Connection** column of the Game Servers list, copy your server's IP address and port.

### Step 9 — Join your server in DayZ
To join from the DayZ client:
1. Launch **DayZ**.
2. Go to **Server** and click **Direct connect**.
3. Paste the IP address and port from the **Connection** column.
4. Click **Connect**.
## Go further
- [Getting started with the Game Panel](/en/guides/bare-metal-cloud/virtual-private-servers/game-panel-getting-started/index.md)
- [Manage users on the Game Panel](/en/guides/bare-metal-cloud/virtual-private-servers/game-panel-manage-users/index.md)
- [How to create and restore backups on the Game Panel](/en/guides/bare-metal-cloud/virtual-private-servers/game-panel-backups/index.md)
Join our [community of users](https://community.ovhcloud.com/).