---
title: "Deploy a 7 Days to Die server on the Game Panel"
description: "Deploy a 7 Days to Die server on the Game Panel with automated installation, port configuration, and console connect steps."
url: https://docs.ovhcloud.com/en/guides/bare-metal-cloud/virtual-private-servers/game-panel-quick-start-7-days-to-die
lang: en
lastUpdated: 2026-06-30
---
# Deploy a 7 Days to Die server on the Game Panel
## Objective
The Game Panel lets you deploy a 7 Days to Die server with automated installation and port configuration.
**This guide explains how to deploy and connect to a 7 Days to Die server on the Game Panel.**
## Requirements
- A [VPS](https://www.ovhcloud.com/en-gb/vps/) or a [dedicated server](https://www.ovhcloud.com/en-gb/bare-metal/) in your OVHcloud account with the Game Panel feature enabled.
- Access to the Game Panel. Refer to [Log in to the Game Panel](/en/guides/bare-metal-cloud/virtual-private-servers/game-panel-log-in/index.md).
## Instructions
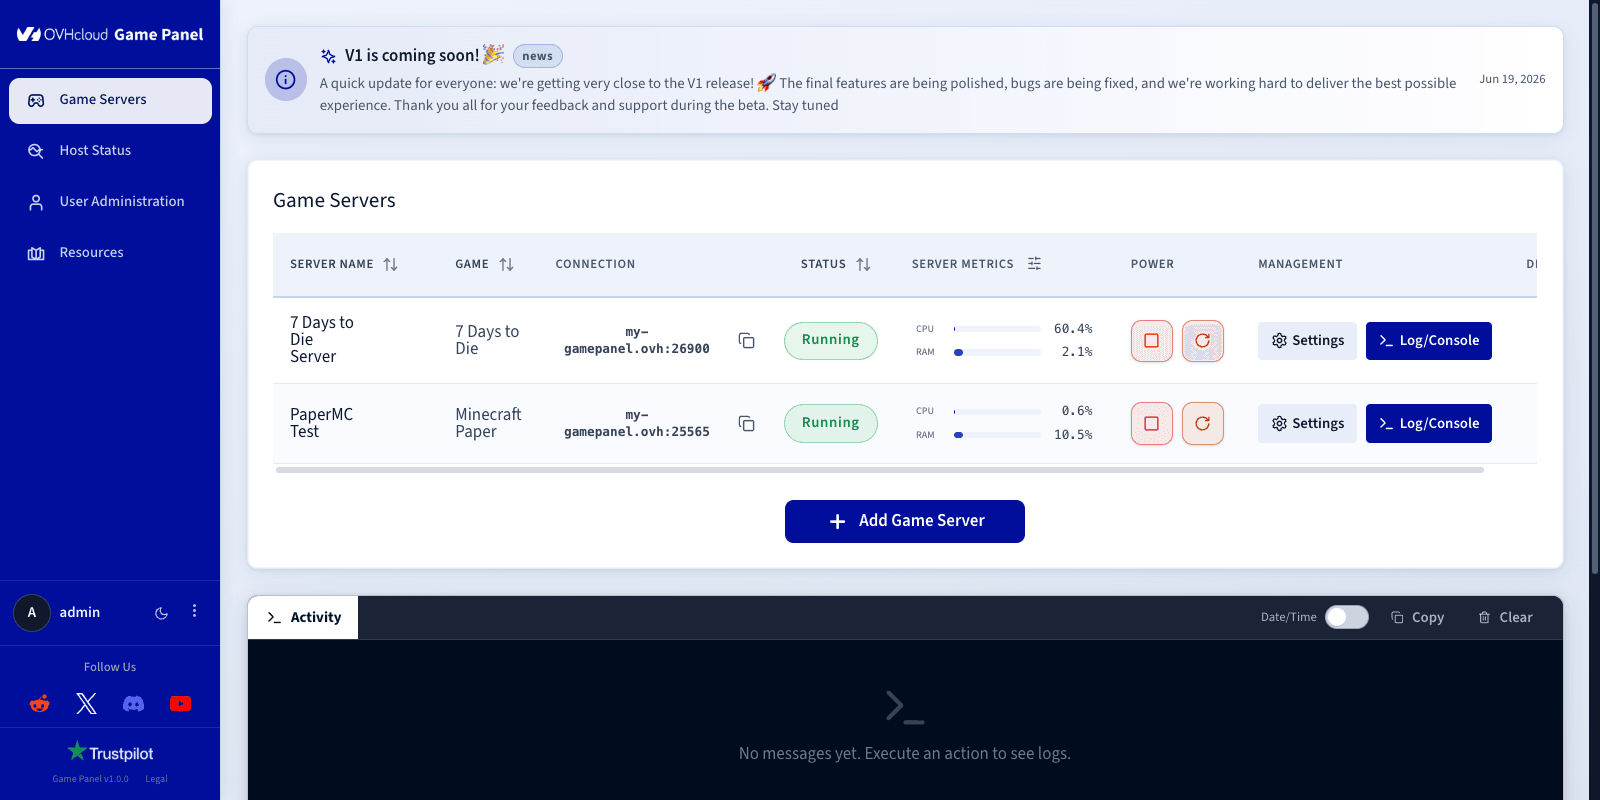
### Step 1 — Access the Game Panel
Log in to your Game Panel. Go to the **Game Servers**
section in the left-hand menu and click `Add Game Server
`.
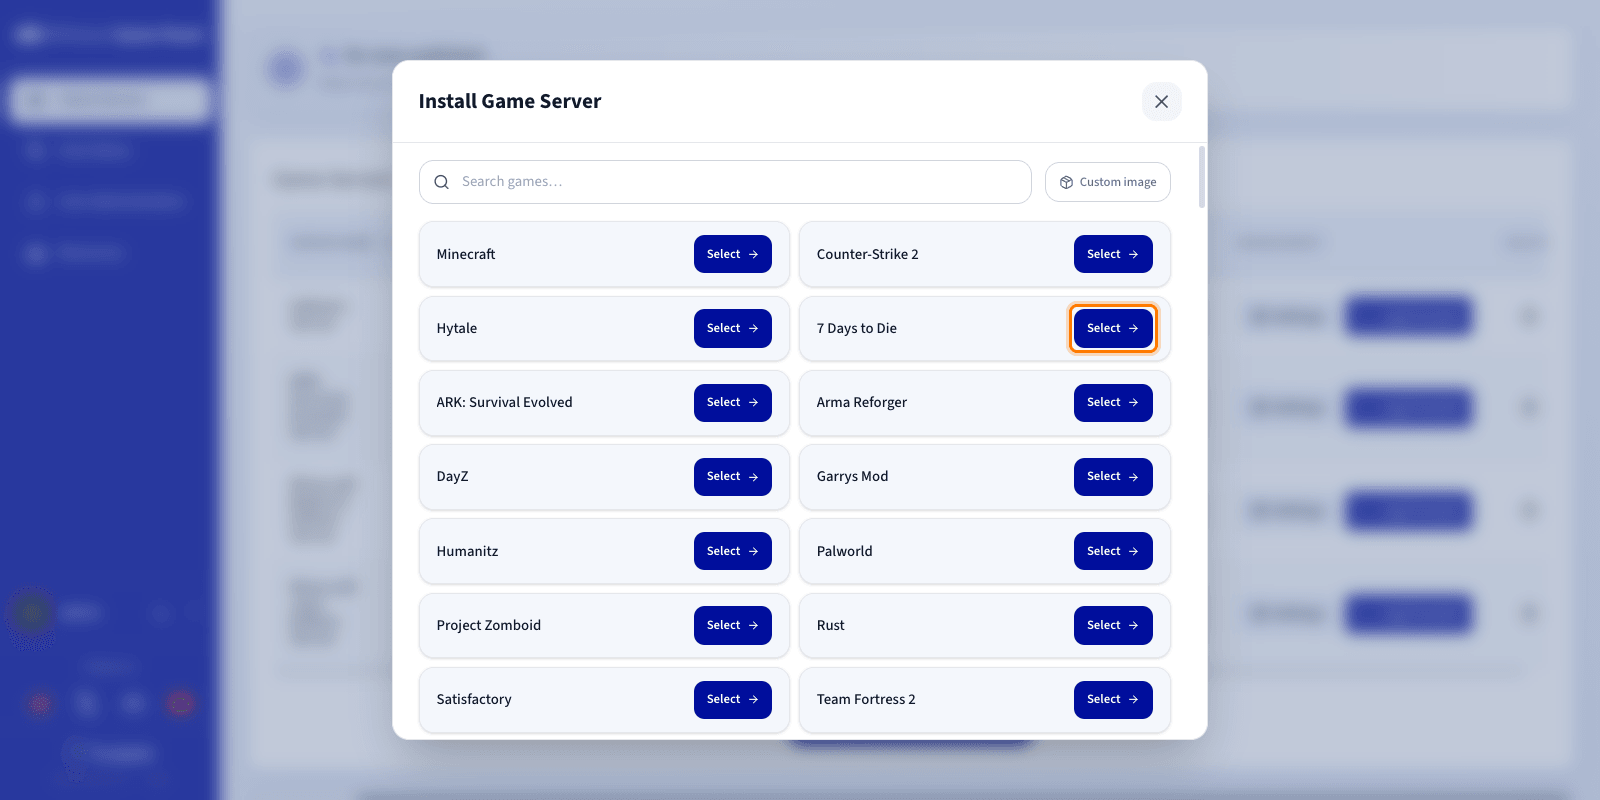
### Step 2 — Create a 7 Days to Die server
Select **7 Days to Die** from the game list. A configuration window opens.
### Step 3 — Configure the 7 Days to Die server
Enter a **Server Name** (for example, `7 Days to Die Server`). The required network ports are configured automatically during installation.
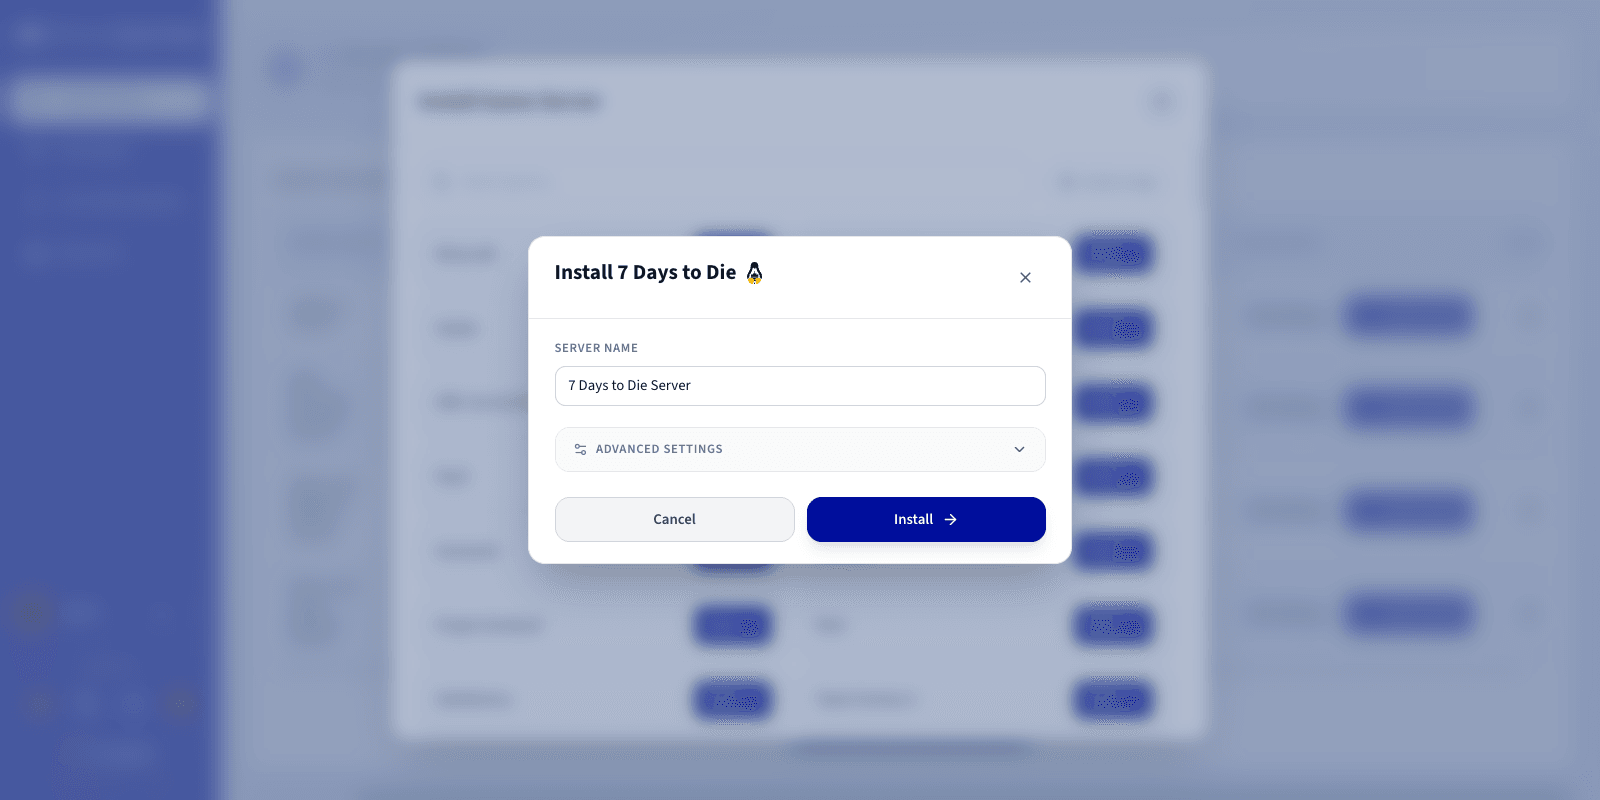
You can expand `Advanced settings
` to adjust options such as ports binding and resource limits. The defaults are suitable for most game servers.
### Step 4 — Launch the installation
Click `Install
`. The deployment starts automatically. Wait a few minutes while the image downloads and the server installs.
### Step 5 — Monitor the installation
Click `Log/Console
` to follow the installation progress in real time. The status shows **Installing**
.
### Step 6 — Verify the server is running
Check that the server status displays **Running** and that CPU/RAM activity is visible.

Available actions:
- Log/Console: Open the console to monitor startup and check logs if there are any issues.
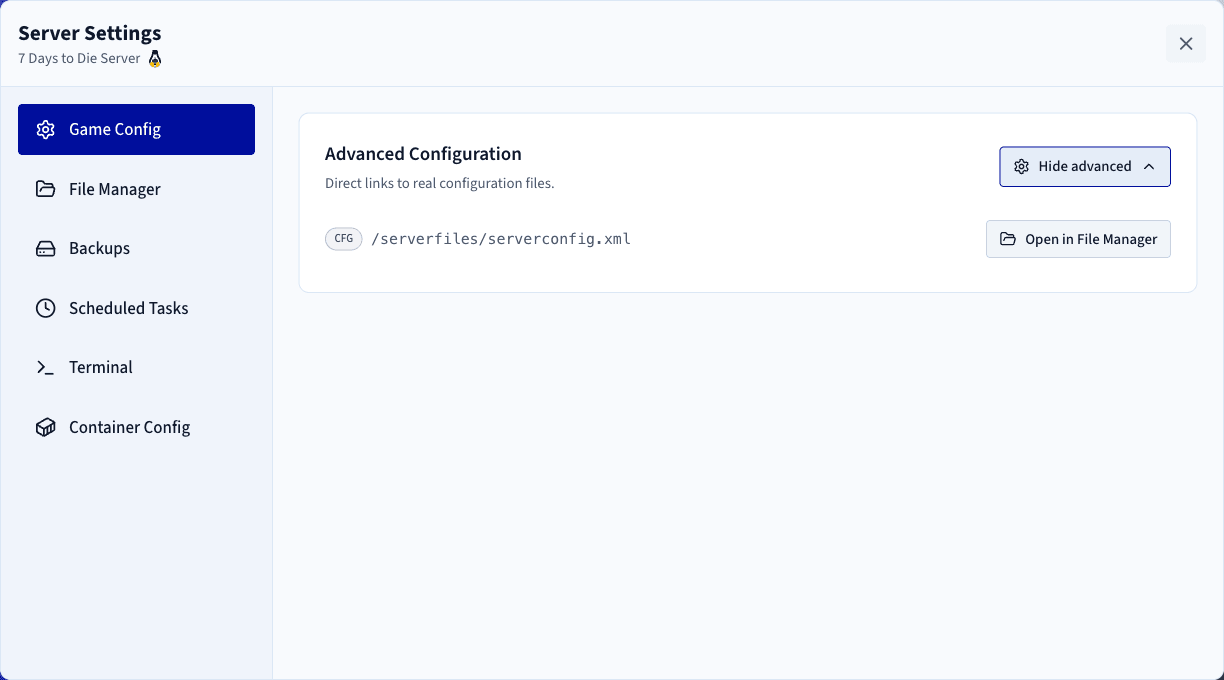
- Settings > Game Config: Access game settings.
### Step 7 — Confirm installation is complete
The status changes to **Running** once the installation finishes.
### Step 8 — Retrieve connection information
In the **Connection** column of the Game Servers list, copy your server's IP address and port.
### Step 9 — Join your server in 7 Days to Die
To join from the game:
1. Launch **7 Days to Die** and click **Join a Game**.
2. Paste the IP address and port from the **Connection** column.
3. Click **Connect**.
### Best practices
- Configure permissions via User Administration.
- Perform regular backups.
- Customise your game settings.
:::info
To go further, add mods or competitive configurations, adjust tickrate and performance settings, or restrict access with a password or whitelist.
:::
## Go further
- [Getting started with the Game Panel](/en/guides/bare-metal-cloud/virtual-private-servers/game-panel-getting-started/index.md)
- [Manage users on the Game Panel](/en/guides/bare-metal-cloud/virtual-private-servers/game-panel-manage-users/index.md)
Join our [community of users](https://community.ovhcloud.com/).