---
title: "How to manage Intel SGX on a dedicated server"
description: "Find out how to enable the SGX option on your dedicated server and install the SGX software stack for Linux"
url: https://docs.ovhcloud.com/en/guides/bare-metal-cloud/dedicated-servers/sgx-enable-and-use
lang: en
lastUpdated: 2025-11-20
---
# How to manage Intel SGX on a dedicated server
## Objective
Enabling Intel Software Guard Extensions (SGX) on your server allows you to run SGX-ready applications. Intel SGX provides advanced hardware and RAM security encryption features, in order to isolate specific parts of code and data for each application.
**This guide explains how to enable the SGX feature, via the OVHcloud Control Panel or via the OVHcloud API.**
## Requirements
- Access to the [OVHcloud API](https://eu.api.ovh.com/) (optional)
- A dedicated server compatible with the [SGX option](https://www.ovhcloud.com/en-gb/bare-metal/intel-software-guard-extensions/) in your OVHcloud account
- The credentials received by email after installation
- Ubuntu 24.04 or equivalent is installed on the server
***
### OVHcloud Control Panel Access
- **Direct link:** Dedicated Servers
- **Navigation path:** Bare Metal Cloud > Dedicated servers > Select your server
***
## Instructions
### Enabling SGX
The activation of SGX is possible from the OVHcloud Control Panel, the OVHcloud API, or your server's BIOS.
**Via the OVHcloud Control Panel**
**1 - Logging in to the OVHcloud Control Panel**
Select the server on which you want to enable SGX.
**2 - Enabling SGX**
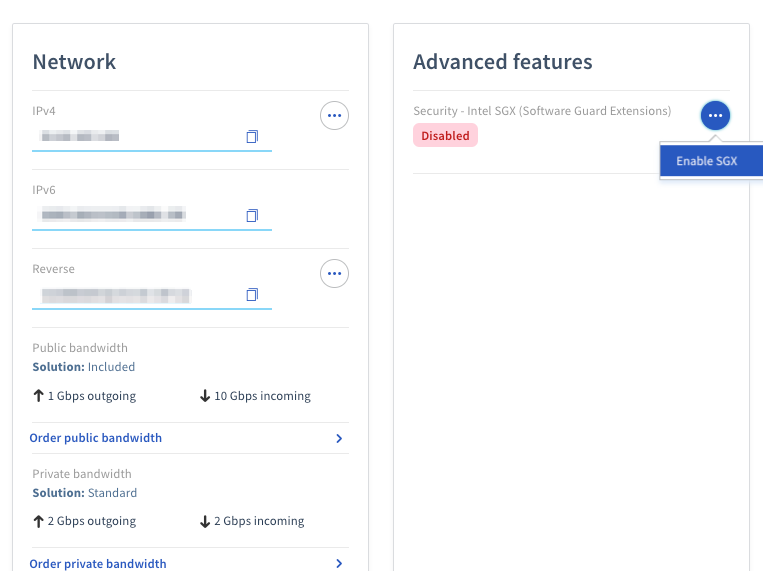
From the General Information tab, in the **Advanced Features** box, click on ... next to the **Security - Intel SGX (Software Guard Extensions)** entry and select Enable SGX from the dropdown menu.
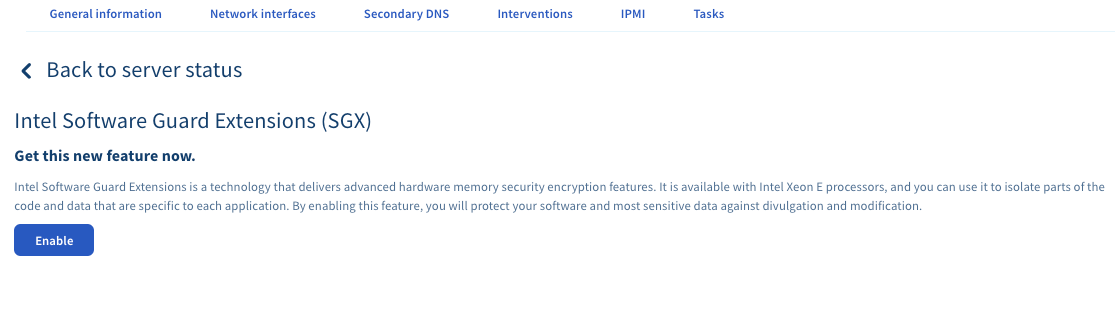
On the next screen, click on the Enable button.
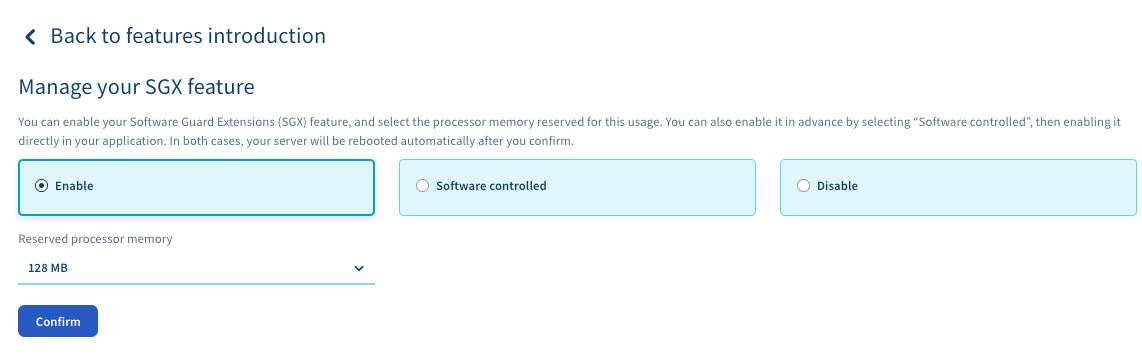
You can choose to enable SGX with a specific amount of reserved memory or allow your application to automatically reserve the memory it needs. Once your choice is made, click on Confirm.
A confirmation window will appear. Please confirm that you understand that enabling Intel SGX technology will result in a server reboot.
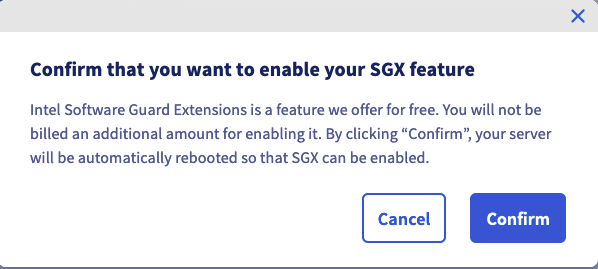:::warning
This will result in one or more server reboots, depending on its model.
:::
**Via the OVHcloud API**
**1 - Logging in to the API console**
On the [OVHcloud API page](https://eu.api.ovh.com/console/):
- Click on Authentication in the top left.
- Then click on Login with OVHcloud SSO.
- Enter your OVHcloud credentials.
- Click on the Authorize button to authorise API calls from this site.
**2 - Enabling SGX**
Retrieve the name of your server from the list returned by the following call:
🇪🇺EU▾
[GET/dedicated/server](https://eu.api.ovh.com/console/?section=/dedicated/server&branch=v1#get-/dedicated/server)
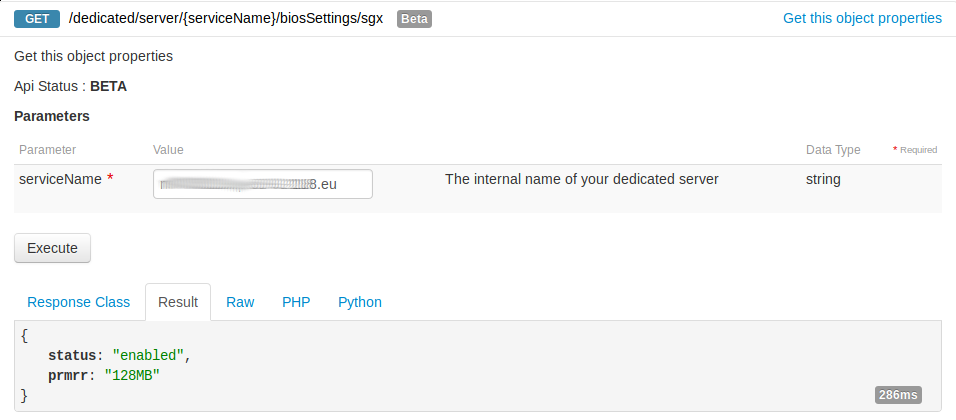
Check that your service has the SGX option using this call:
🇪🇺EU▾
[GET/dedicated/server/{serviceName}/biosSettings/sgx](https://eu.api.ovh.com/console/?section=/dedicated/server&branch=v1#get-/dedicated/server/-serviceName-/biosSettings/sgx)
Enable SGX using the server name:
:::warning
This will result in one or more server reboots, depending on its model.
:::
🇪🇺EU▾
[POST/dedicated/server/{serviceName}/biosSettings/sgx/configure](https://eu.api.ovh.com/console/?section=/dedicated/server&branch=v1#post-/dedicated/server/-serviceName-/biosSettings/sgx/configure)
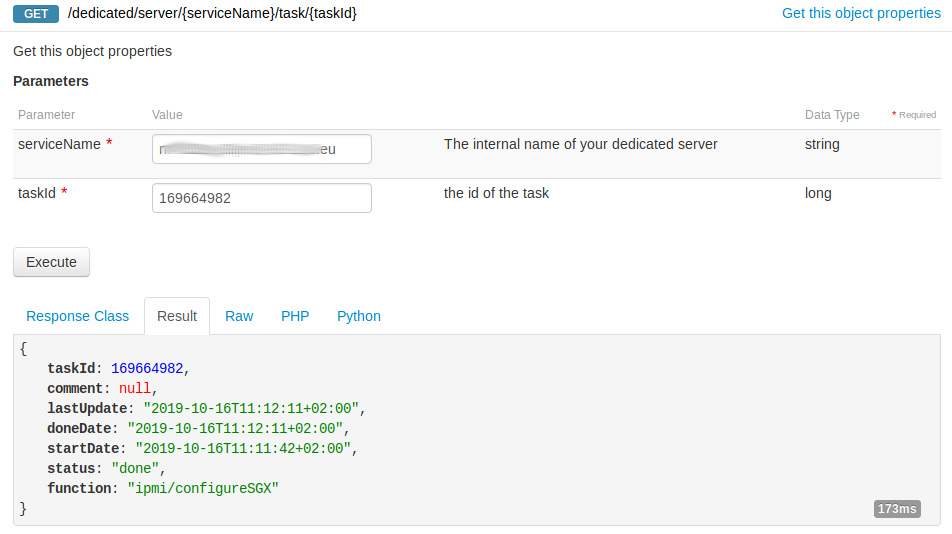
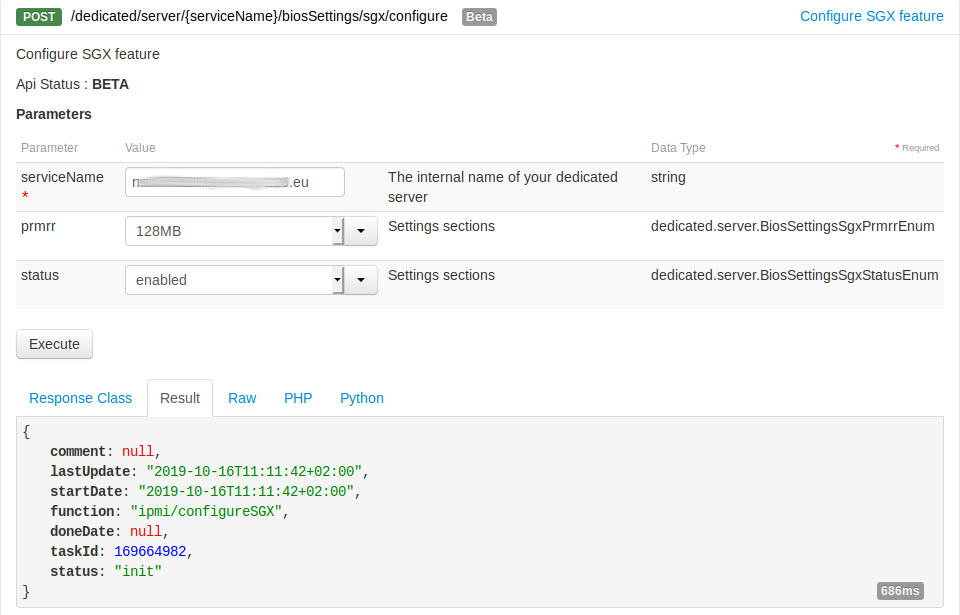Check the progress of the configuration task by calling this endpoint with the _taskId_ returned by the previous call:
🇪🇺EU▾
[GET/dedicated/server/{serviceName}/task/{taskId}](https://eu.api.ovh.com/console/?section=/dedicated/server&branch=v1#get-/dedicated/server/-serviceName-/task/-taskId-)
You can verify that the status is enabled:
🇪🇺EU▾
[GET/dedicated/server/{serviceName}/biosSettings/sgx](https://eu.api.ovh.com/console/?section=/dedicated/server&branch=v1#get-/dedicated/server/-serviceName-/biosSettings/sgx)
**Manual configuration in the BIOS**
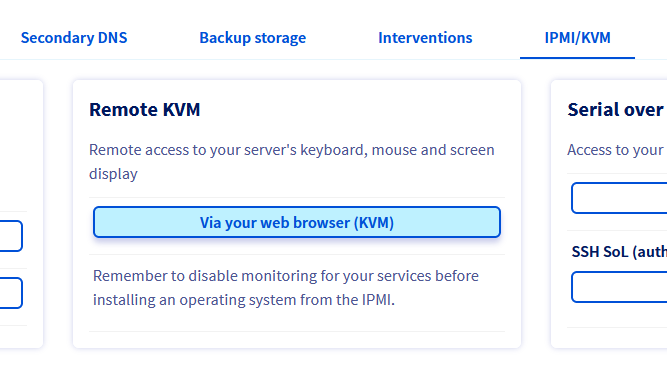
**1 - Start a Remote KVM session**
Select the server on which you want to enable SGX.
From the IPMI/KMV tab, start a Remote KVM session:
**2 - Enabling SGX**
Then, from the KVM, initiate a server reboot and enter the BIOS (usually by pressing the DEL or F2 key).
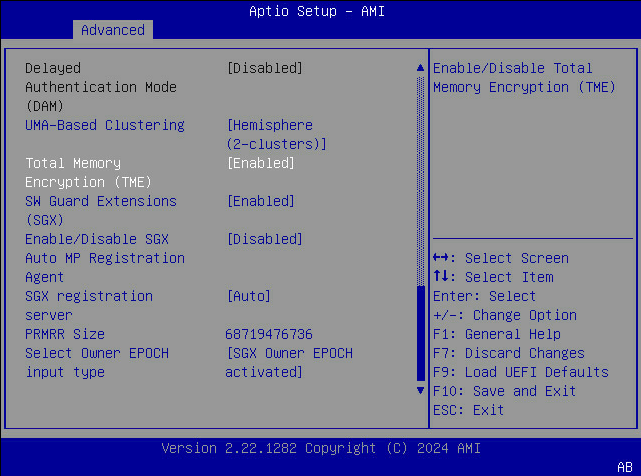
In the BIOS, go to the `Advanced` > `Processor Configuration` section.
Enable the TME and SGX options and configure the desired PRMRR size:
Save the changes by pressing the F10 key. A confirmation window will appear, please confirm with the `Yes` option.
Your server will then reboot into your operating system.
### Installing the SGX software stack
Use the following commands to install the Intel SDK in order to develop and run SGX applications.
First, install some dependencies:
```bash
sudo apt update
sudo apt install autoconf automake build-Essential cmake debhelper git libcurl4-openssl-dev libprotobuf-dev libssl-dev libtool lsb-release ocaml ocamlbuild protobuf-compiler python-is-python3 reprepro wget perl unzip pkgconf libboost-dev libboost-system-dev libboost-thread-dev libsystemd0
```
Next, download the source code and prepare the submodules and prebuilt binaries:
```bash
BASE_DIR=/opt/intel
[[ -d $BASE_DIR ]] || sudo mkdir -p $BASE_DIR && sudo chown `whoami` $BASE_DIR
cd $BASE_DIR
git clone https://github.com/intel/linux-sgx.git
cd linux-sgx
git checkout sgx_2.26
make preparation
```
Build and install the SGX SDK:
```bash
make sdk_install_pkg
$ ./linux/installer/bin/sgx_linux_x64_sdk_2.26.100.0.bin --prefix=$BASE_DIR/
```
### Test the sample application in simulation mode
To build and run the _LocalAttestation_ sample code in simulation mode:
```bash
BASE_DIR=/opt/intel
cd $BASE_DIR/sgxsdk/SampleCode/LocalAttestation/
source $BASE_DIR/sgxsdk/environment
make clean
SGX_MODE=SIM make
cd bin
sudo ./app
succeed to load enclaves.
succeed to establish secure channel.
Succeed to exchange secure message...
Succeed to close Session...
```
### Build and install the Intel SGX PSW
The Intel SGX Platform Software (PSW) provides software libraries to run SGX applications in hardware mode. To create the local Debian repository that hosts the packages, run the following commands:
```bash
BASE_DIR=/opt/intel
cd $BASE_DIR/linux-sgx
make deb_local_repo
```
Create the following file to add the local Debian package repository to the repository configuration system:
```bash
$ cat /etc/apt/sources.list.d/sgx.sources
Types: deb
URIs: file:/opt/intel/linux-sgx/linux/installer/deb/sgx_debian_local_repo
Suites: noble
Components: main
trusted: yes
```
Then, install the following packages:
```bash
sudo apt update
sudo apt-get install libsgx-epid libsgx-quote-ex libsgx-dcap-ql
```
### Test the sample application in hardware mode (optional)
To build and run the _LocalAttestation_ sample code in hardware mode:
```bash
BASE_DIR=/opt/intel
cd $BASE_DIR/sgxsdk/SampleCode/LocalAttestation/
source $BASE_DIR/sgxsdk/environment
make clean
SGX_MODE=HW make
cd bin
sudo ./app
succeed to load enclaves.
succeed to establish secure channel.
Succeed to exchange secure message...
Succeed to close Session...
```
## Go further
To go further (develop your own application, register for remote attestation, etc.), here are some useful resources:
- [Intel SGX](https://software.intel.com/en-us/sgx)
- [Intel SGX Attestation services](https://software.intel.com/en-us/sgx/attestation-services)
- [Intel SGX linux-2.26 documentation](https://download.01.org/intel-sgx/sgx-linux/2.26/docs/)
- [github.com/intel/linux-sgx](https://github.com/intel/linux-sgx)